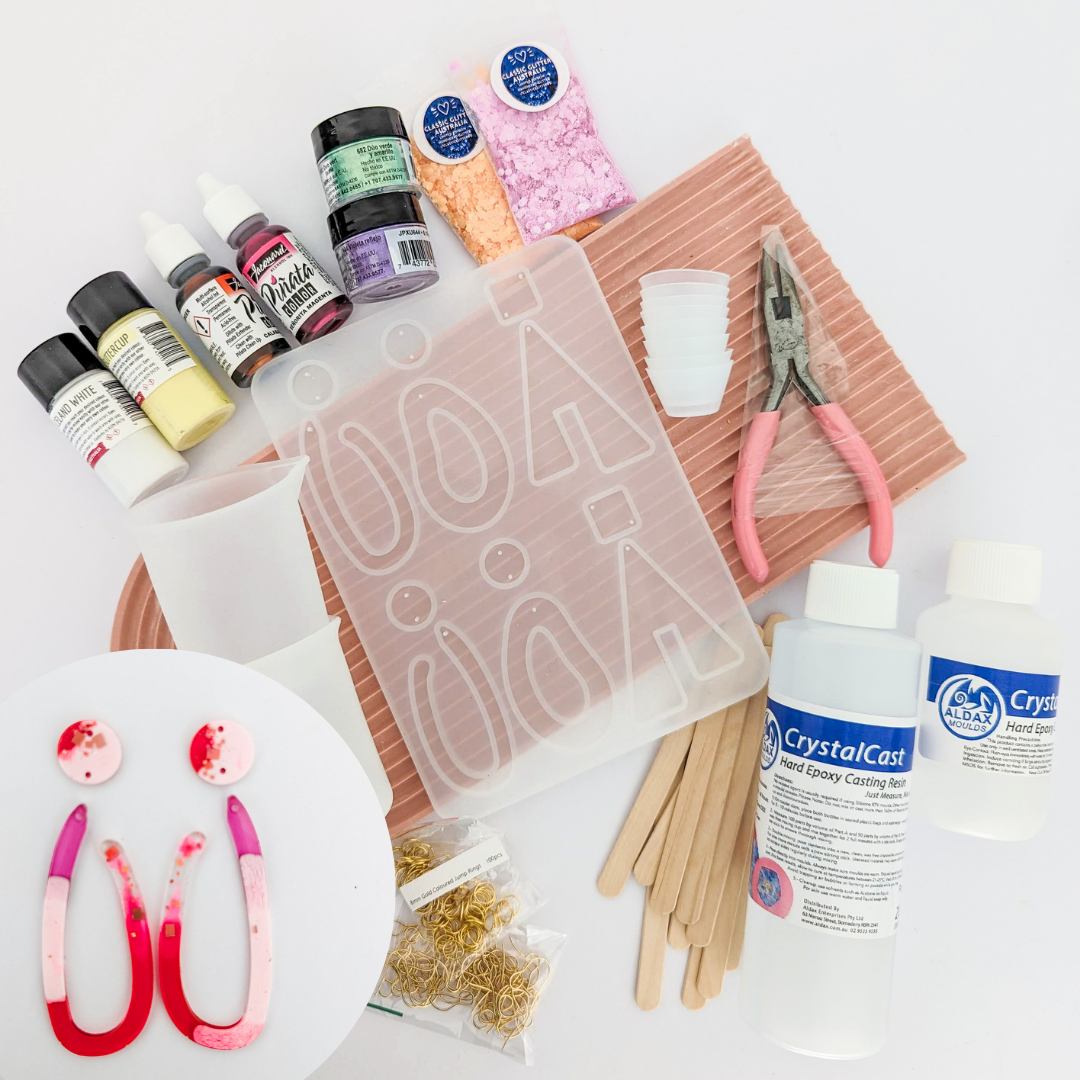


The Clay Earring Starter Kit contains the following:
- Premo and Souffle Multipack 24pk
- Acrylic Clay Roller
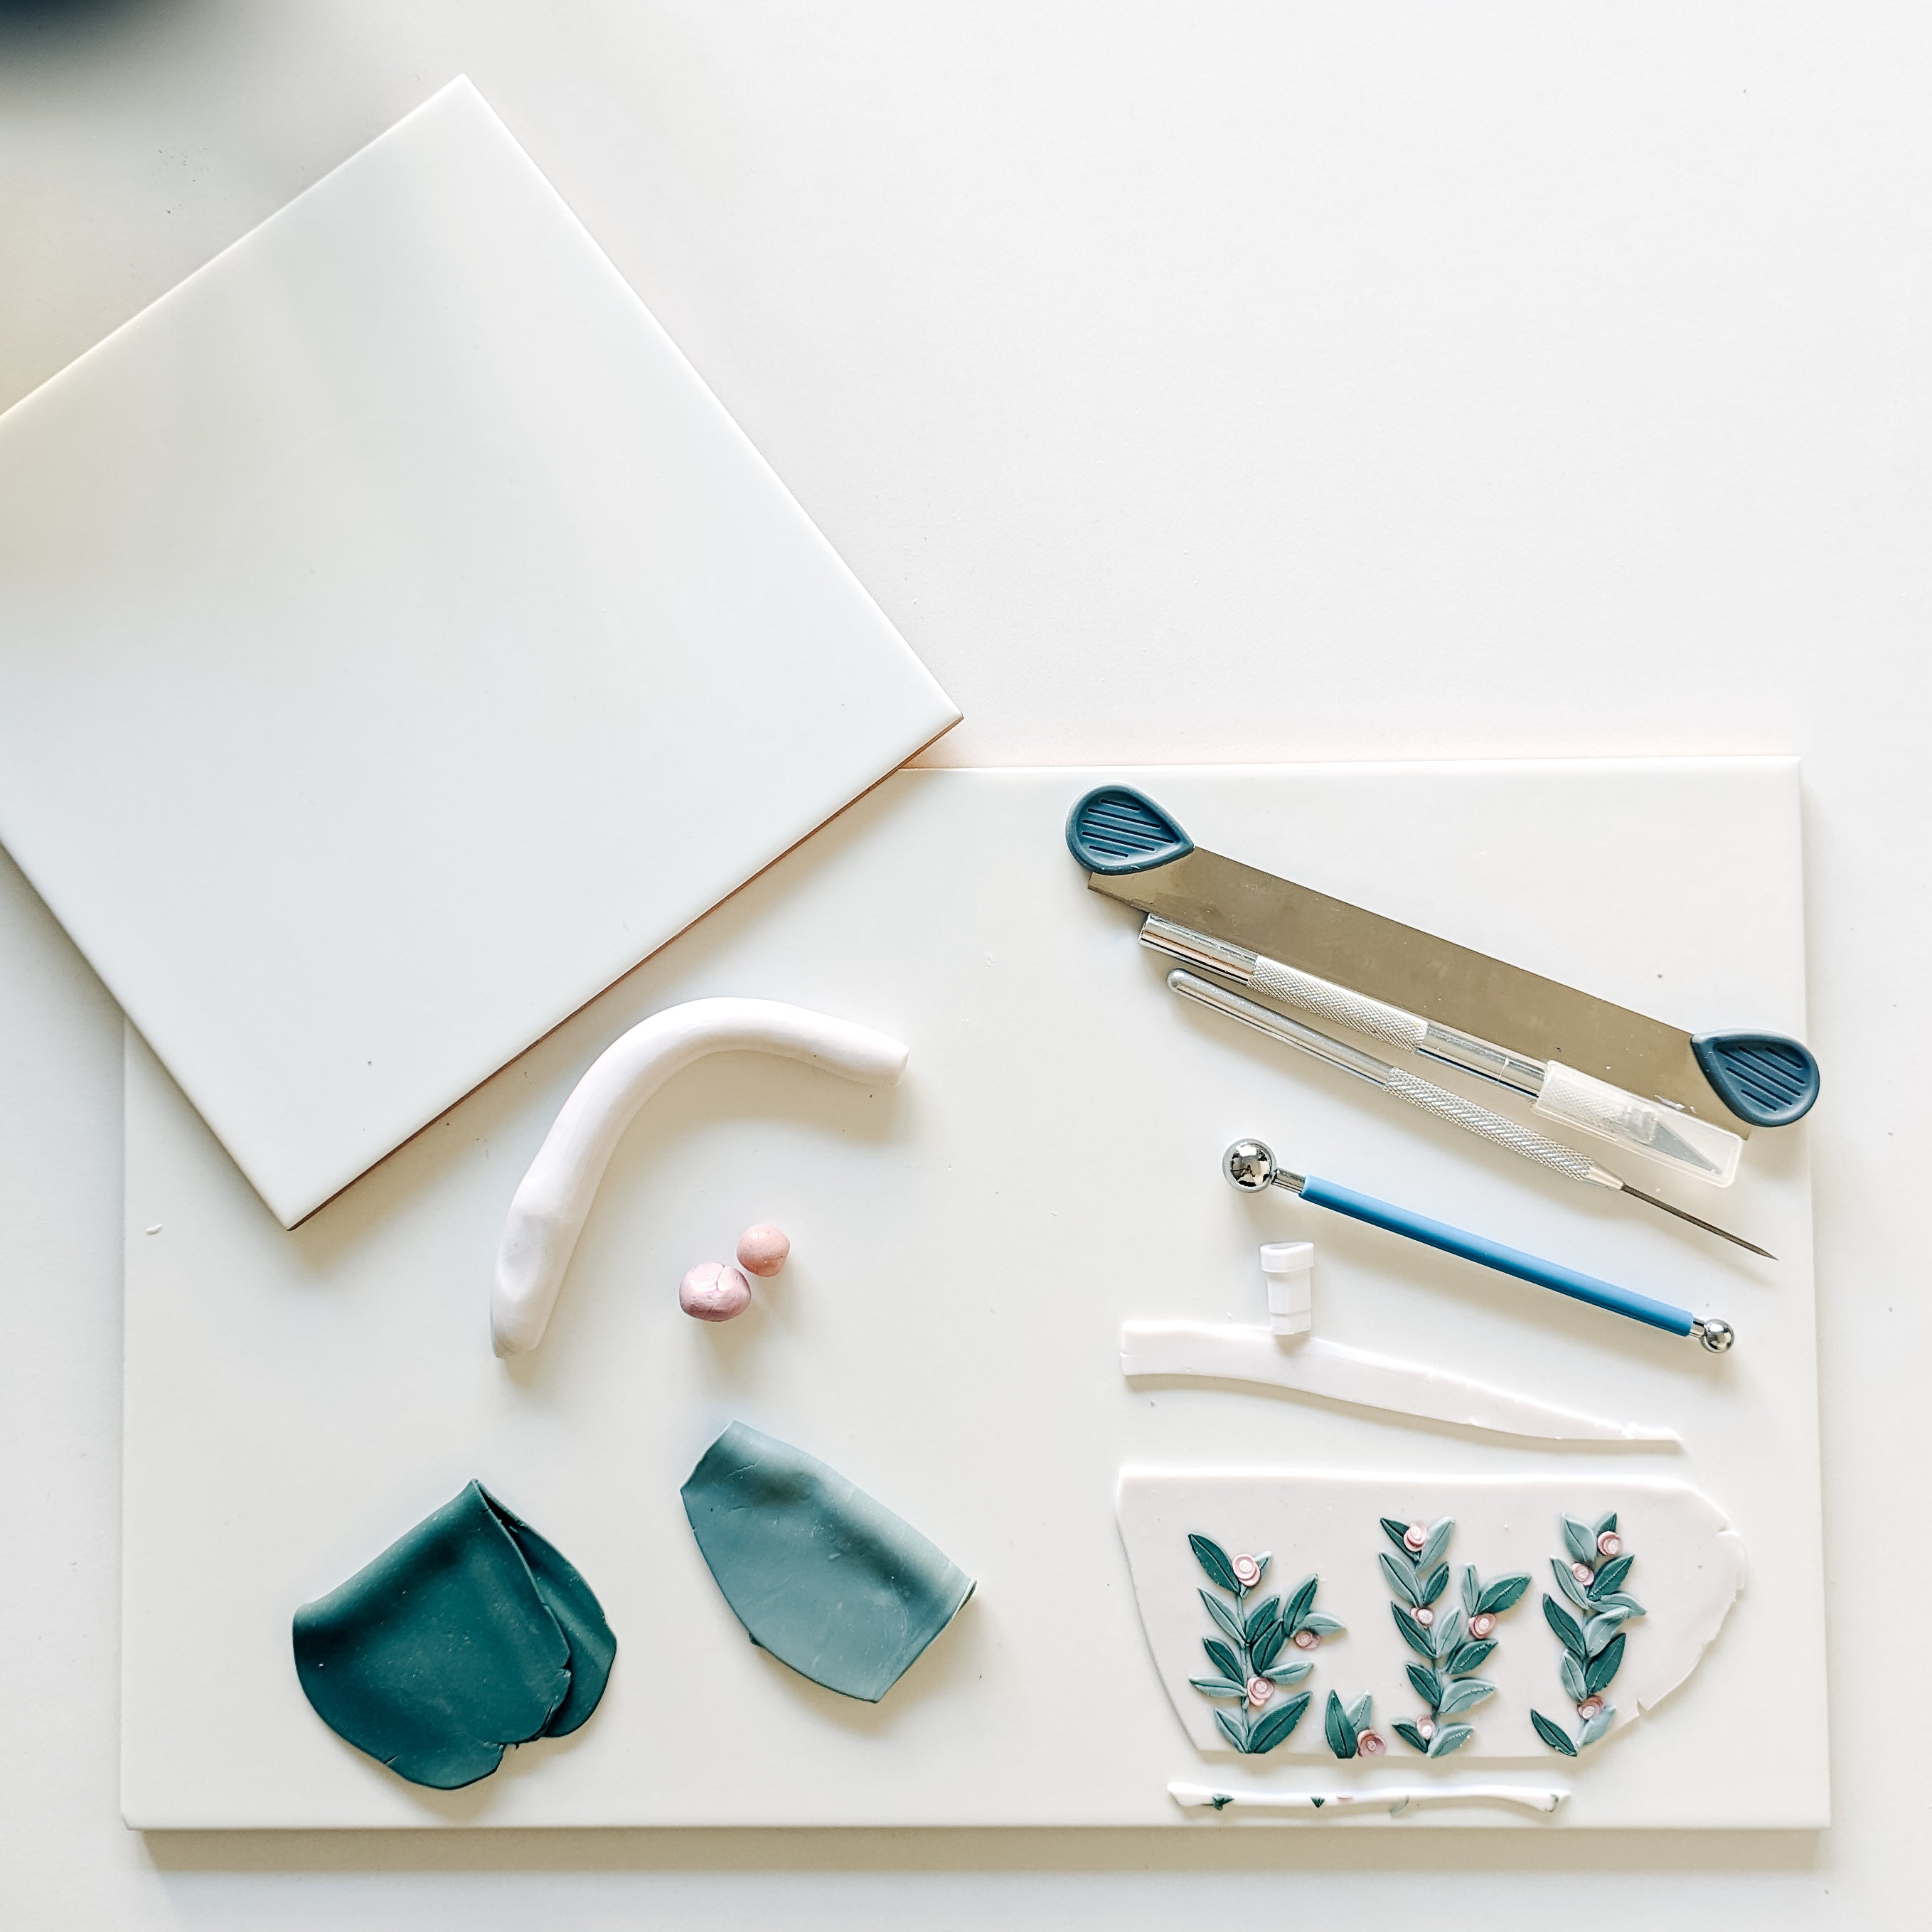
- Acrylic Tile
- Complete set of Clay Detailing Tools
- 10pcs Clay Cutters
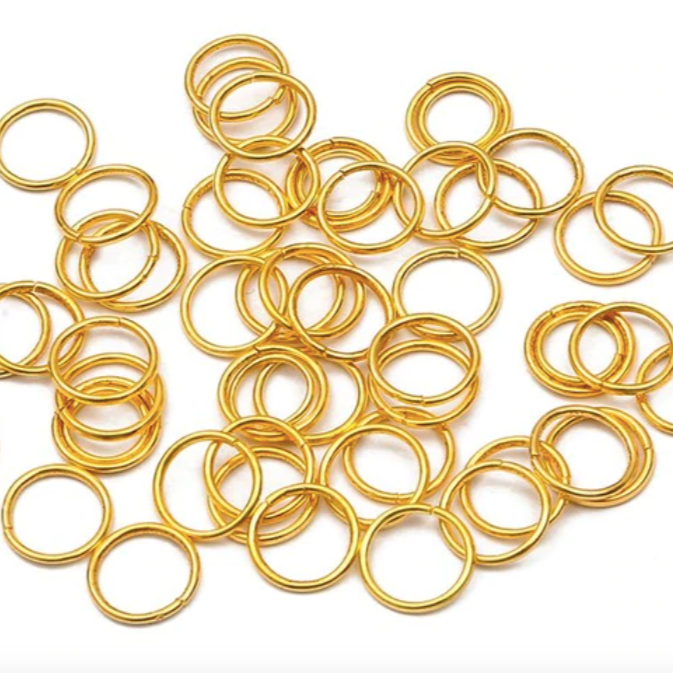
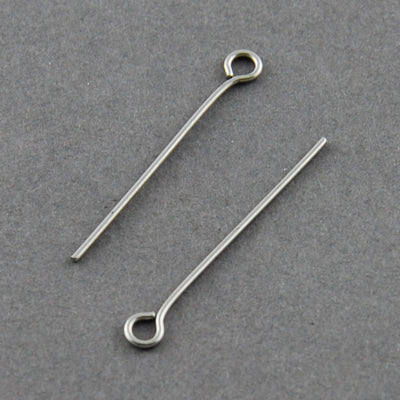
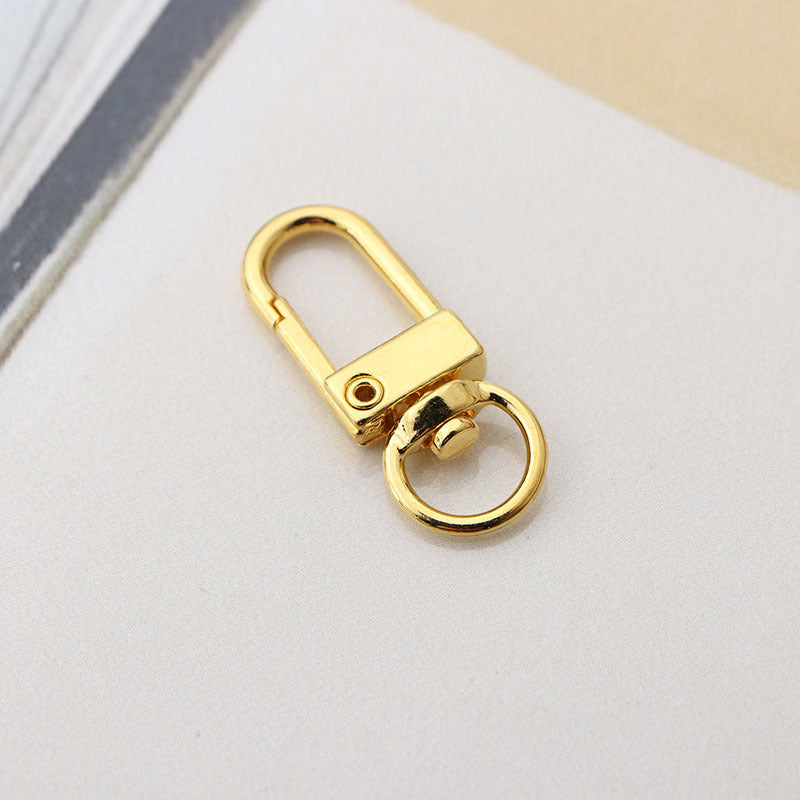
- 100pcs 6mm Jump Rings
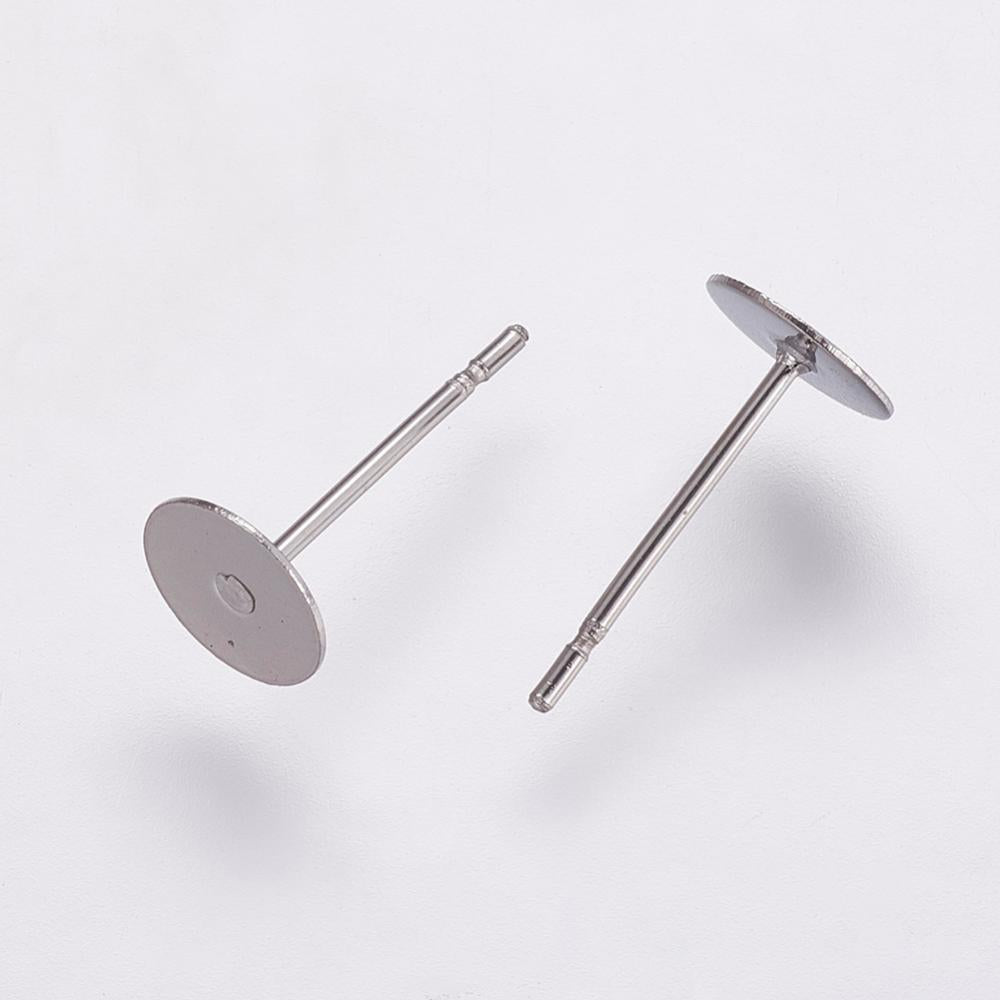
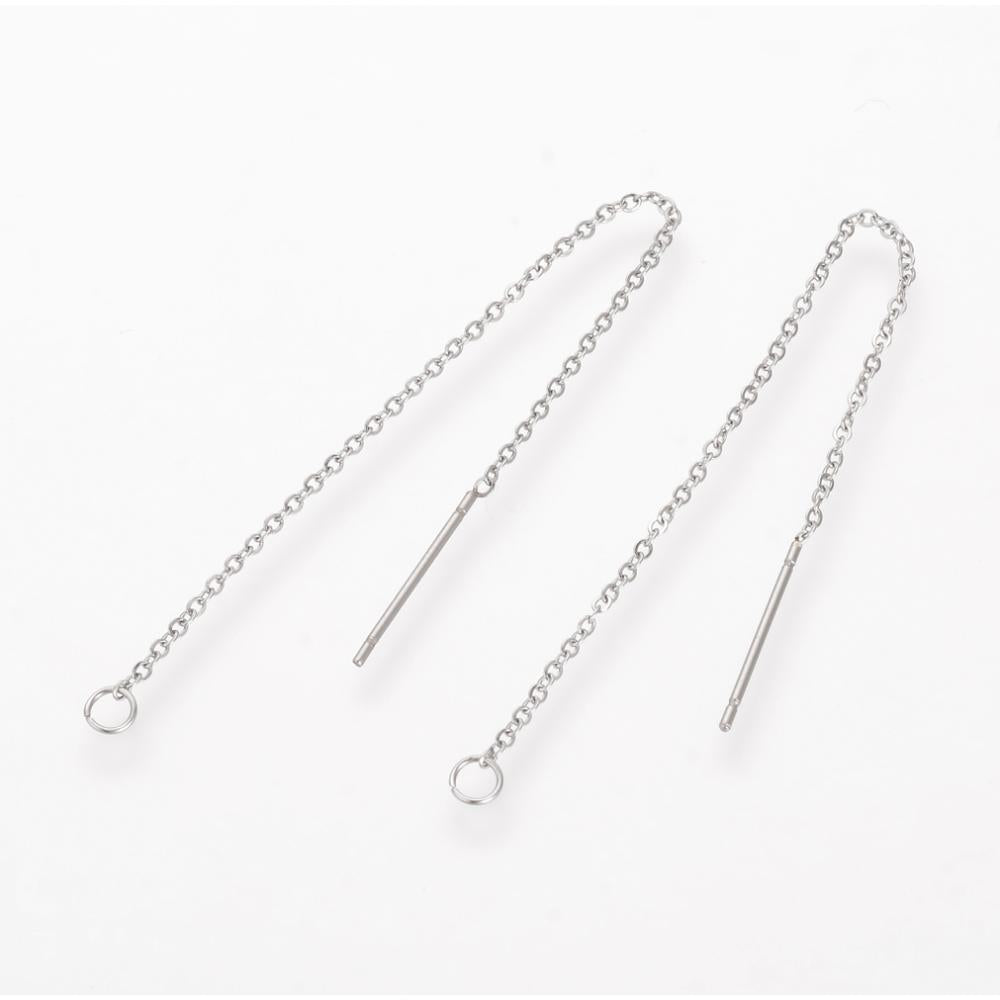
- 50pcs Surgical Stainless Steel Hoops
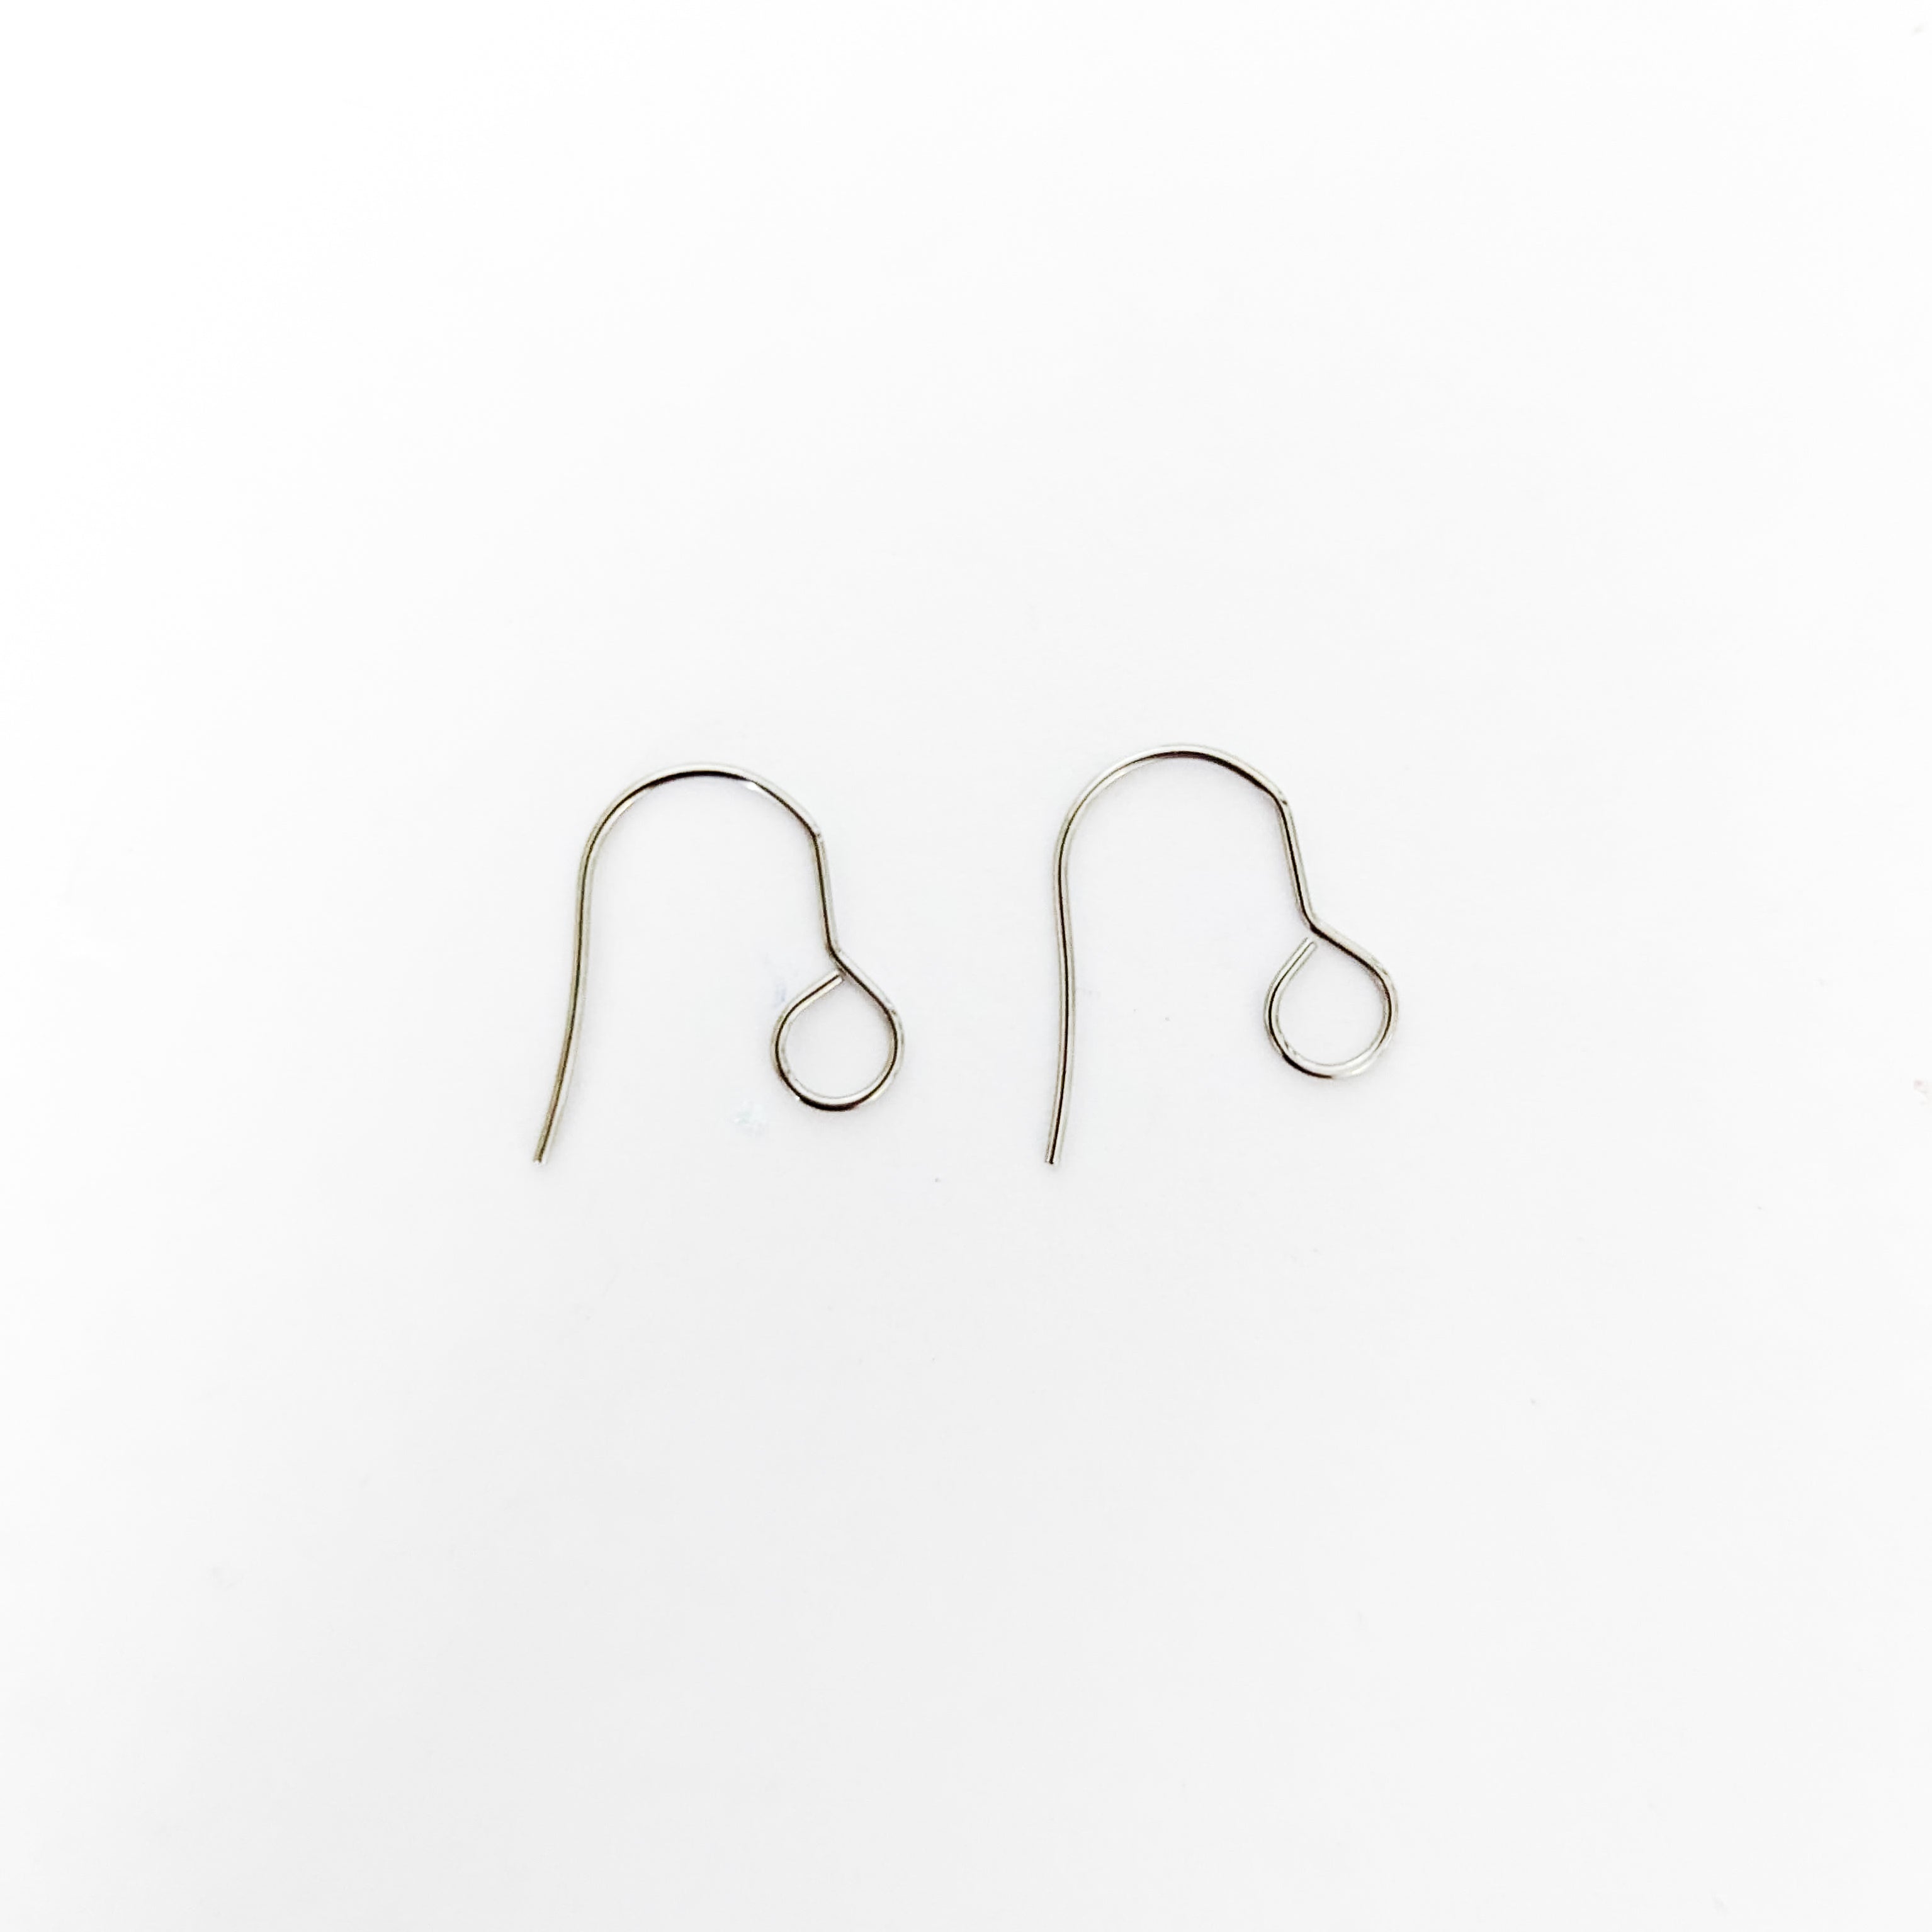
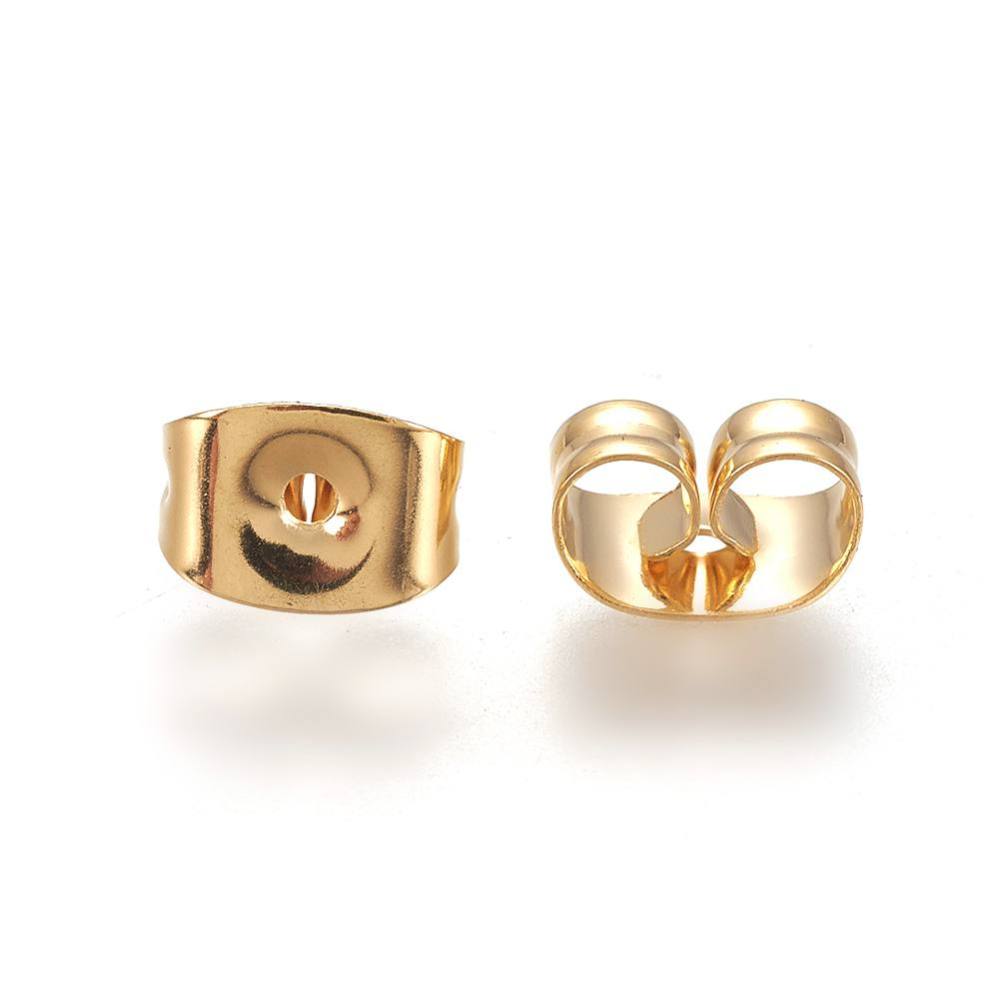
- 20pcs Poethan Earring Hooks
- 2pcs toothpicks
Instructions:
1. Set Up Your Workspace:
- Find a clean, well-lit, and well-ventilated workspace.
- Place your acrylic tile on your work surface.
2. Choose Your Polymer Clay Colors:
- Select the colors from the Premo and Souffle Multipack that you want to use for your earrings.
3. Condition the Clay:
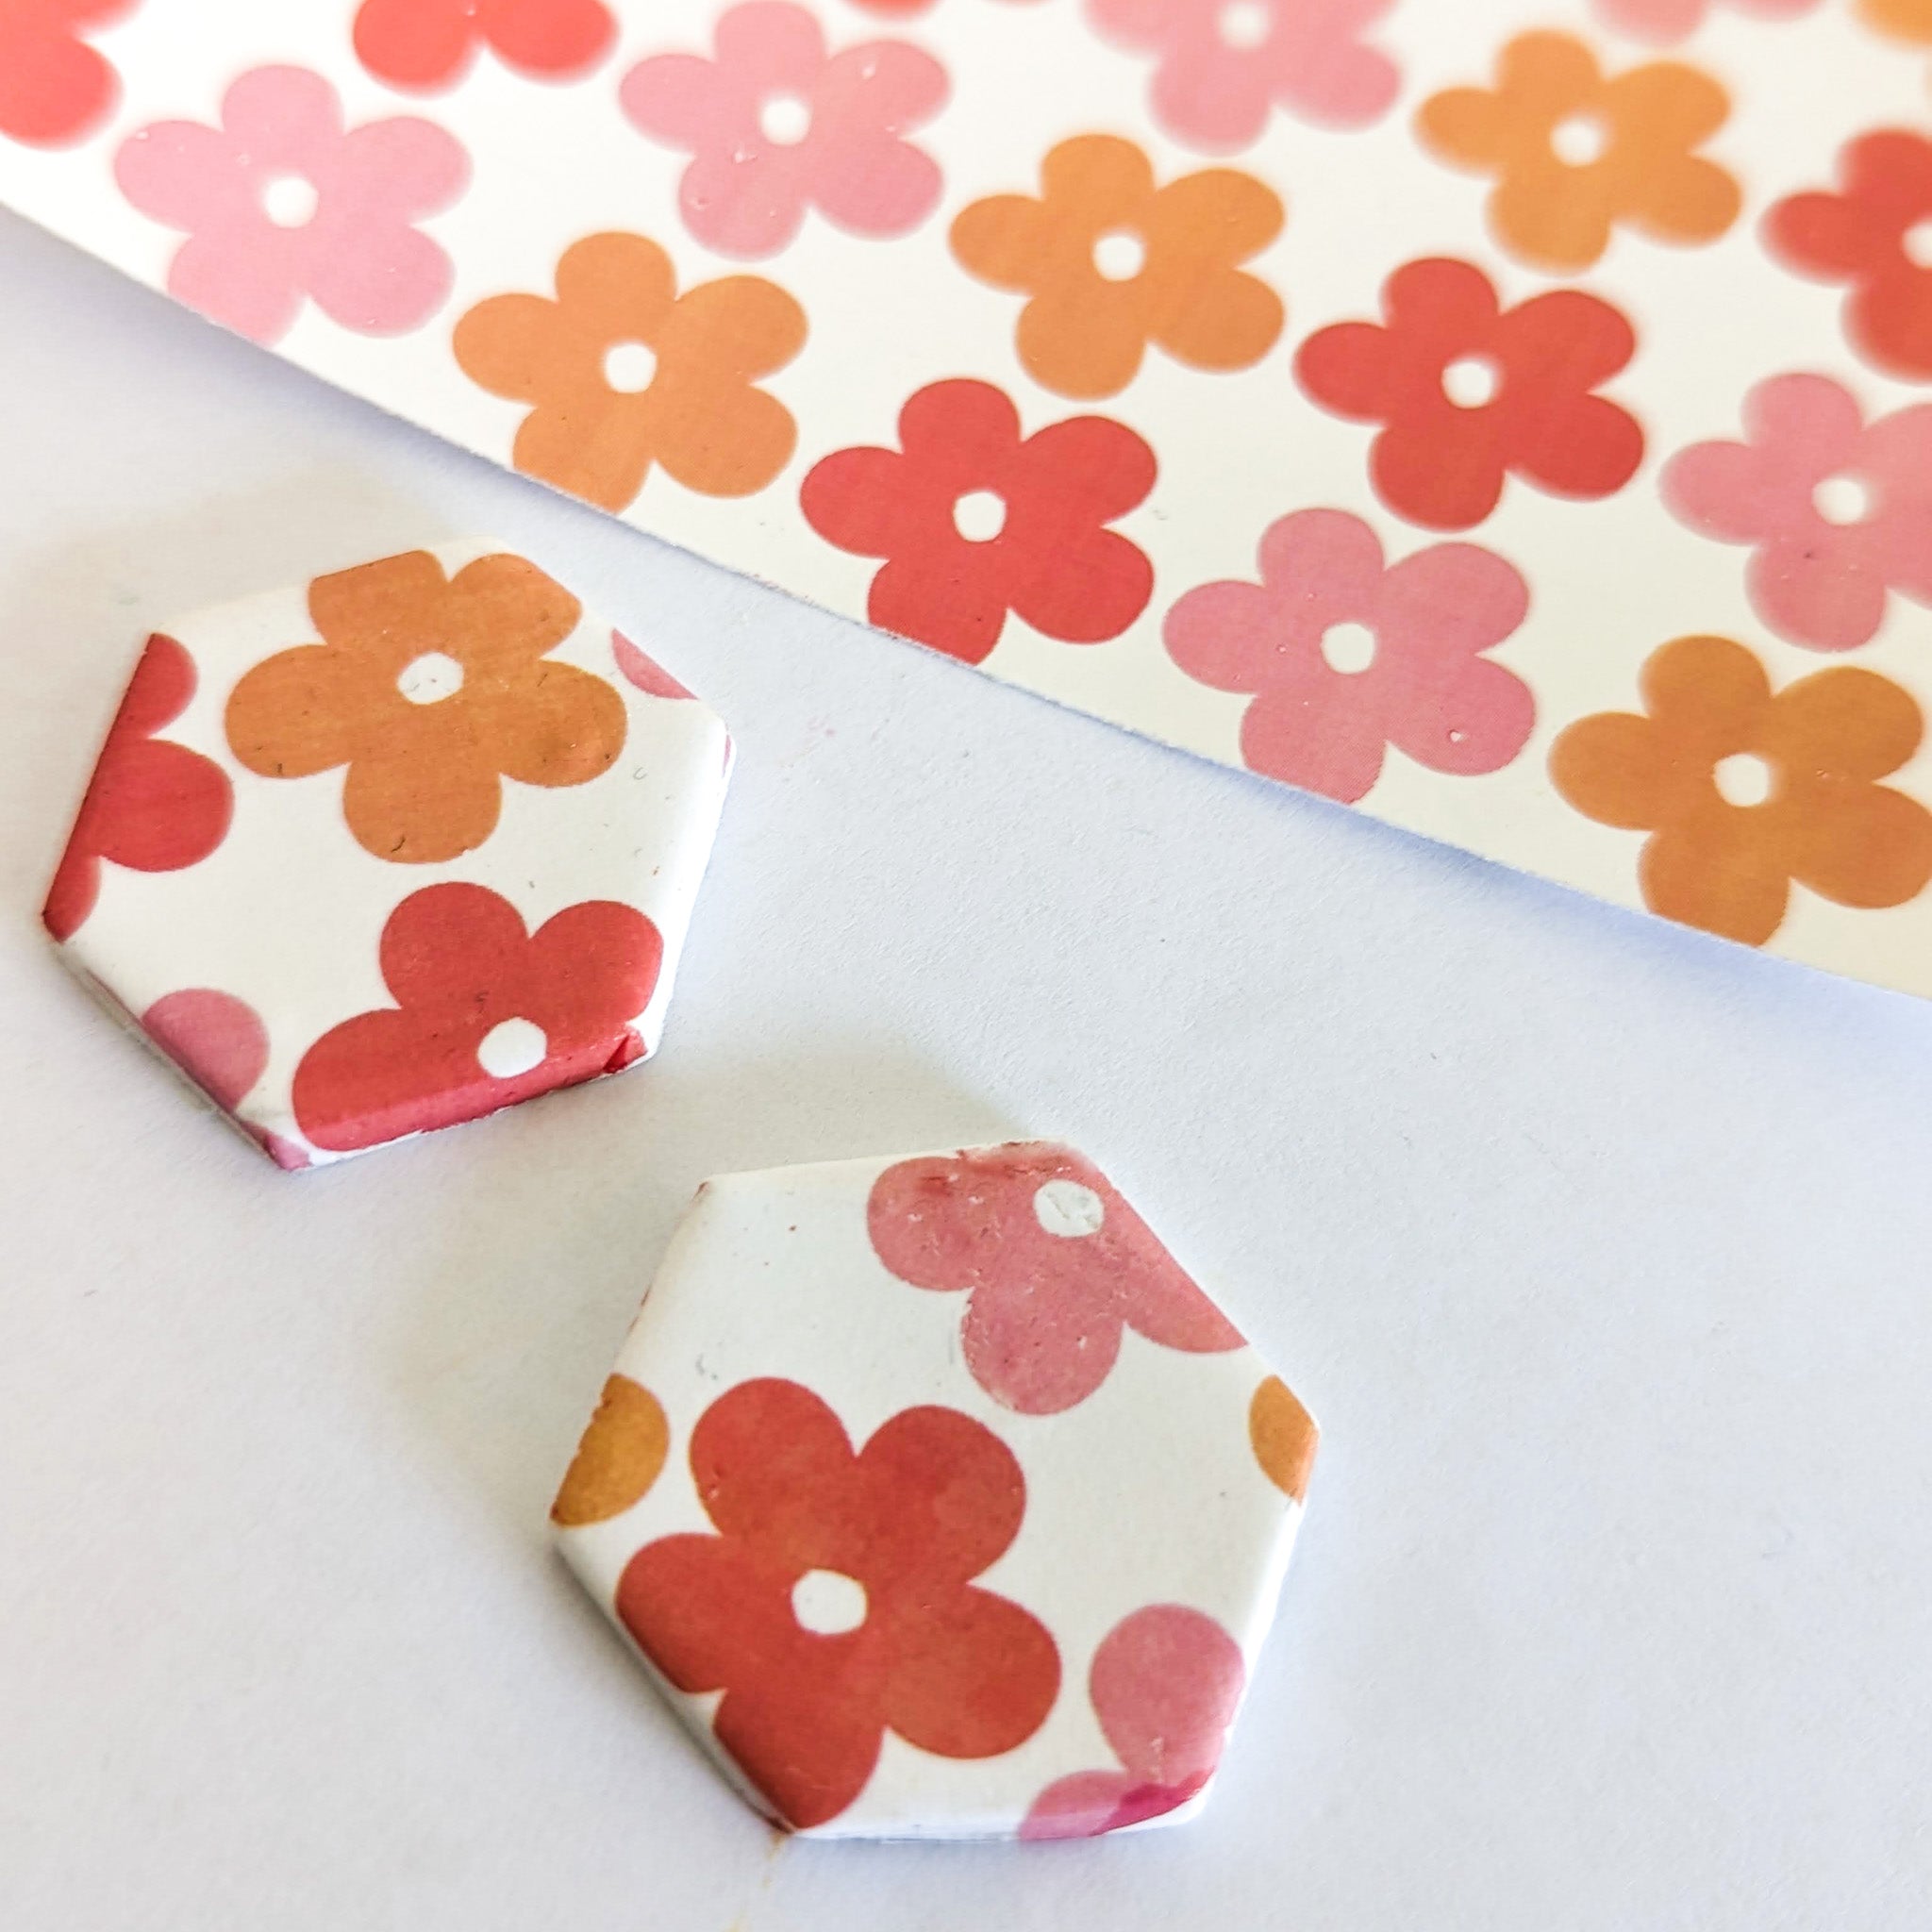
- Take a small piece of clay and knead it between your hands until it becomes soft, pliable, and free of cracks.
4. Roll Out the Clay:
- Use the Acrylic Clay Roller to roll out the conditioned clay to your desired thickness.
5. Cut Out Earring Shapes:
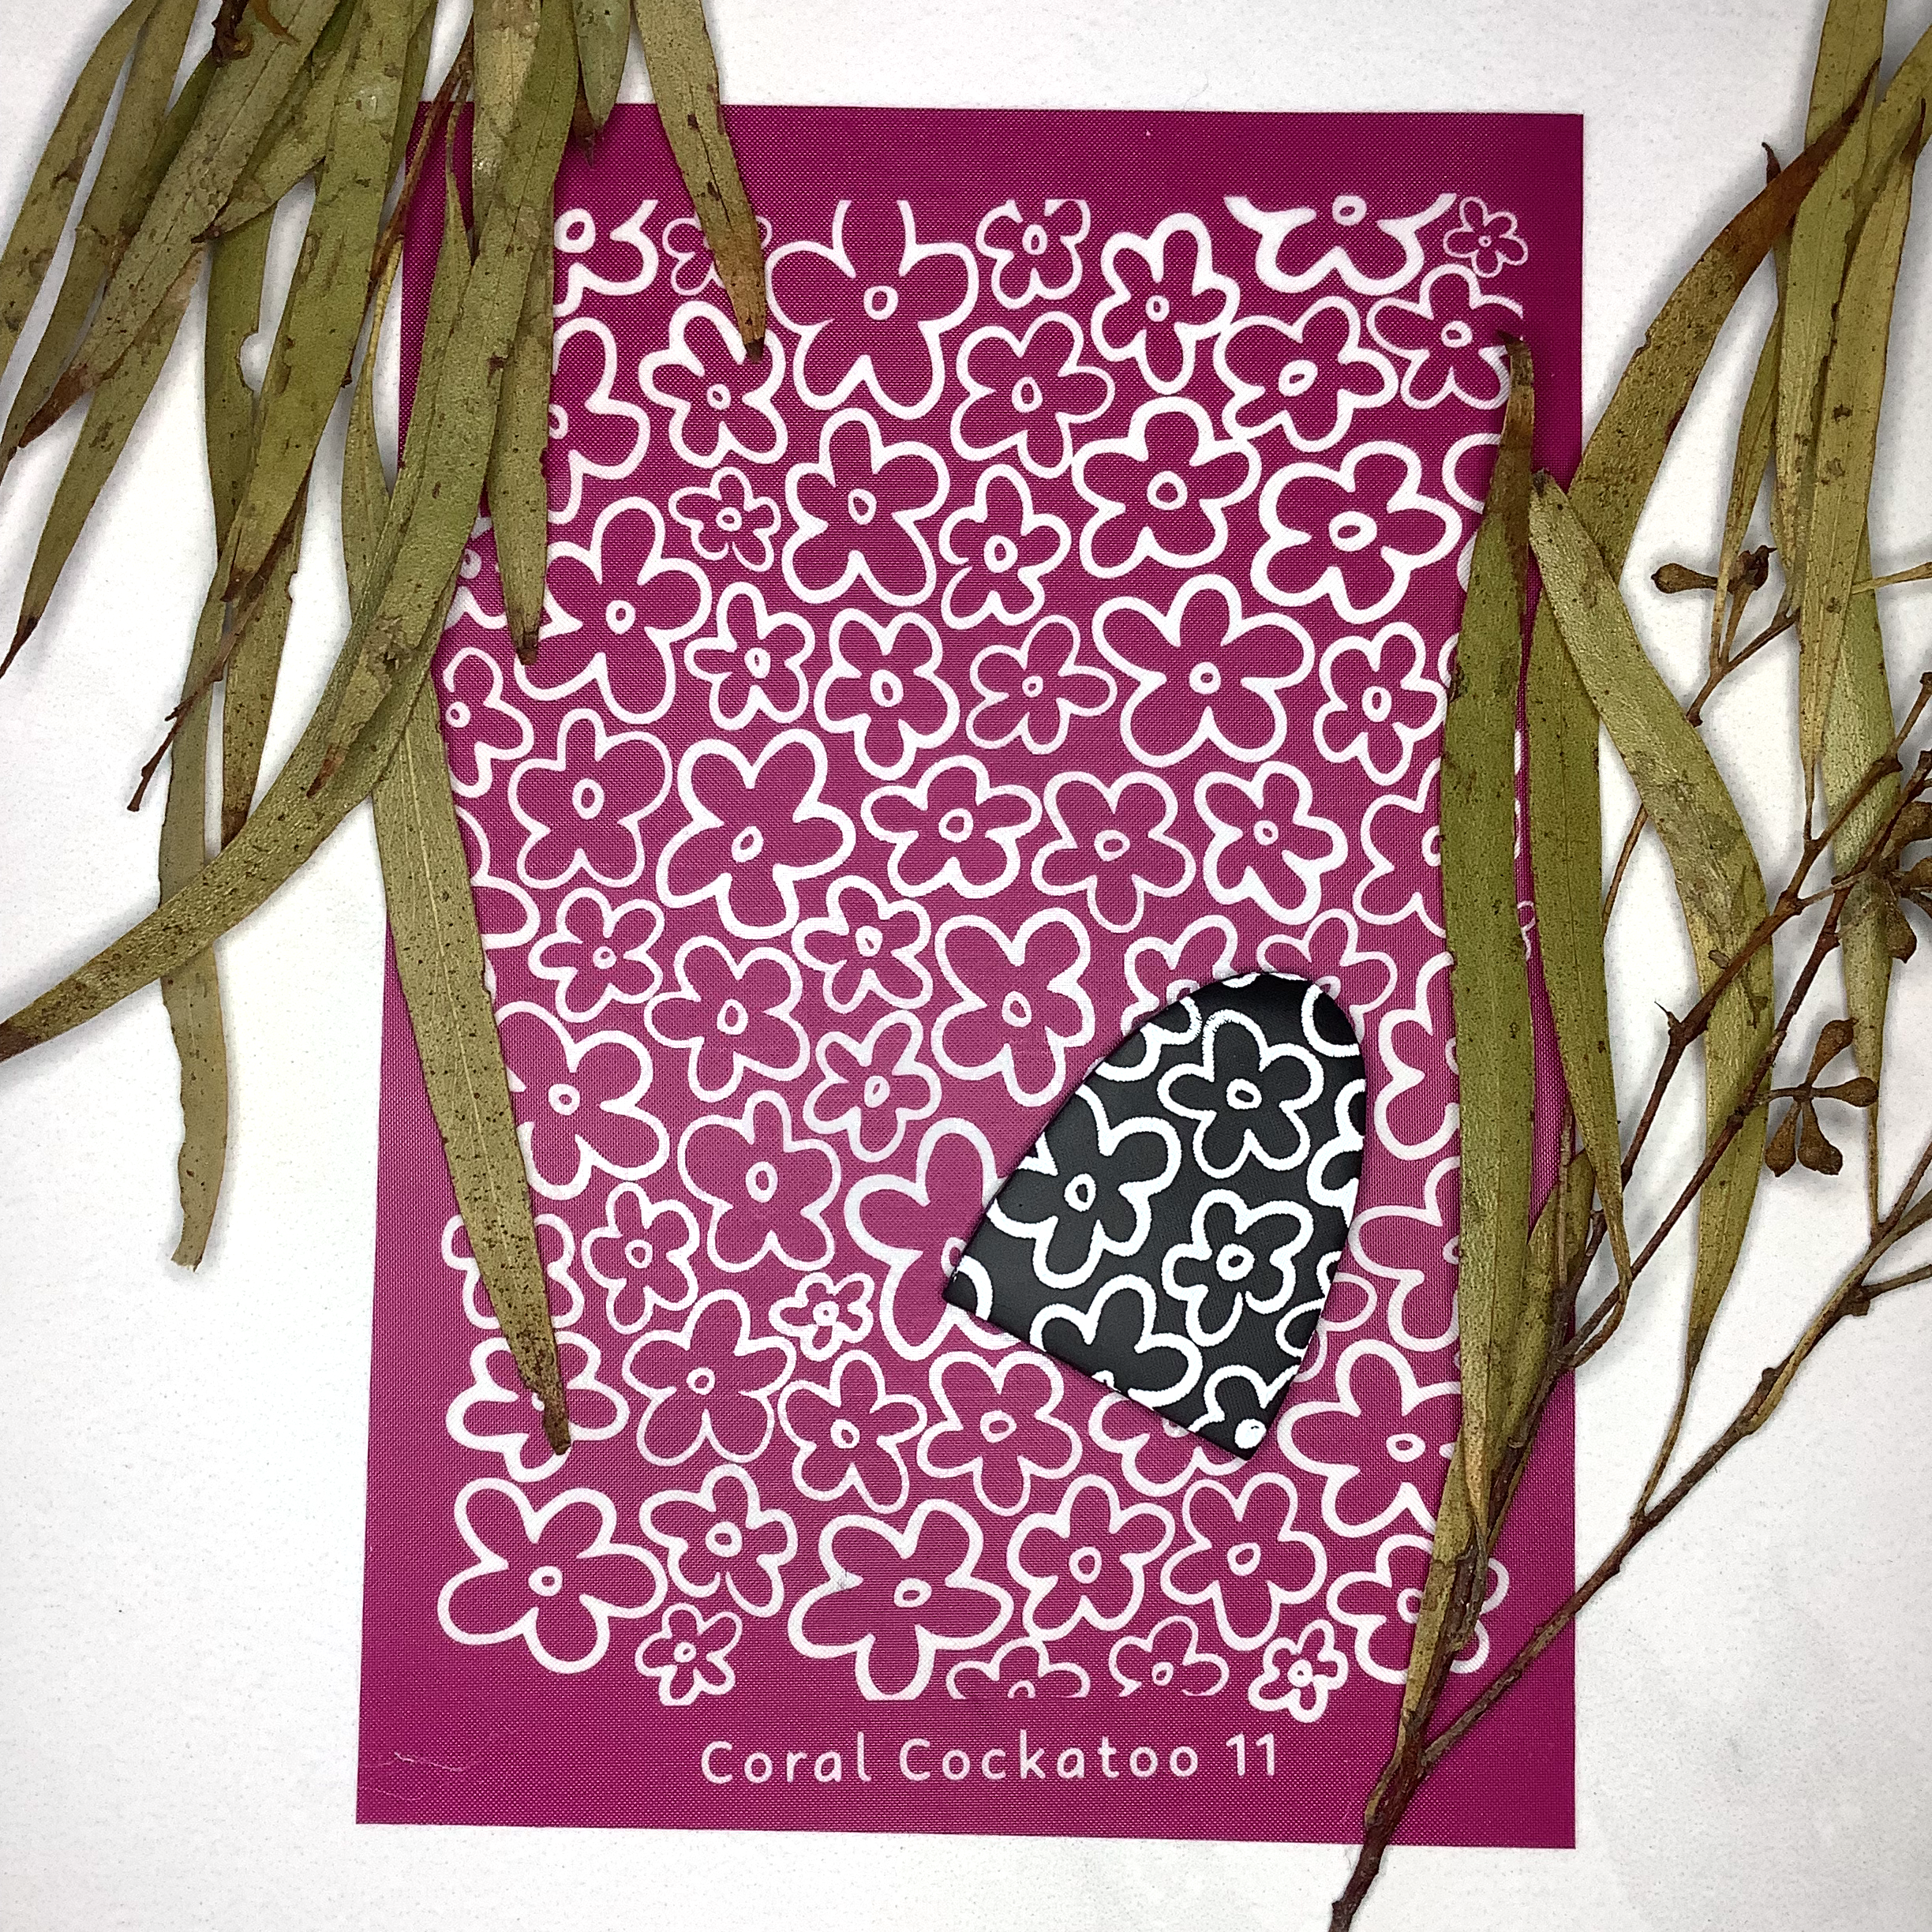
- Use the Clay Cutters to cut out the shapes for your earrings. You can use simple shapes or get creative with more complex designs.
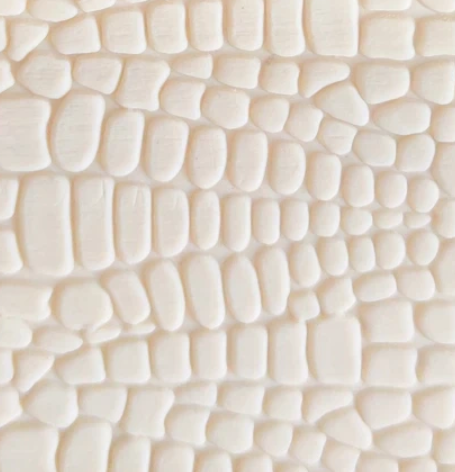
6. Add Details:
- Use the Clay Detailing Tools to add texture, patterns, or fine details to your earring pieces.
7. Create Holes for Earring Hooks:
- Use a toothpick or one of the clay detailing tools to create a hole at the top of each earring piece where you will attach the earring hooks later.
8. Bake the Clay:
- Preheat your oven to the temperature specified on your clay's packaging (usually around 275°F or 130°C).
- Place your shaped clay pieces on a baking tray or tile lined with parchment paper or a silicone baking mat.
- Bake your clay pieces for the recommended time (usually 15-30 minutes, but check the clay packaging for precise instructions).
- Allow the baked clay to cool completely before handling.
9. Assemble Your Earrings:
- Once the clay pieces have cooled, use jewelry pliers to open a jump ring.
- Thread the jump ring through the hole in your clay piece and attach the next piece.
- Close the jump ring securely with the pliers.
- Repeat the process for all your earrings.
10. Enjoy Your Handmade Earrings:
- Your polymer clay earrings are now ready to wear or share as beautiful handmade accessories!
Feel free to experiment with different clay colors, shapes, and textures to create unique and personalized polymer clay earrings using the materials you have on hand. Have fun and let your creativity shine!