


Have the Resin Earring Starter Kit and ready to start making?
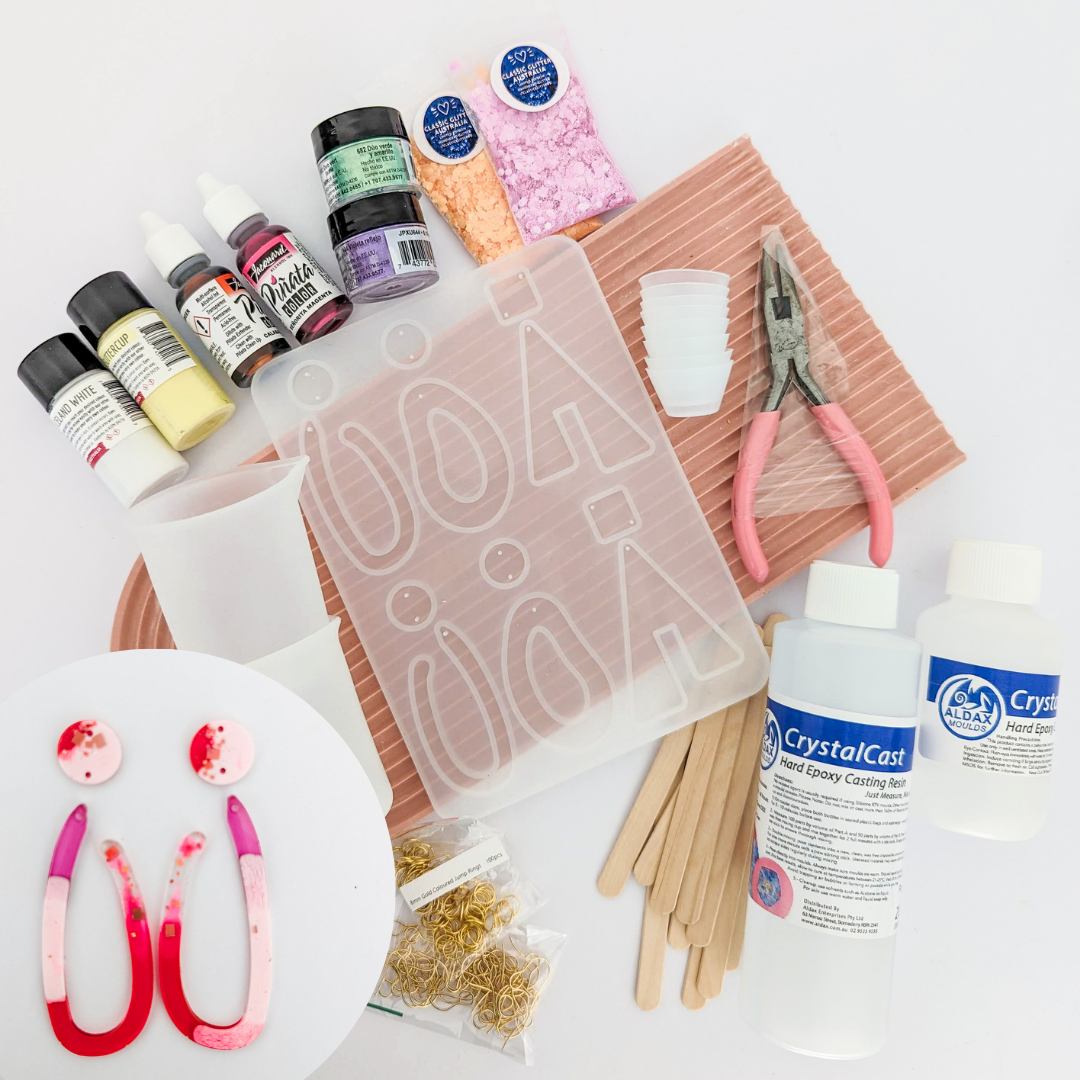
Included:
- Pendant Silicone Mould
- Jewellery Pliers
- Aldax Crystal Cast Resin 300mL
- 2 x 100mL Silicone Beakers
- 8 x Small Silicone Cups
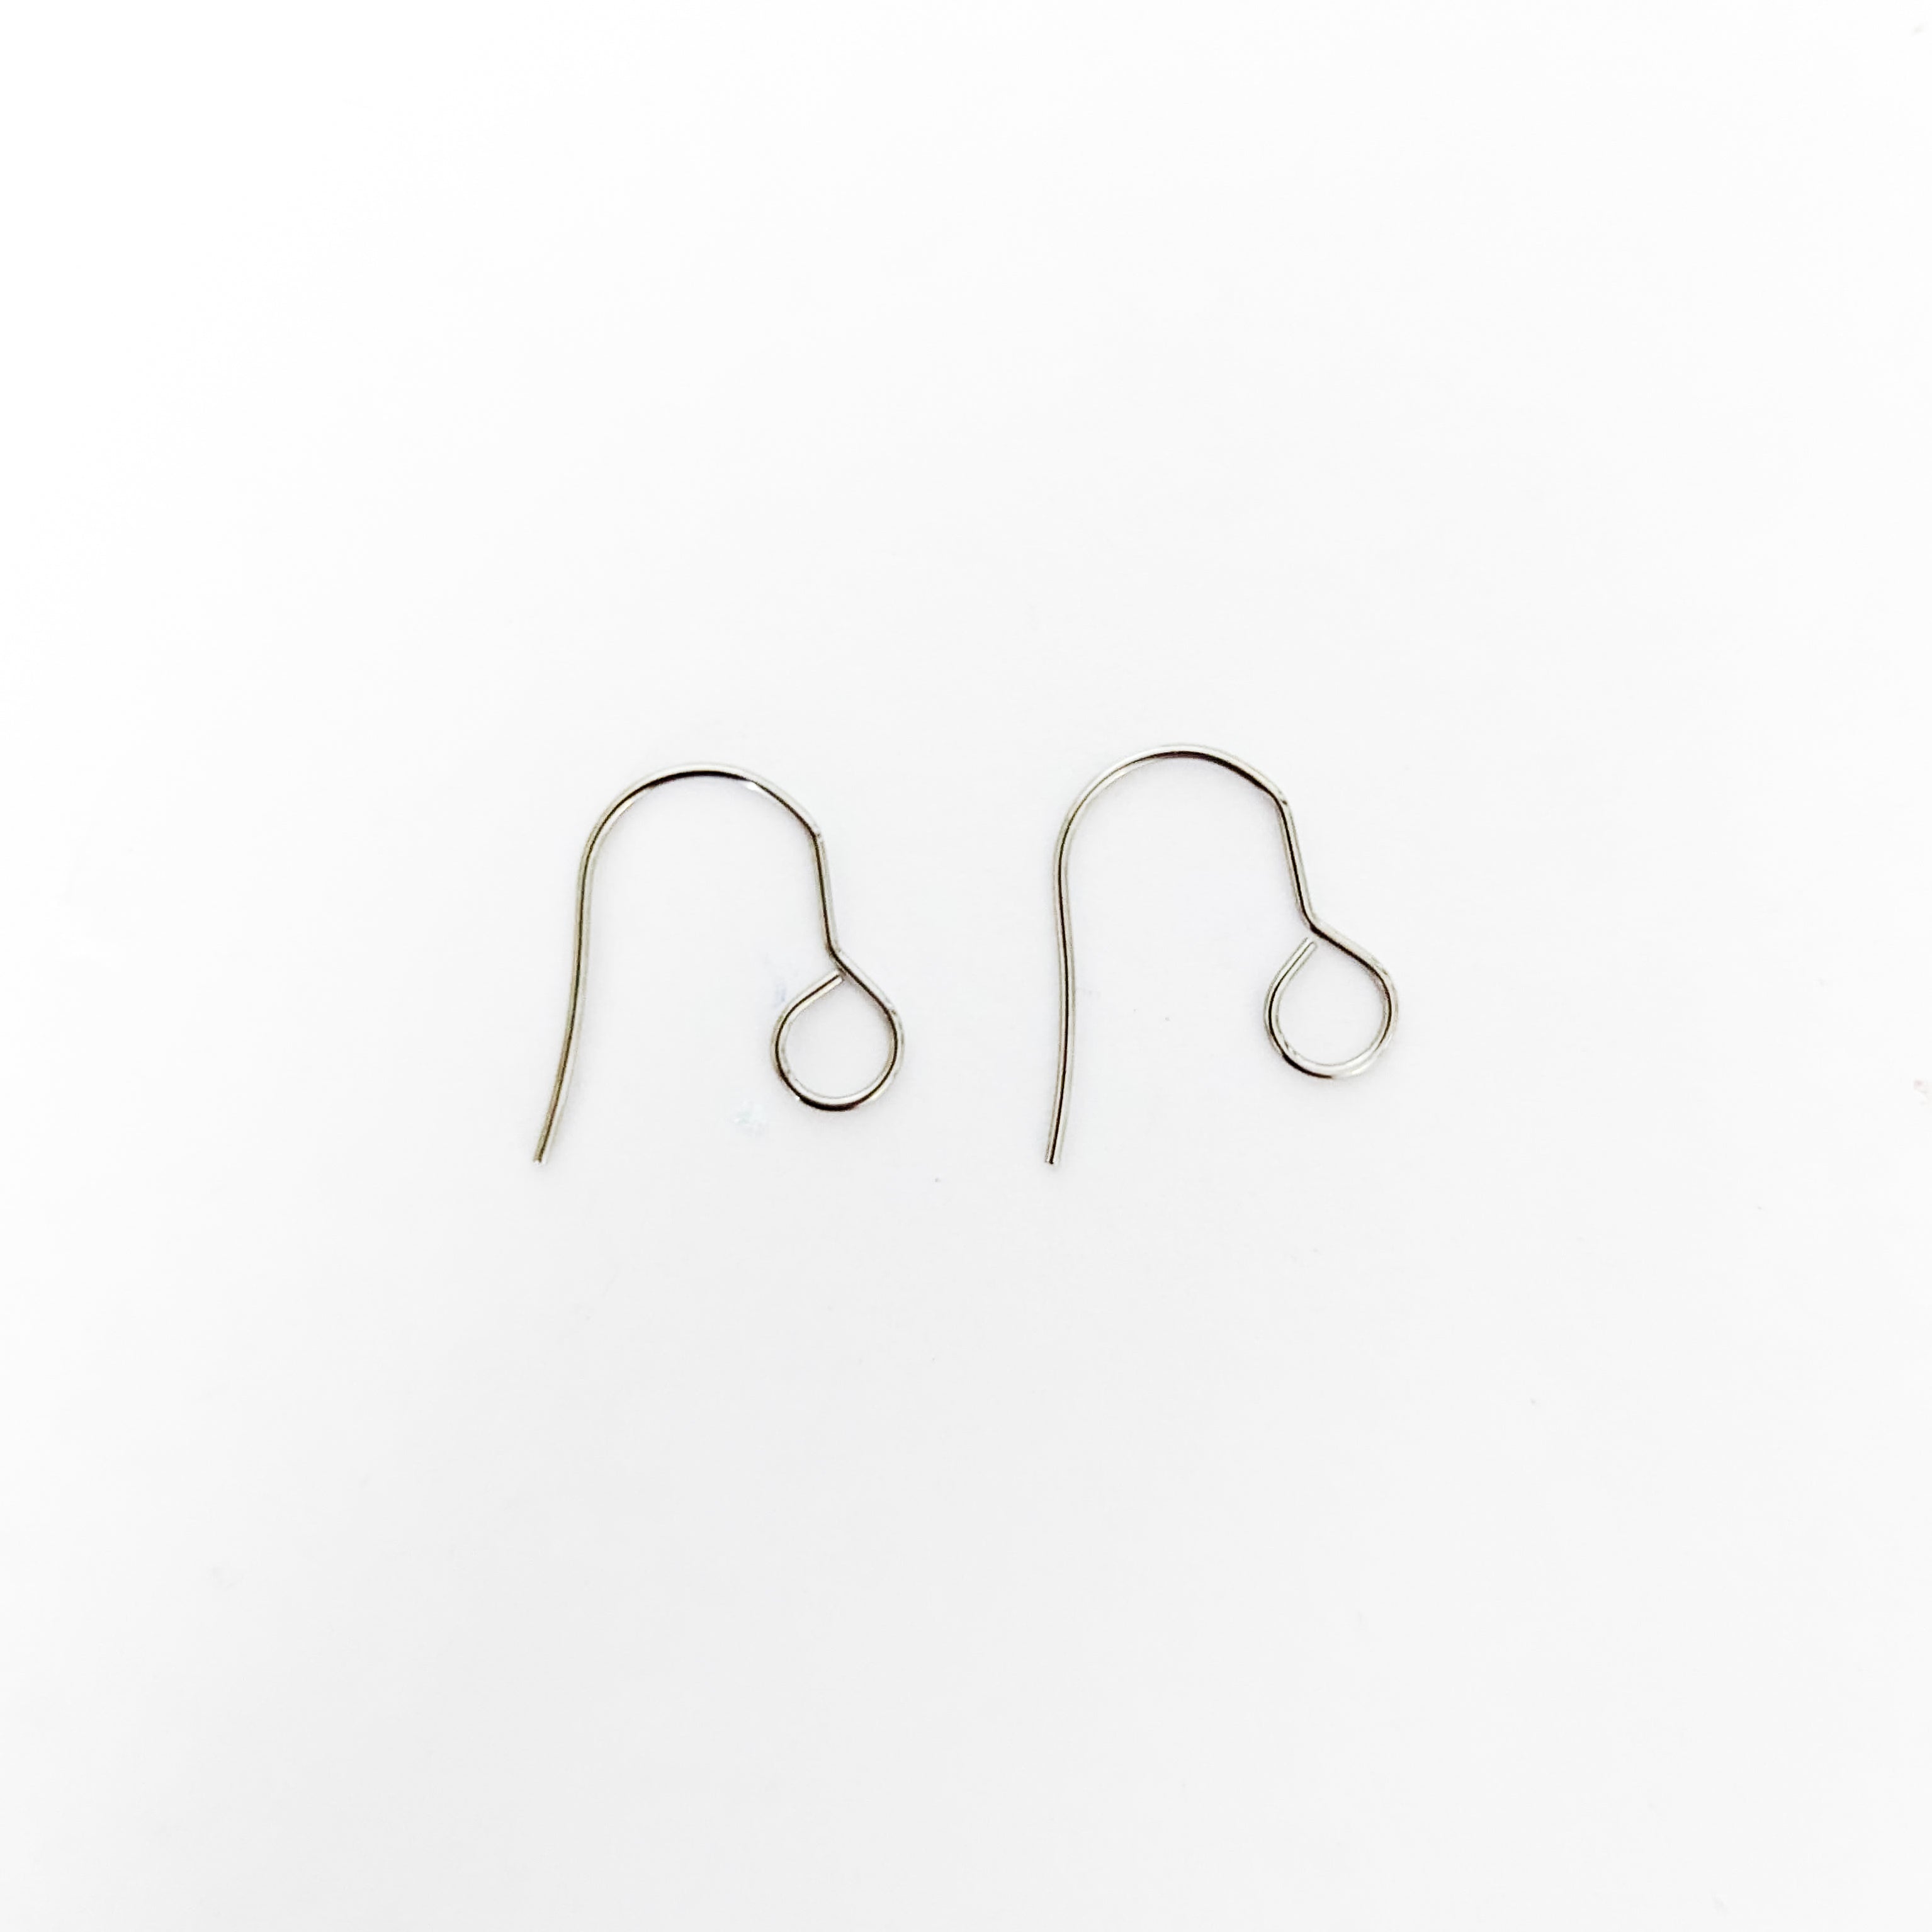
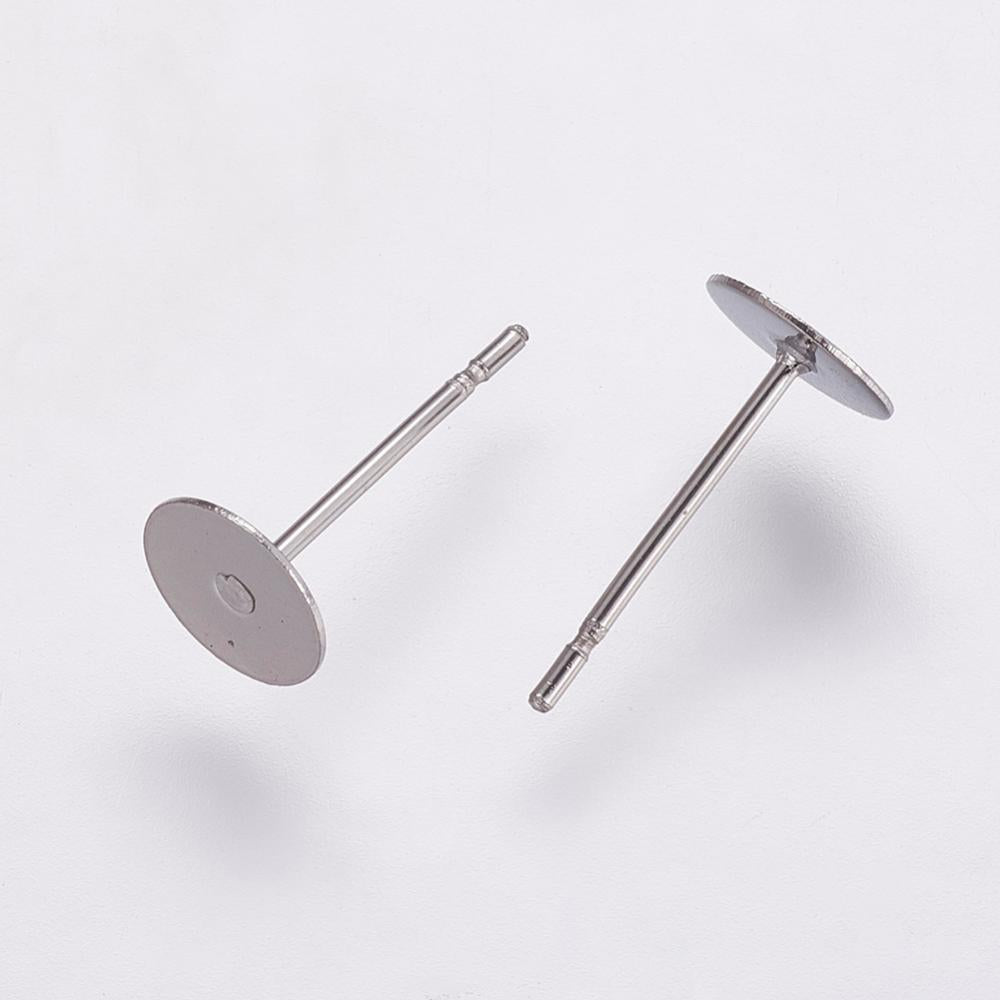
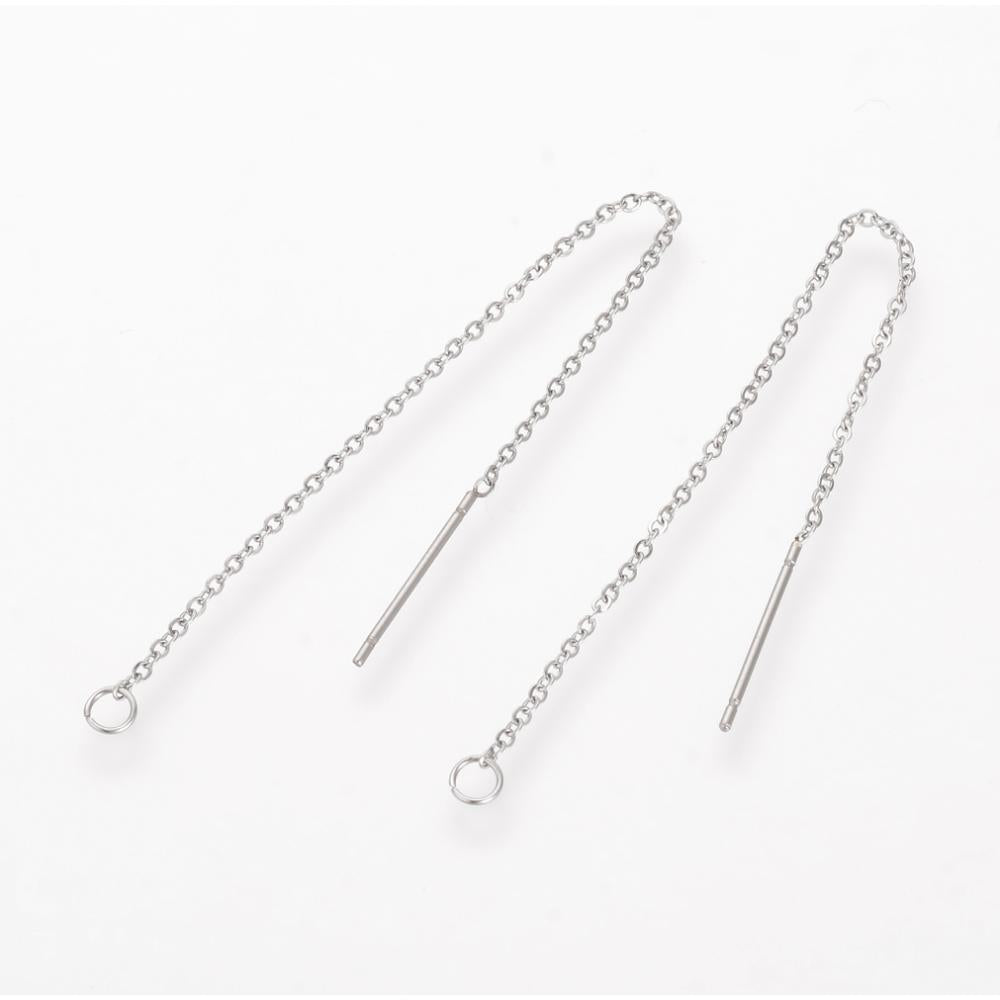
- 50 pcs Makers Hooks (Gold or Stainless Steel)
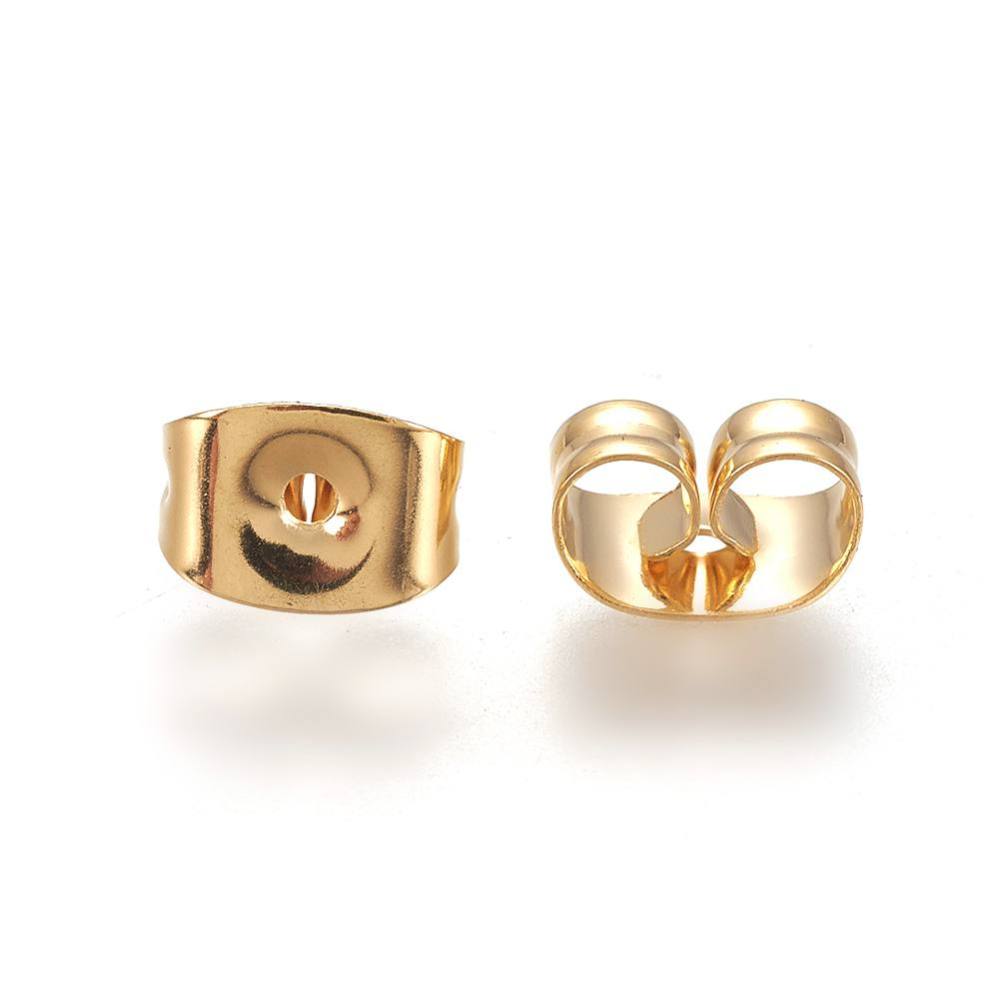
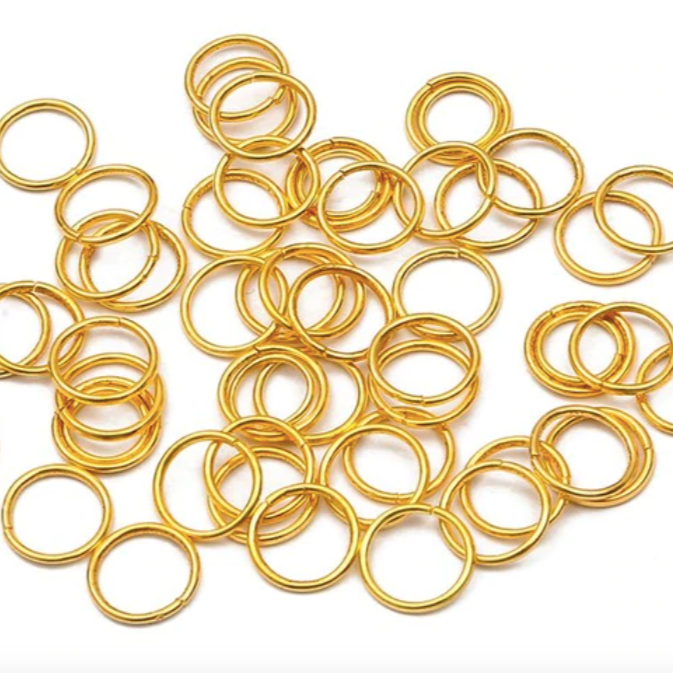
- 100 pcs Jump rings (Gold or Stainless Steel)
- 10 pcs Wooden Mixing Sticks
Pigments:
- 2 x Pinata Alcohol Inks
- 2 x Epoxy Pigments
- 2 x Glitter Bags
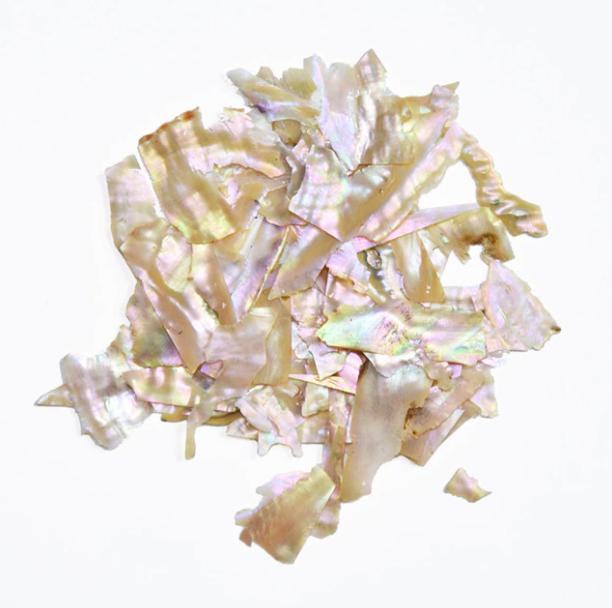
- 2 x Pearl Ex Pigments

Notes before getting started:
- Resin is sticky and almost impossible to remove when cured. Protect your workbench with plastic or cardboard.
- If any spills occur, use baby wipes to clean immediately. To remove sticky residues, use isopropyl alcohol.
- This is not a a fast activity. make sure you have time to be able to create (at least 1 hour)
Step 1: Wear PPE and prepare your materials
Before you start, make sure you have taken safety precautions. We recommend wearing gloves. Make sure you also have the materials at hand and you cover your workspace. When working with resin, it’s important to be prepared as it is time sensitive.
Step 2: Mix your resin
Pour 38g of Part A and 16g of Part B into the 100mL Silicone Cup (if you don't have a digital scale pour 20mL of Part A and 10mL of Part B). Stir slowly using a wooden stick until you no longer see ribbons and both Part A and Part B are mixed thoroughly.
If you want to make another amount, use our calculator to determine how much you need.
Detailed instructions for Aldax Crystal Cast Resin
Step 3: Pouring the resin
- Pour a small amount of resin into each small silicone cup. You can use a wooden stick to transfer the resin. Resin is VERY sticky, so be sure to take care when transferring resin,
- Add each pigment and glitter you want to use to each silicone cup. Use a veryyy small amount as that's all you need! If you add too much the resin may not cure. With Pianata Alcohol Inks, just use a drop.
- Start designing your earrings by adding the resin to your mould.
- Add the resin to your mould within 45 minutes (it might start curing)

Step 4: Curing and demoulding
Wait for your resin to cure overnight. Don’t be impatient, otherwise, you may ruin your hard work! Once the resin has cured, carefully demould your pieces by peeling back the silicone and popping out the resin pieces. The resin may take up to 24 hours to cure. If the resin is still soft and bendable, it will harden over the next couple of days.
Step 5: Assembling
Now you have your pieces ready! Start assembling! Use jump rings and earring hooks to make your own custom piece.
Step 6: Show off!
Show off your creations! Be proud! Not everyone gets to say that their piece is custom. If you want an insta shout out just tag us! @poethan_au