


Creating resin pendants using moulds and UV resin is arguably the quickest approach in creating a custom piece.
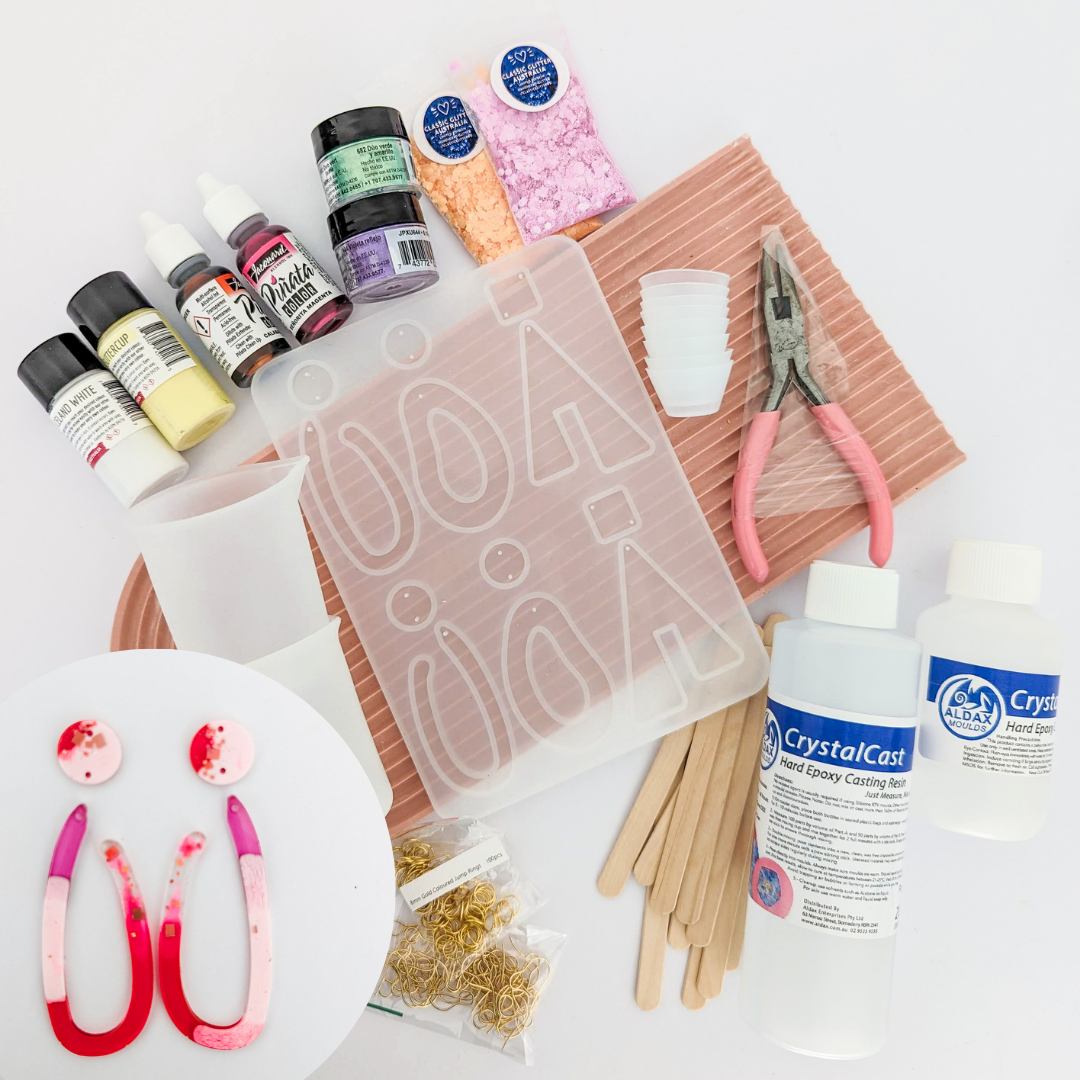
Materials required:
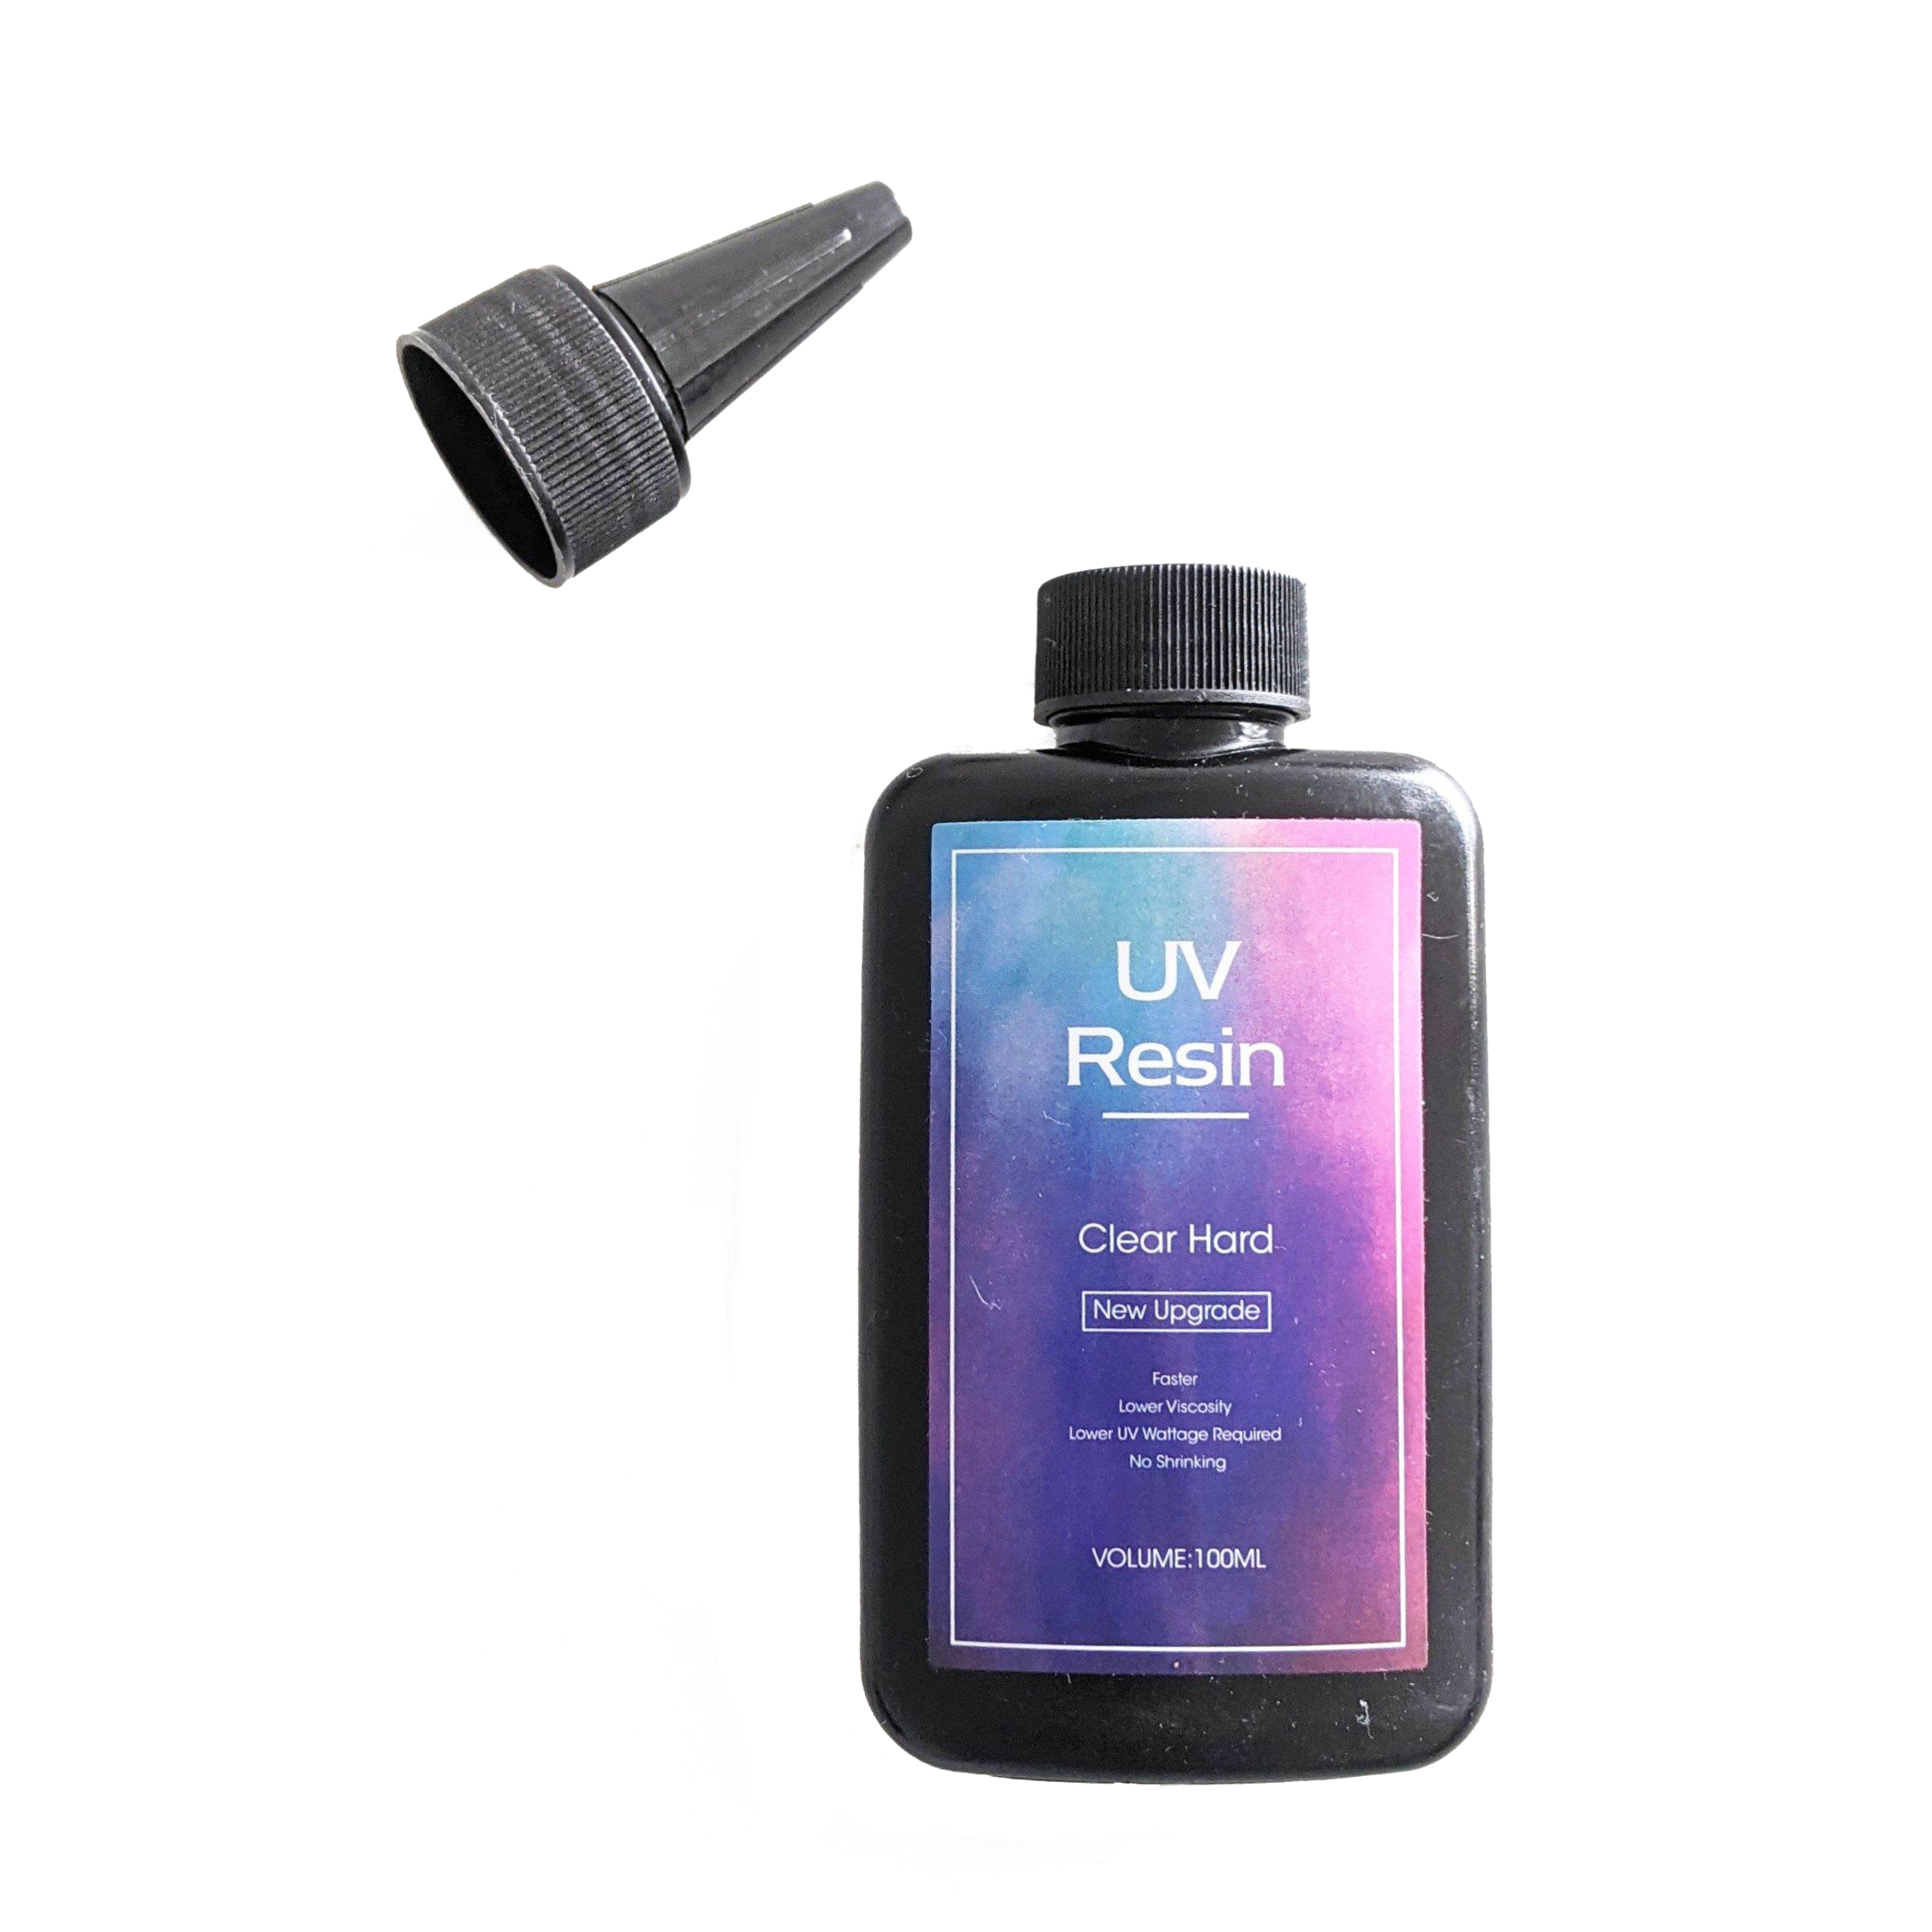
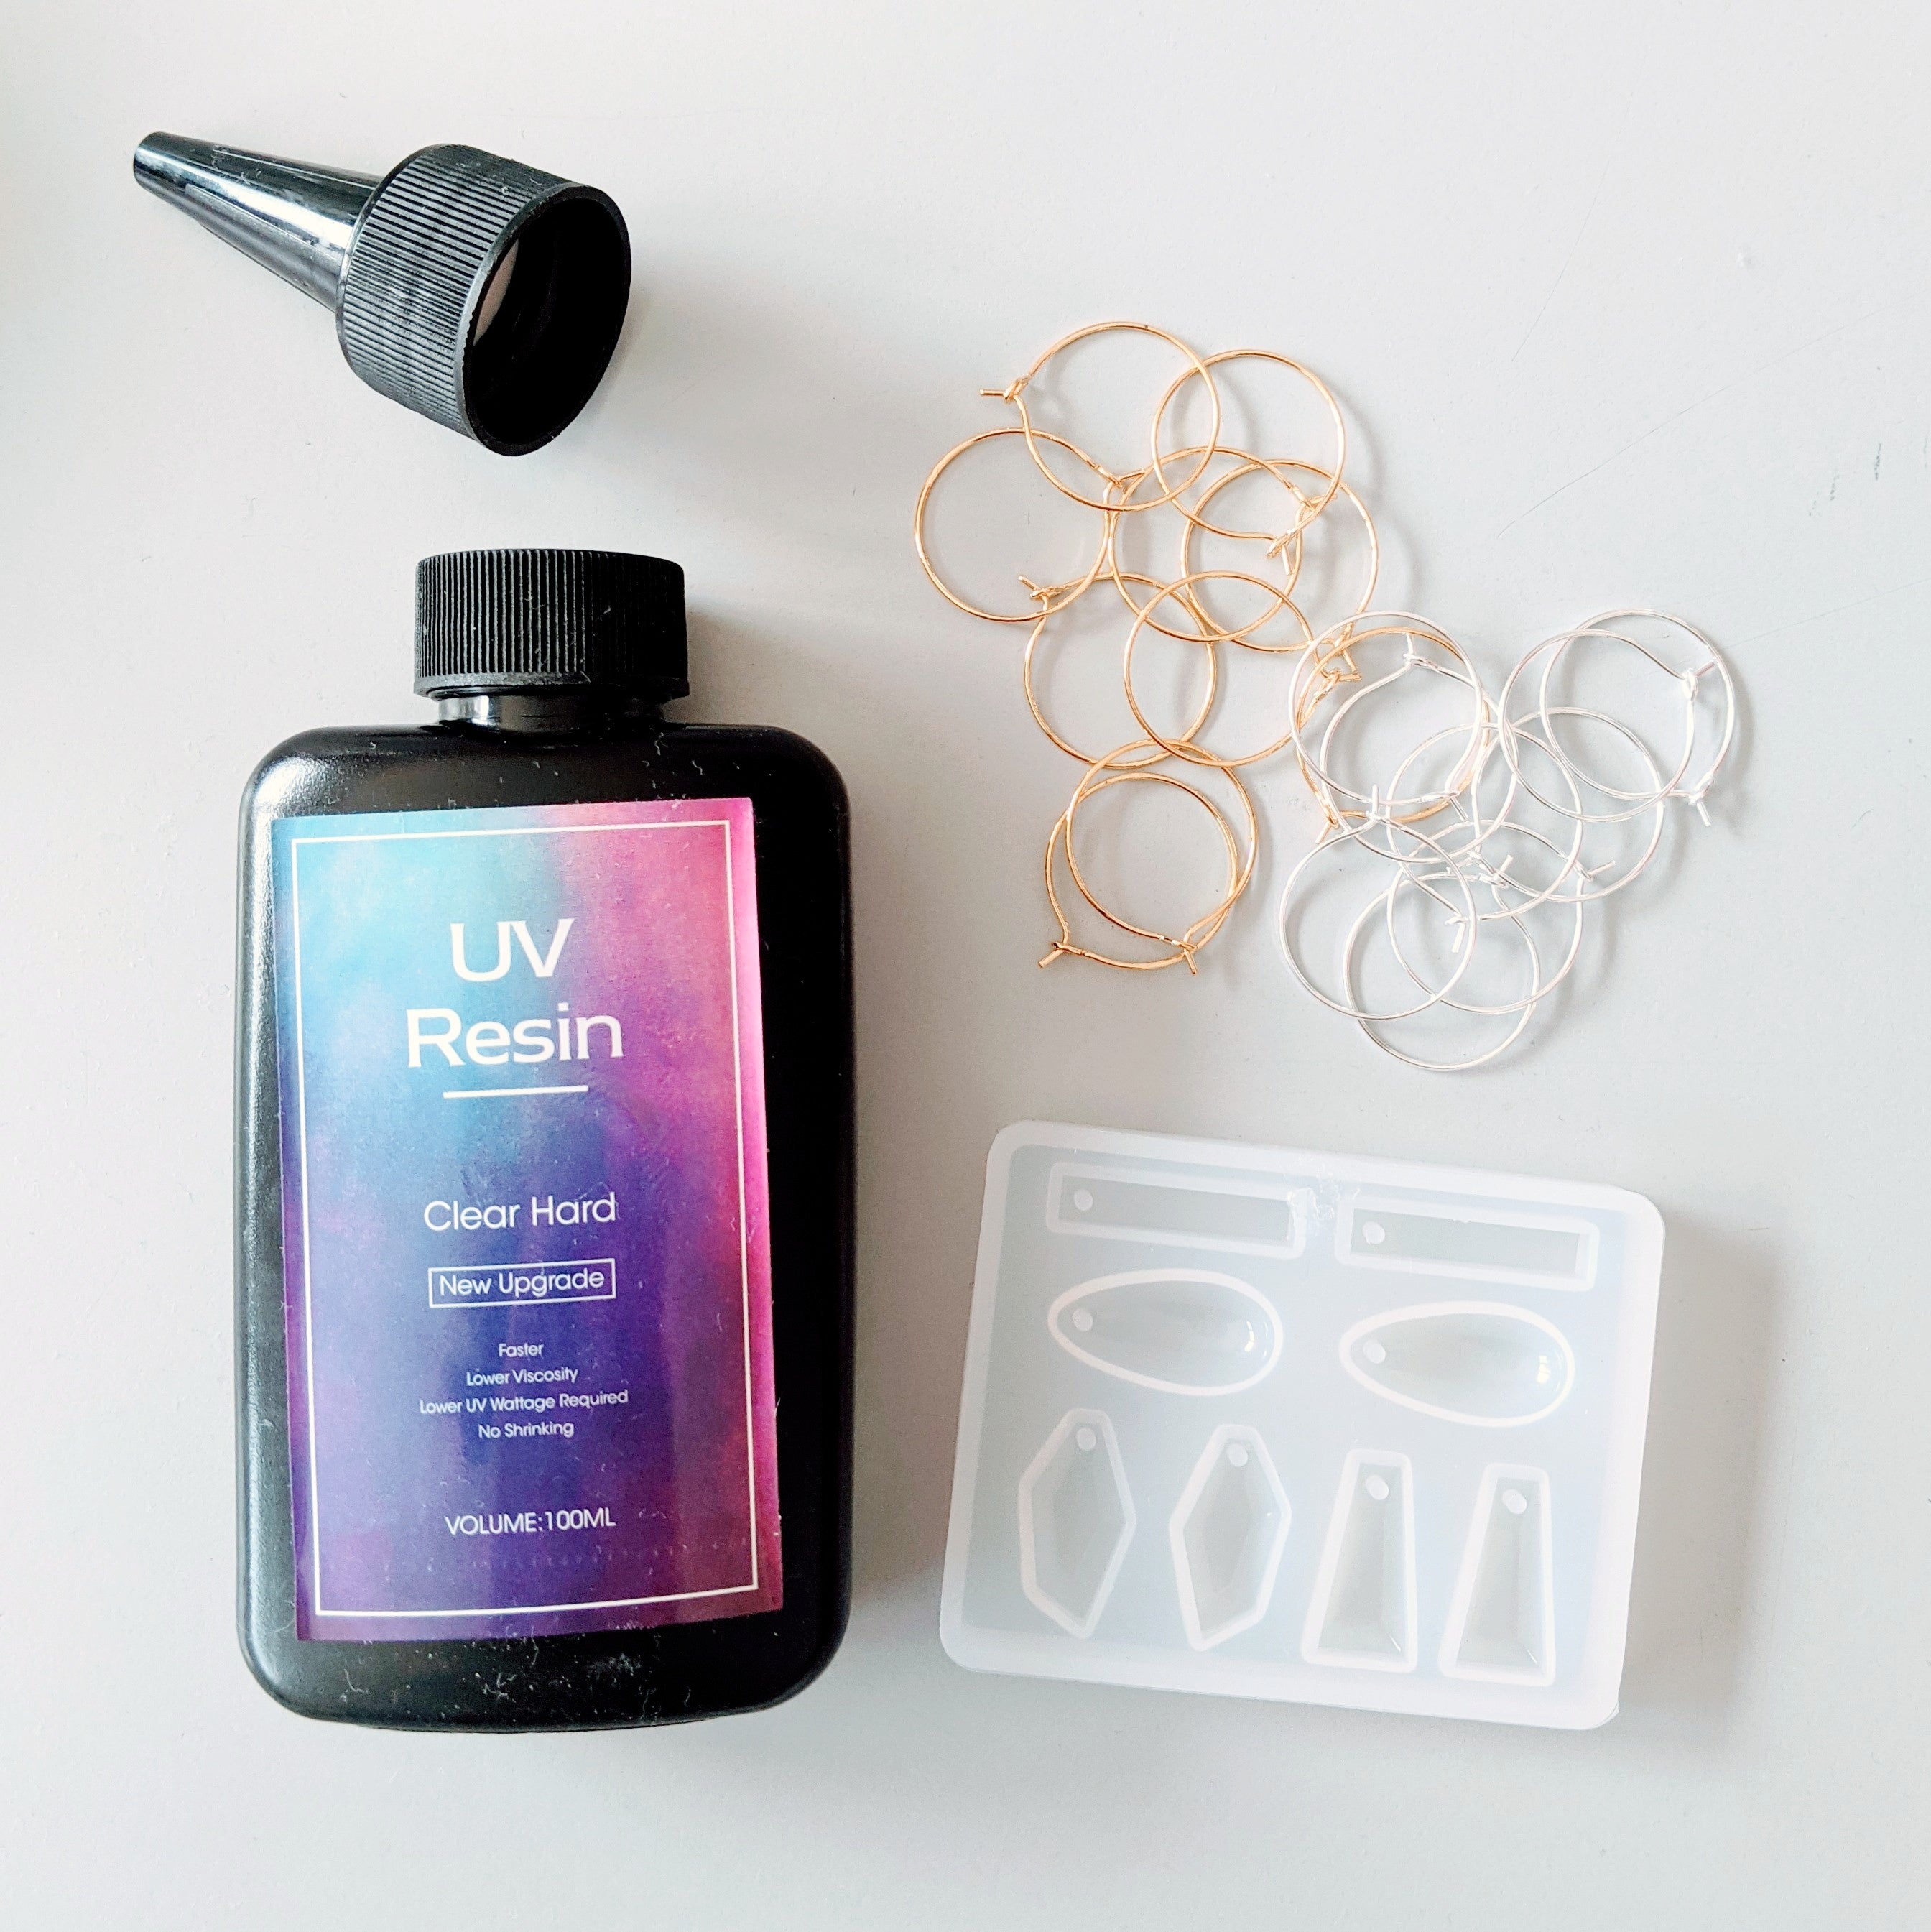
- UV Resin
- Silicone Mould
- Toothpick
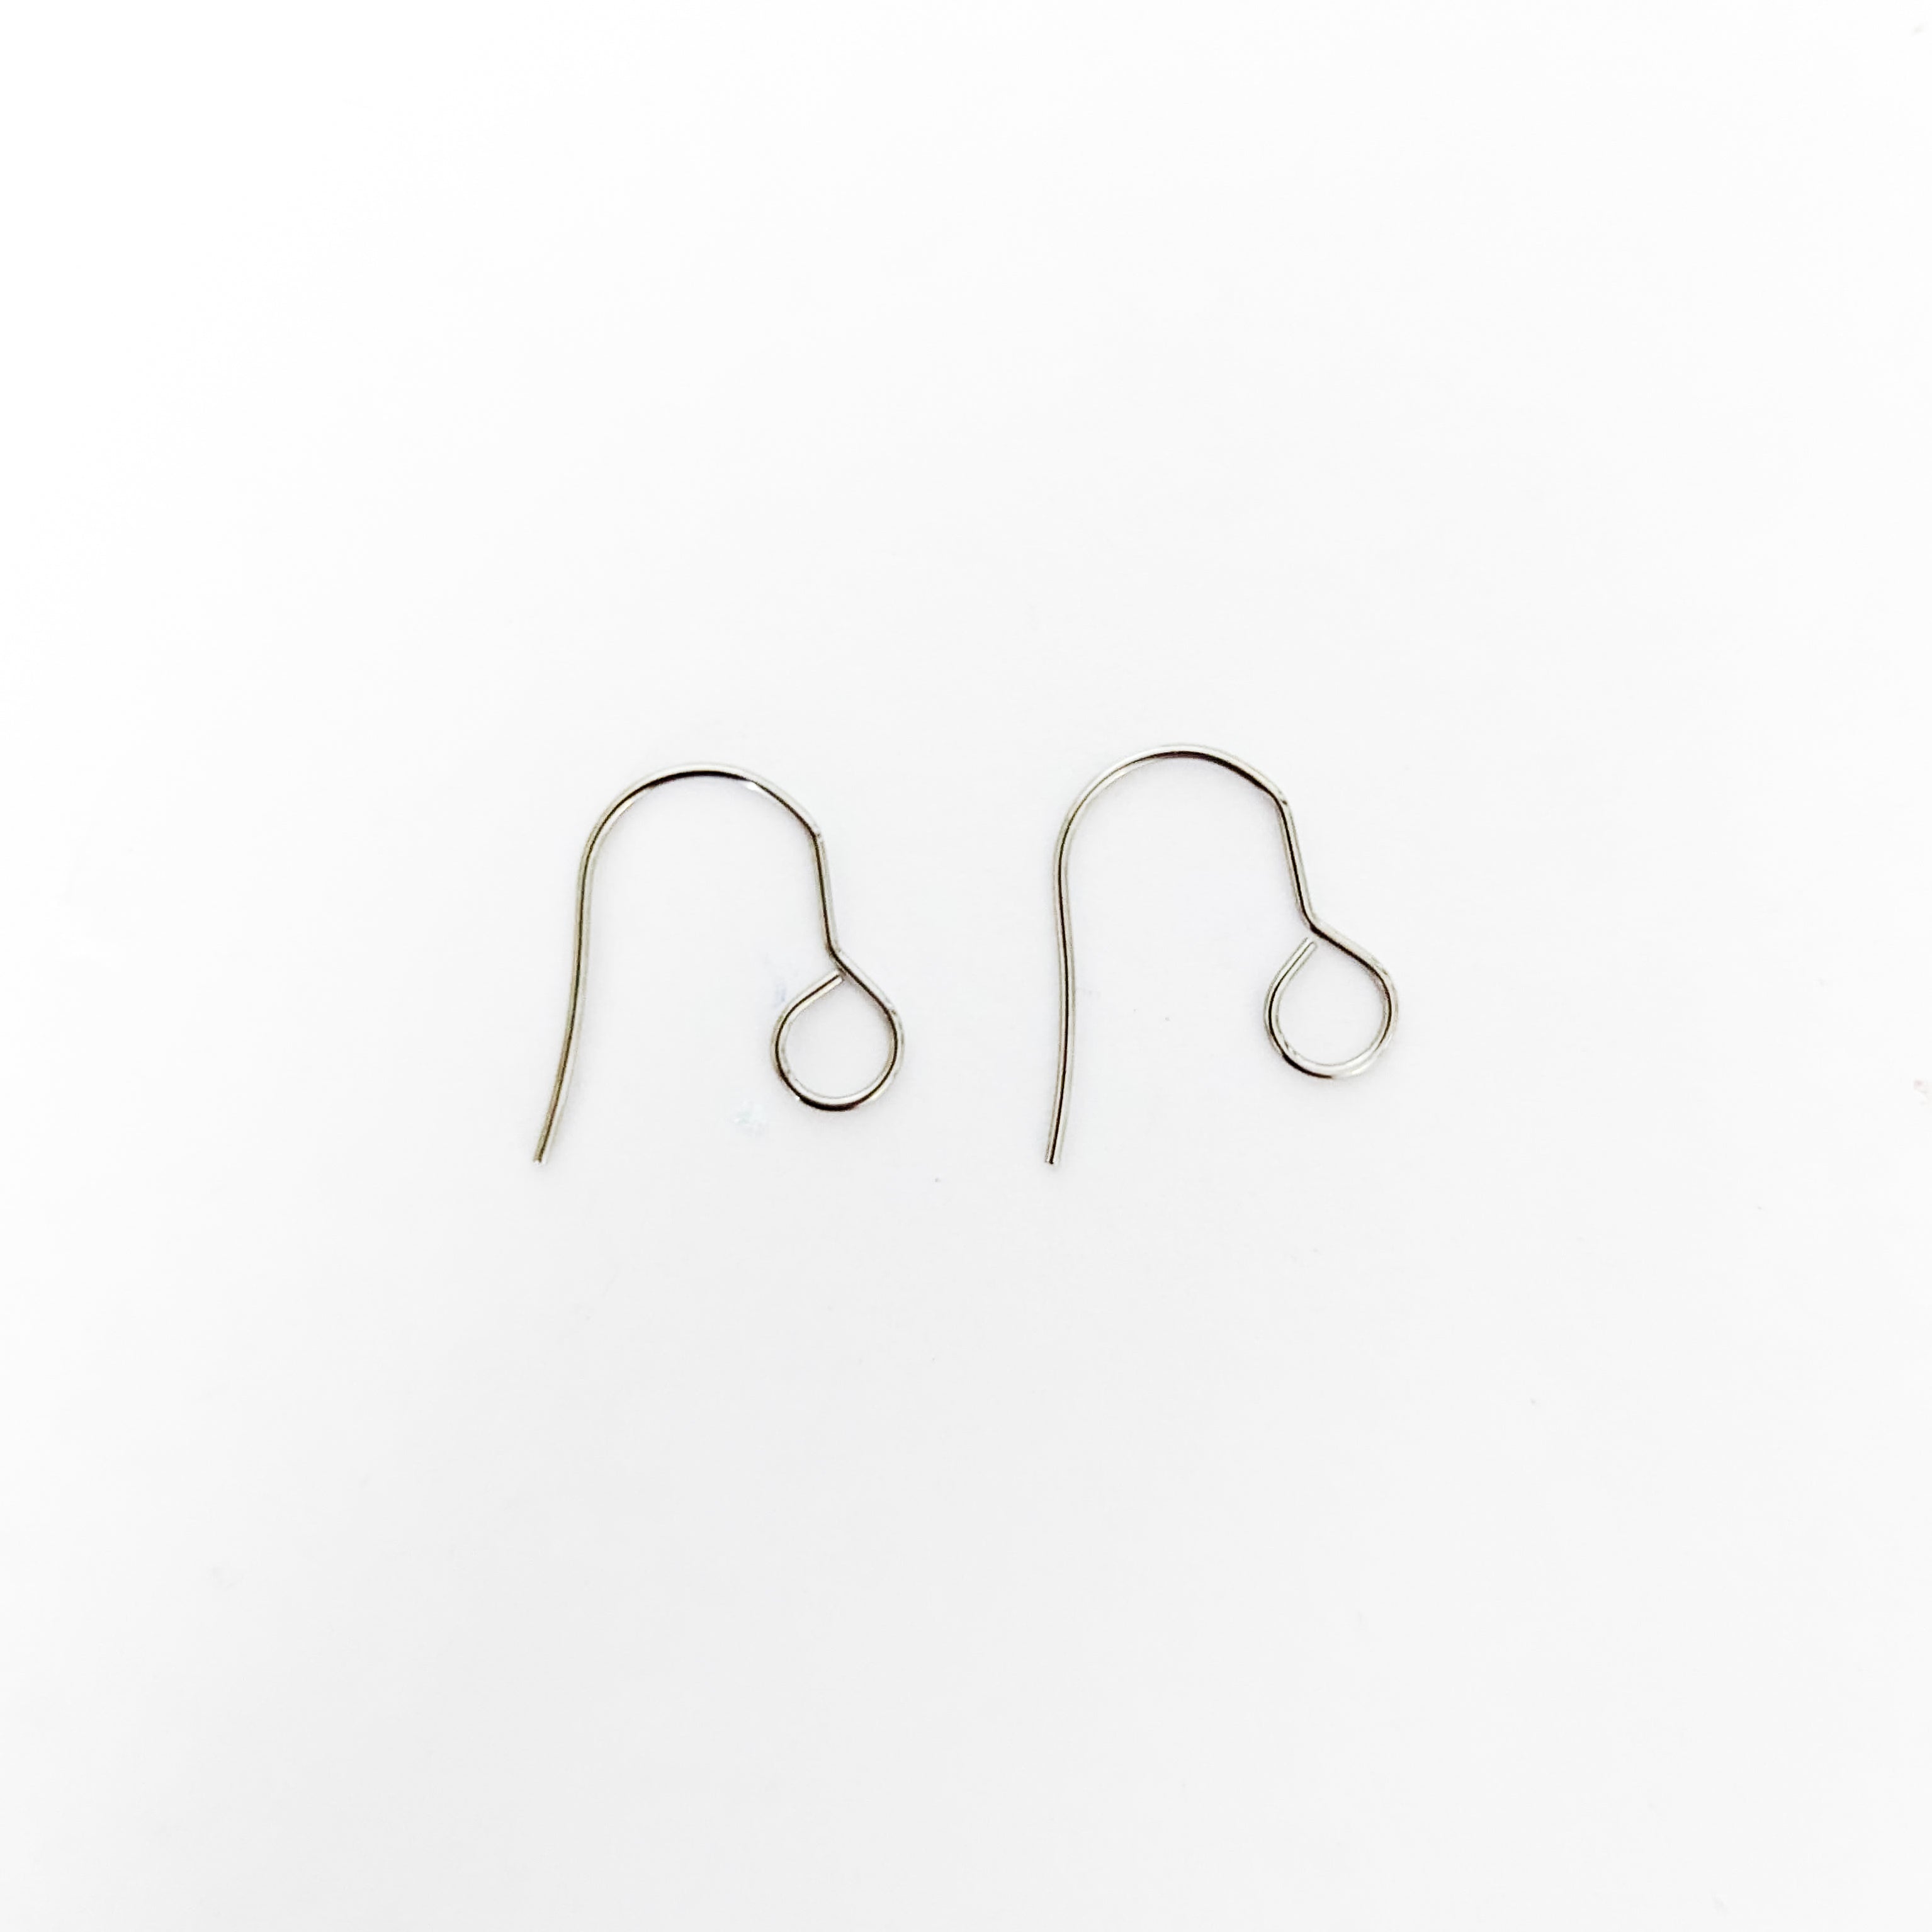
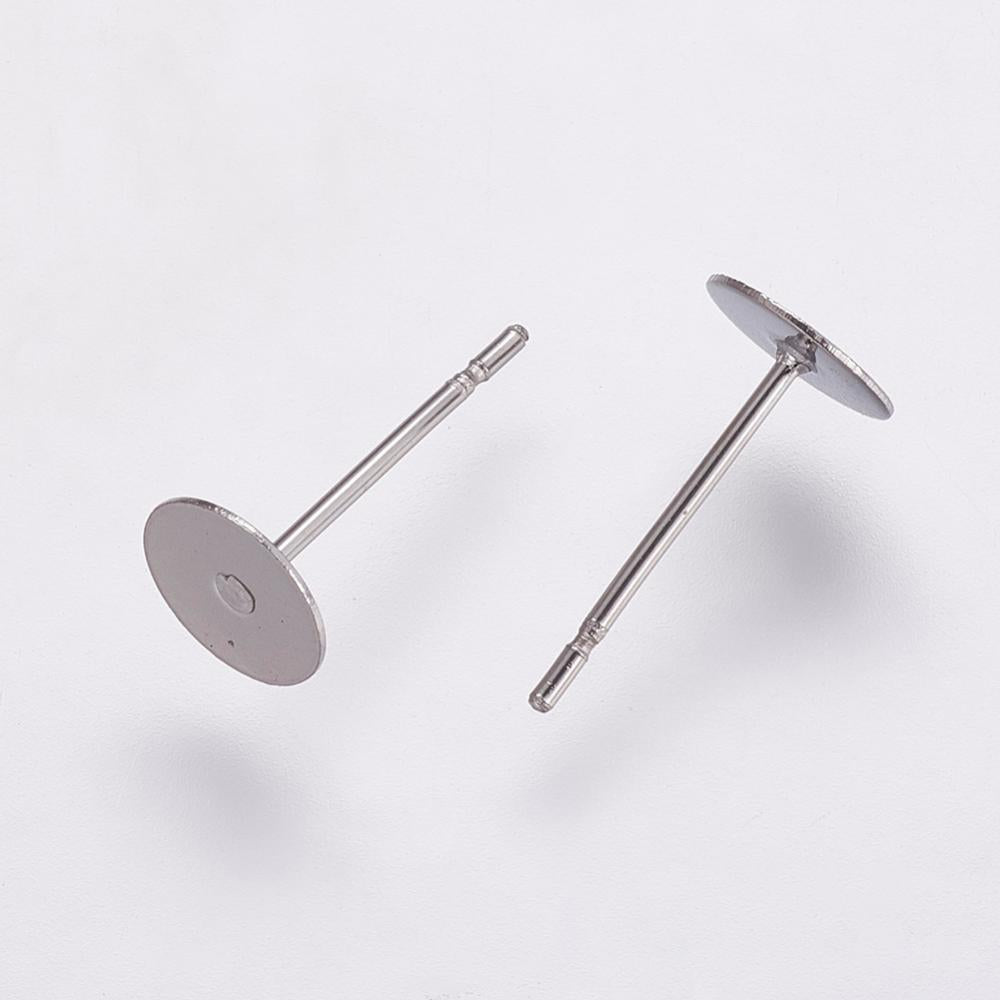
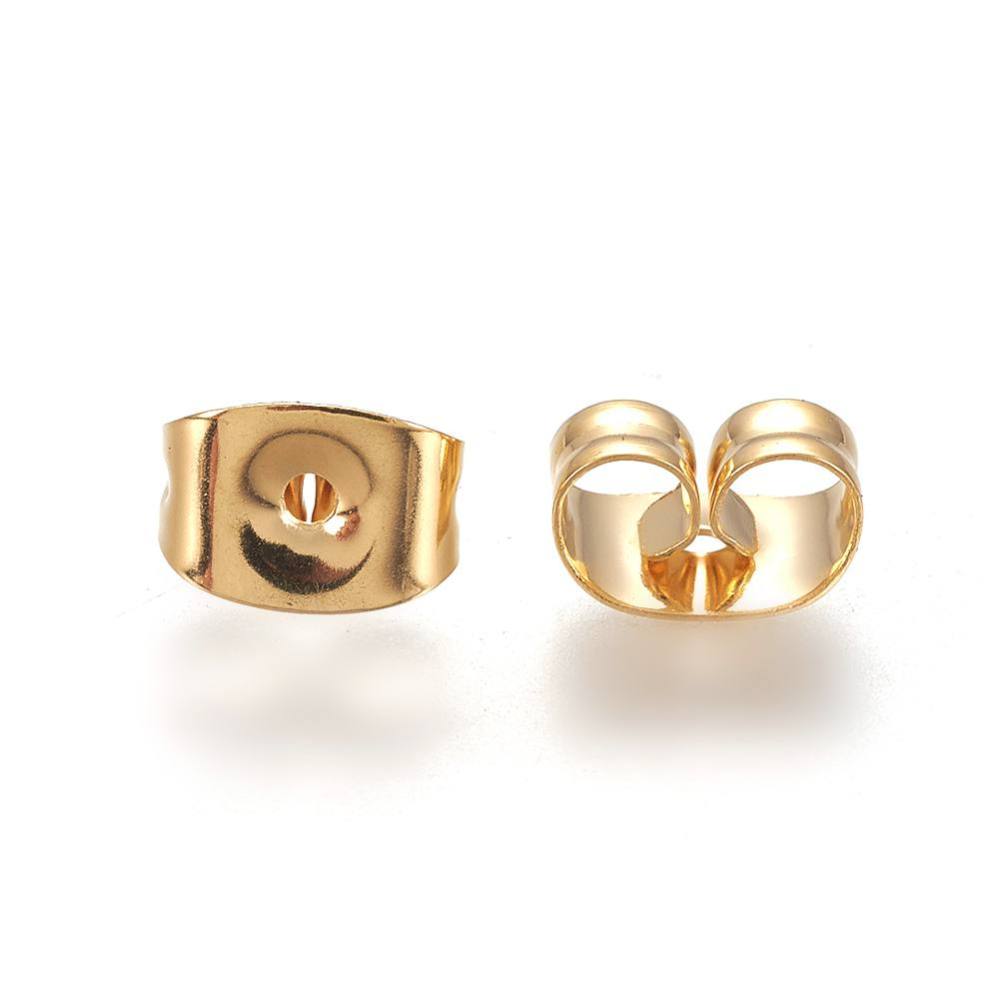
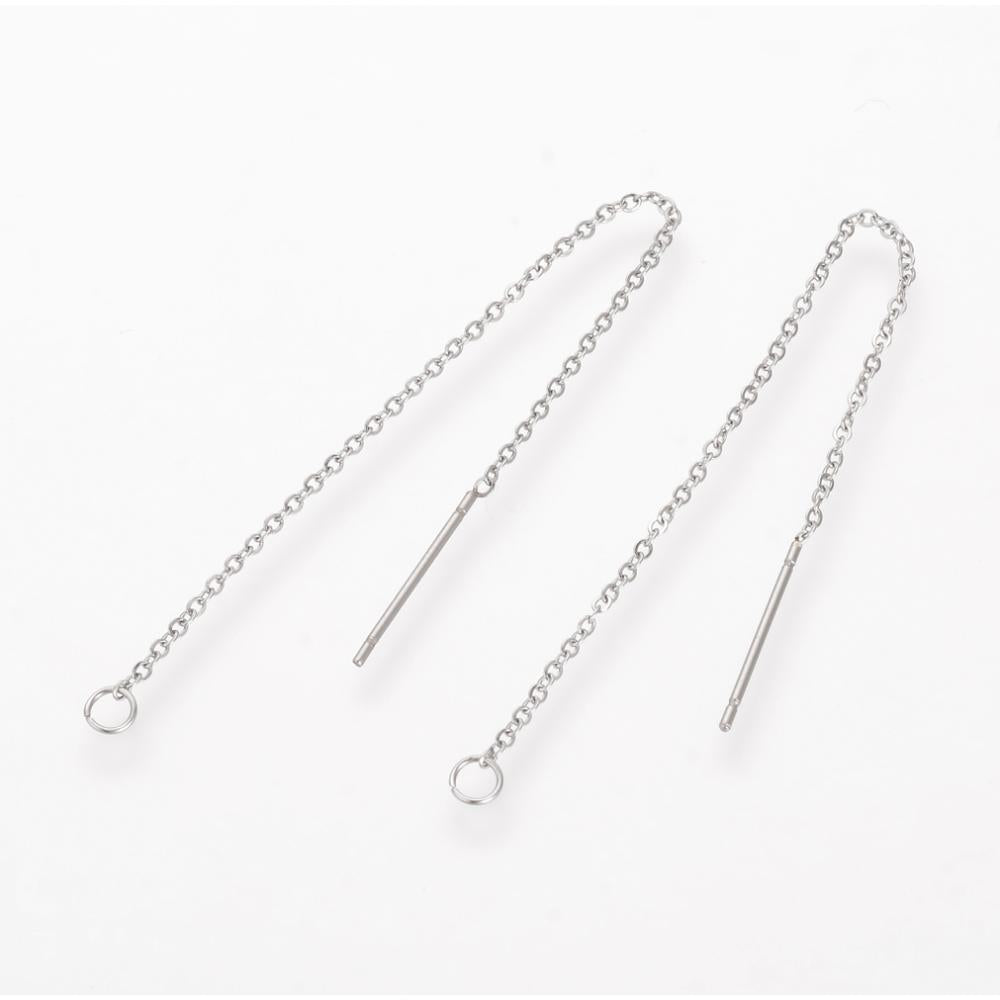
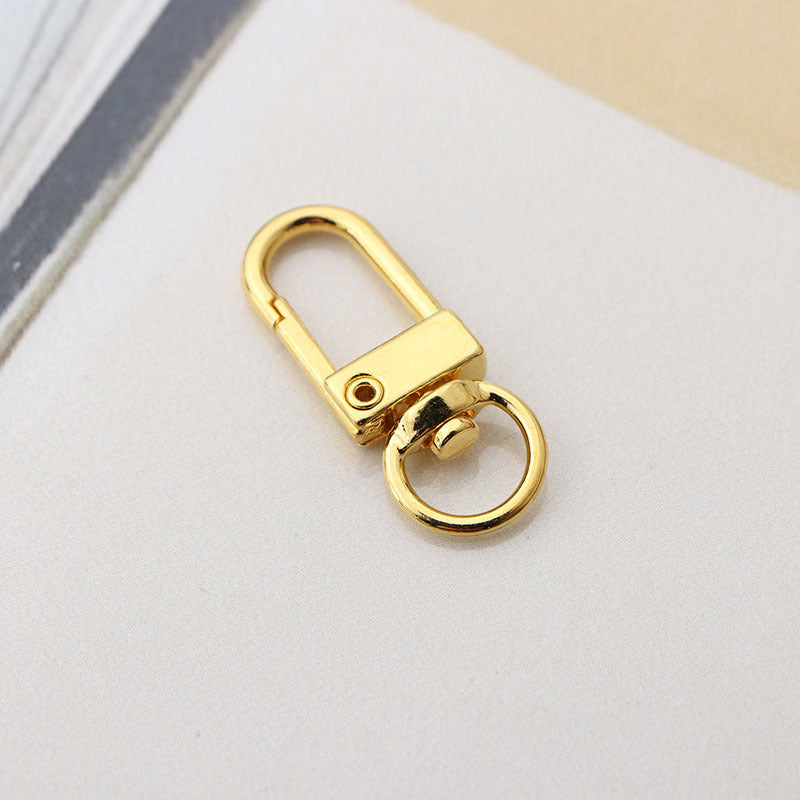
- Optional: Hooks or hoops (if making earrings)
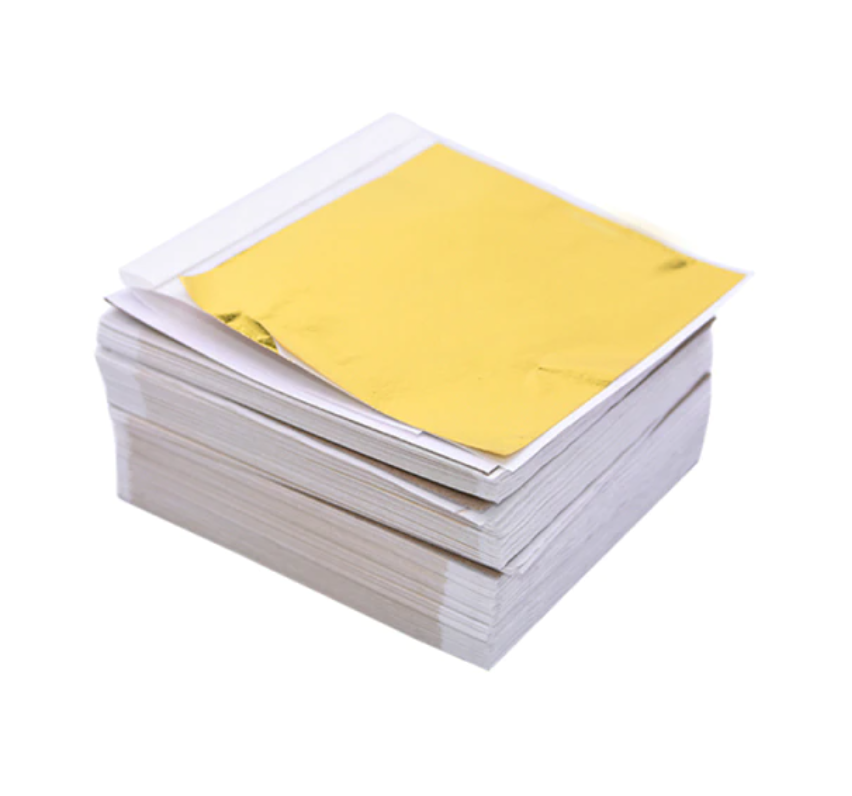
- Decorative items (pressed flowers, pigments, glitter etc.)
- PPE: Gloves, glasses, respirator
- UV light (sunlight is best)
Step 1: Wear PPE and prepare your materials
Before you start, make sure you have taken safety precautions. We recommend wearing gloves, glasses and a respirator. Make sure you also have the materials at hand.
When working with UV resin it is important that you are working somewhere with minimal or no UV light (sunlight) as UV light cures the UV resin.
Step 2: First layer of UV resin
Add a small amount of UV resin to your silicone mould, approximately half the depth of the silicone mould. Make sure the UV resin spreads to the entire mould, use a toothpick to reach small areas.
Step 3: Adding inclusions
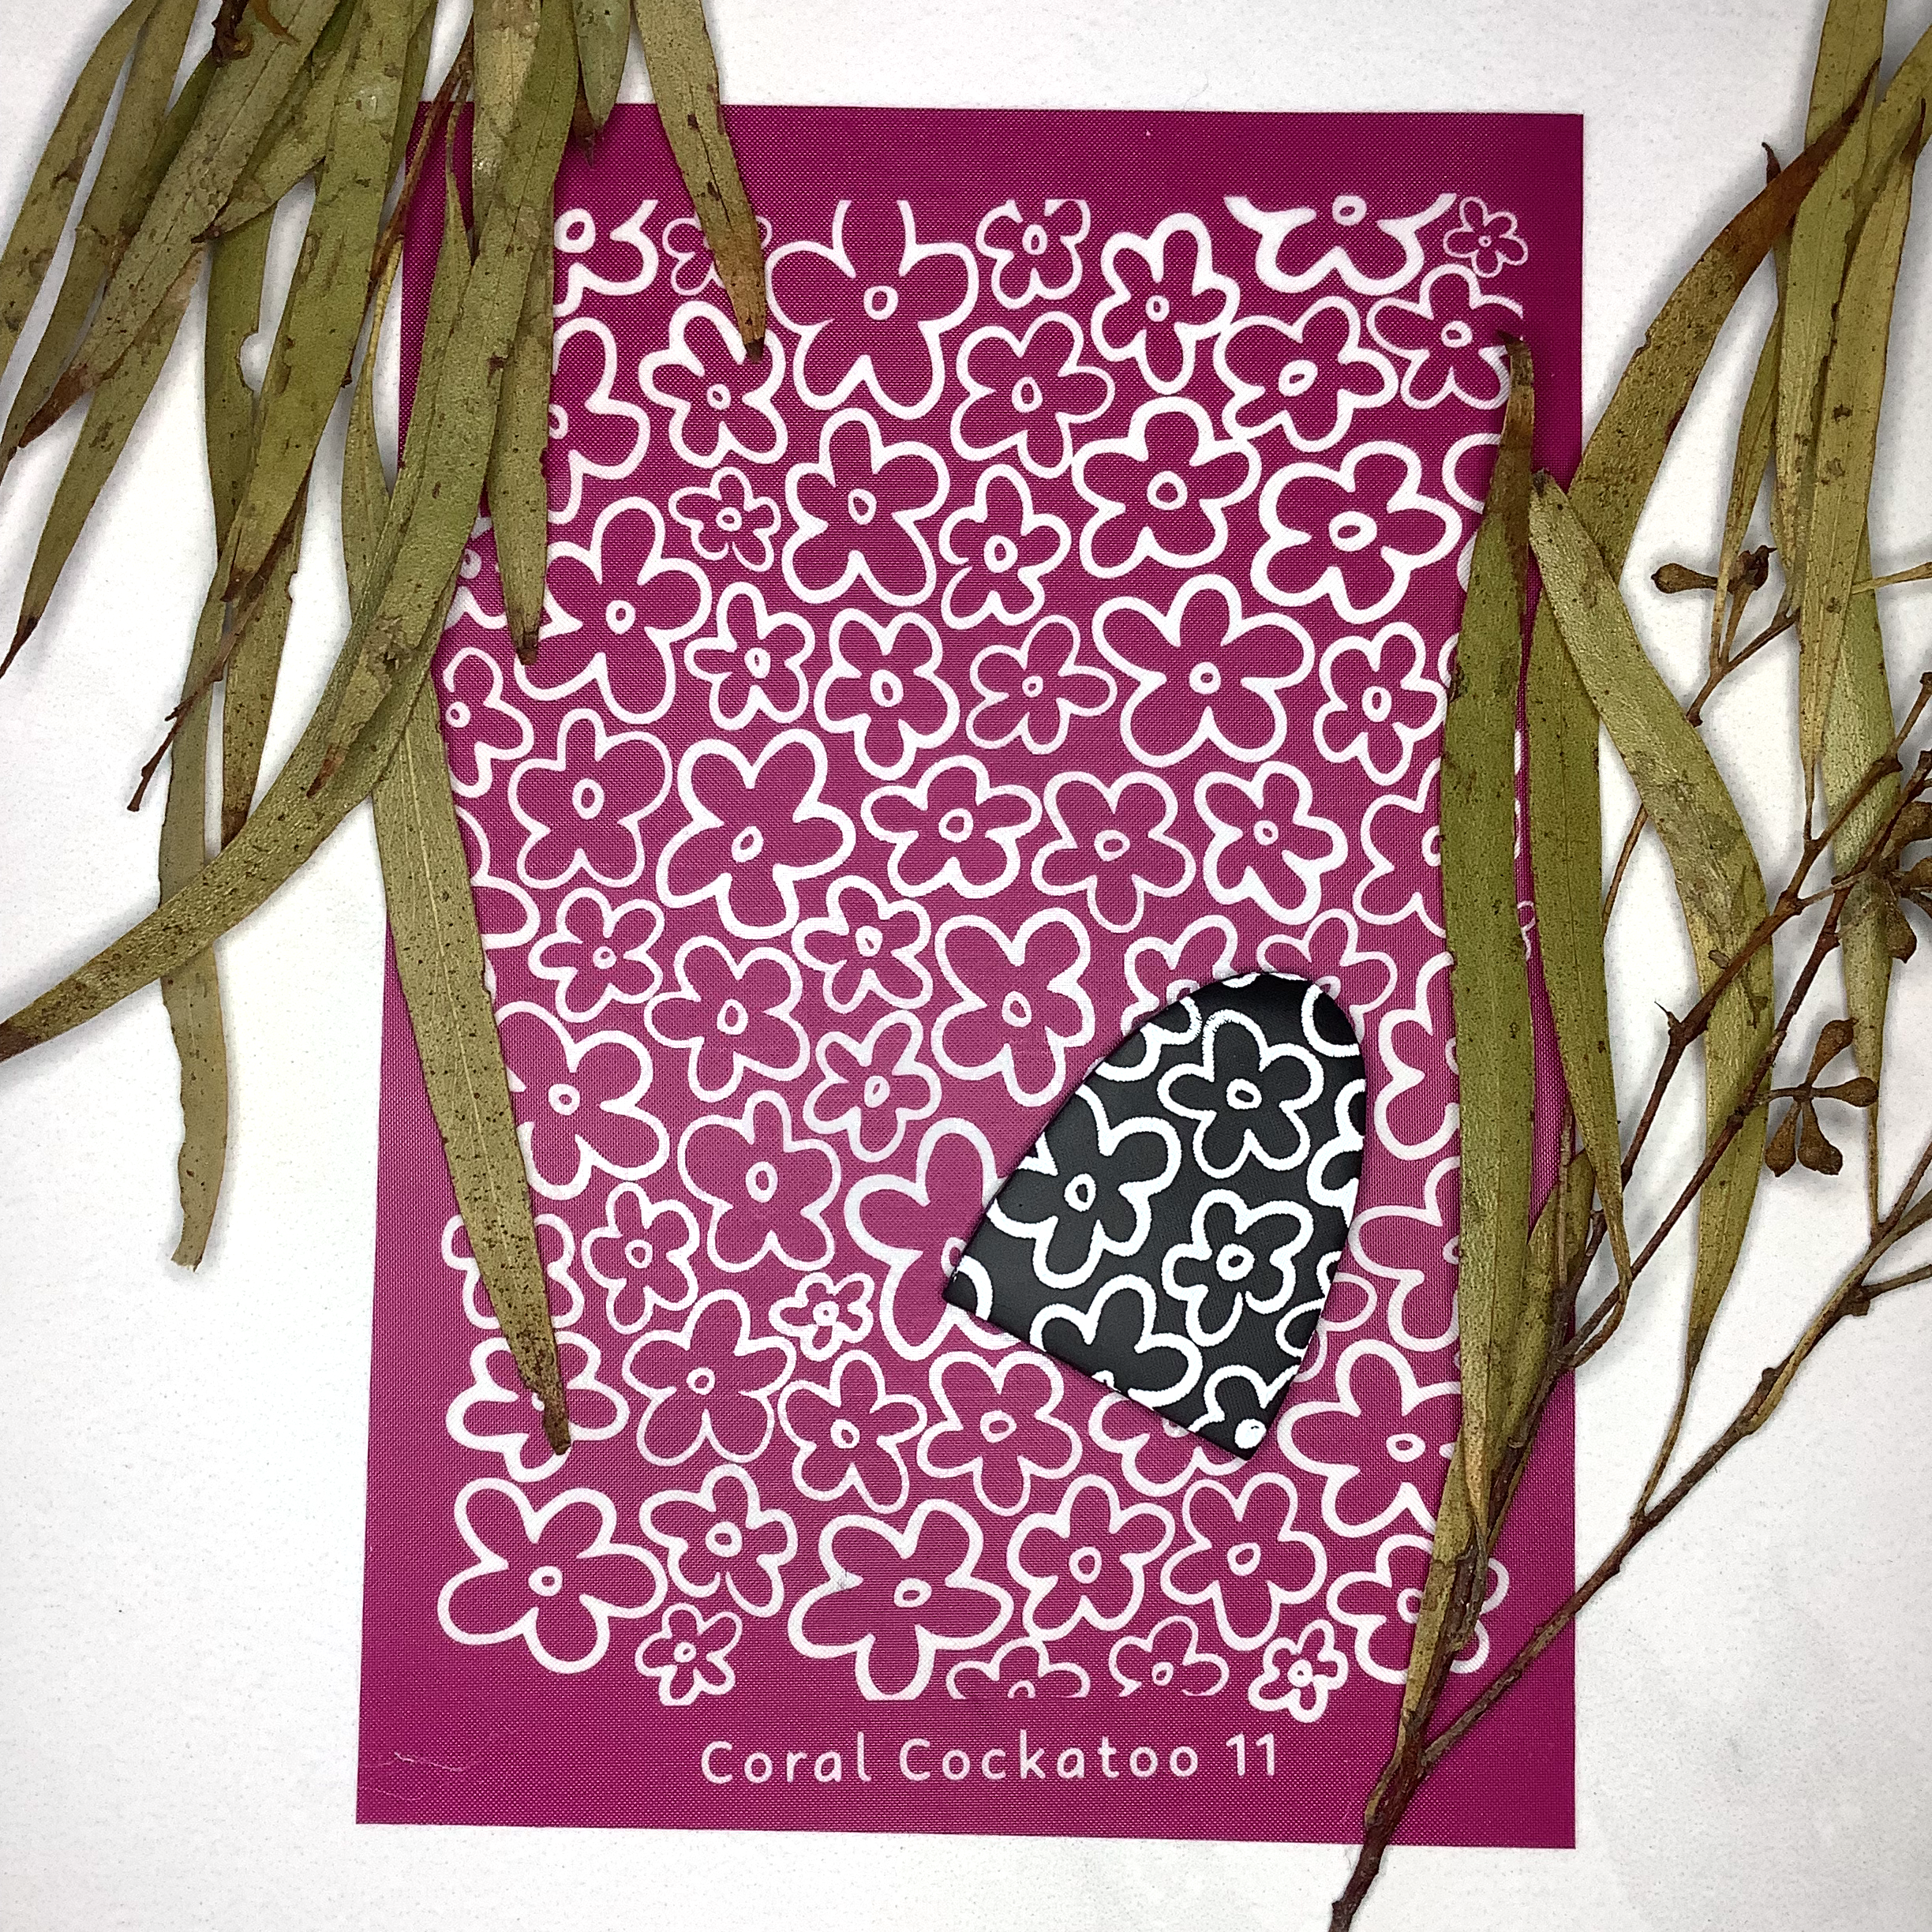
- Add your inclusions to the UV resin, these can be stickers, glitter, foil, pressed flower and so much more!
- Place your mould under UV light to partially cure the resin (this is so the inclusions remain in place when you add the second layer).
Strong UV light: 5 minutes
Weaker UV light: 20 minutes
Step 4: Second layer of UV resin
Add your second layer of UV resin to completely fill the mould and place it under UV light to completely cure the resin.
Strong UV light: 20 minutes
Weaker UV light: 1 hour
Step 5: Sanding and polishing (optional)
If you didn’t fill your mould completely there may be sharp or rough edges. To smooth these edges out use coarse sandpaper starting at 180 grit before moving on to wet and dry sandpaper in grits starting at 320 moving progressively down to 1000 and 1500. To achieve a shiny polish, use a polishing cloth and a polishing paste for the final touches.
Personal note: Sanding and polishing take up so much time and effort, it is very difficult to get that high gloss resin finish when sanding and polishing resin. Instead, use a nail file to smooth out the edges, then add another coat of resin to get that high gloss finish.
Step 6: Assembling
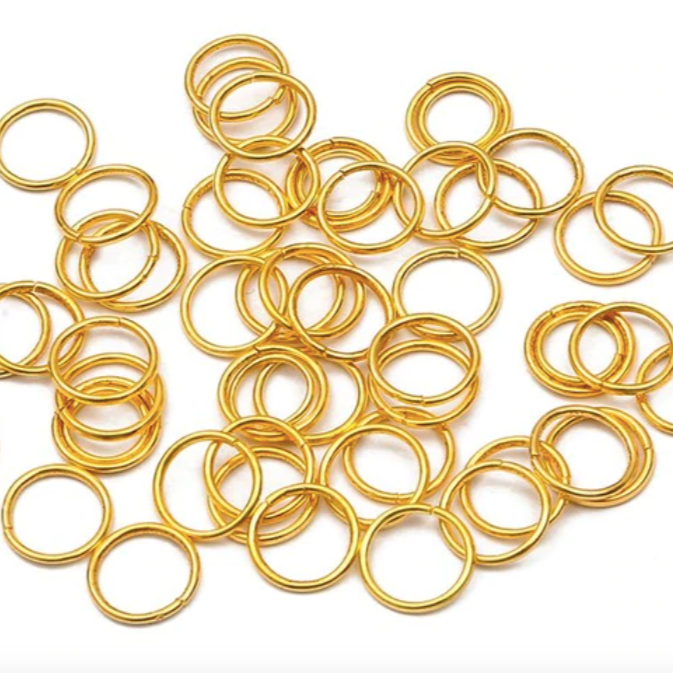
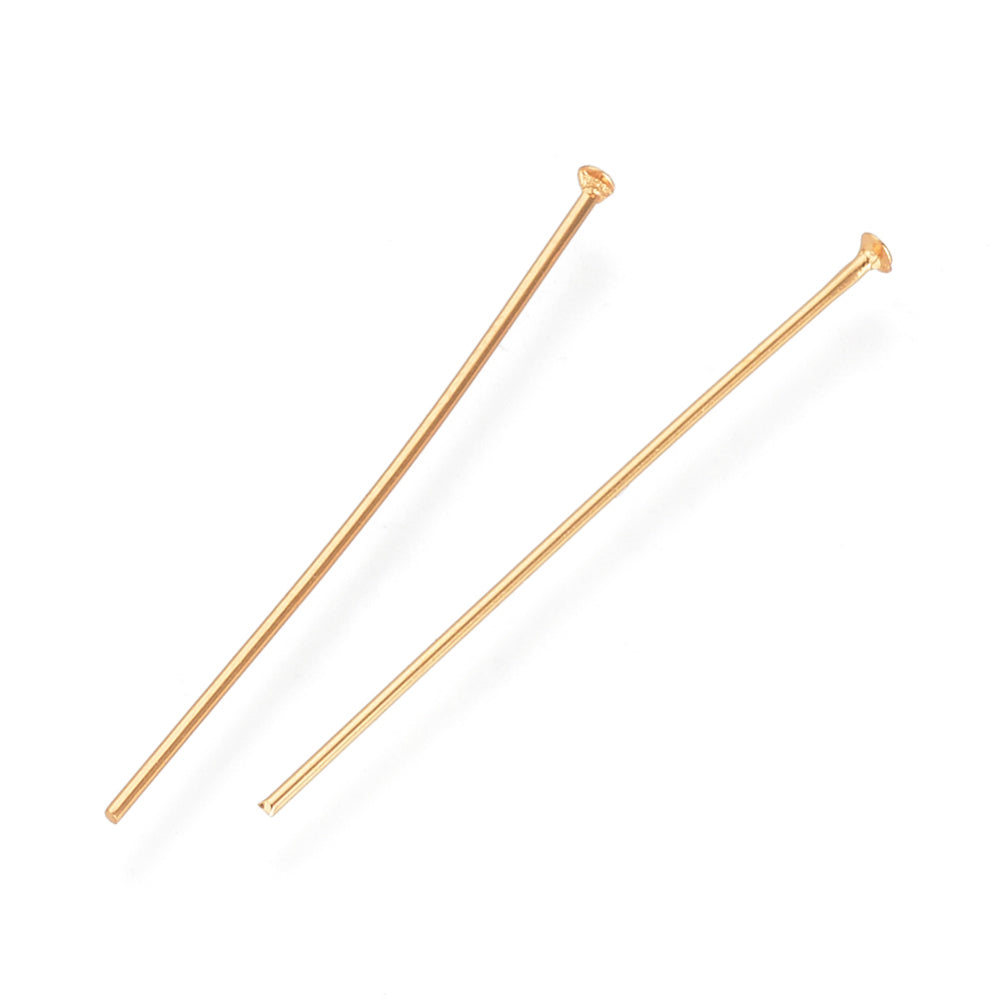
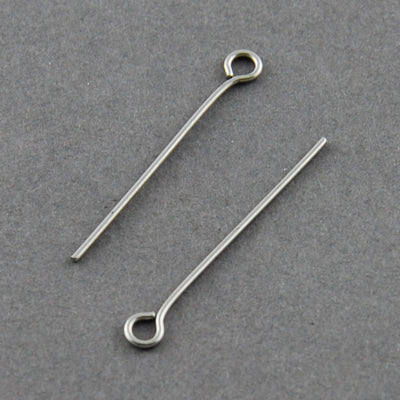
Now you have your pieces ready! Start assembling! Use jump rings, earrings hooks and hoops to make your own custom piece (if you’re creating jewellery that is).
Step 7: Show off!
Show off your creations! Be proud! Not everyone gets to say that their piece is custom. If you want an insta shout out just tag us! @poethan_au