


Creating resin pendants using open back bezels and UV resin is a quick and easy way to get started.
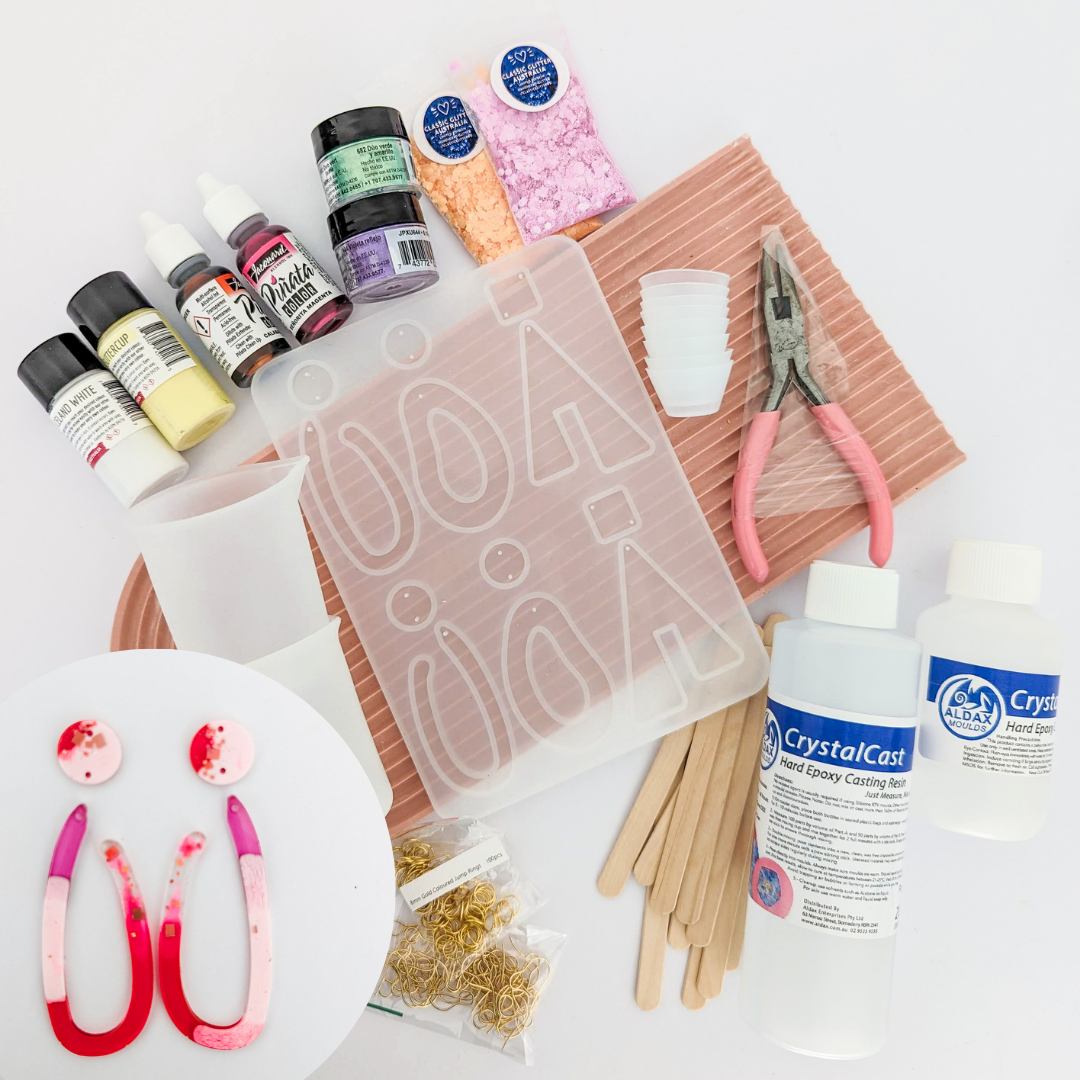
Materials required:
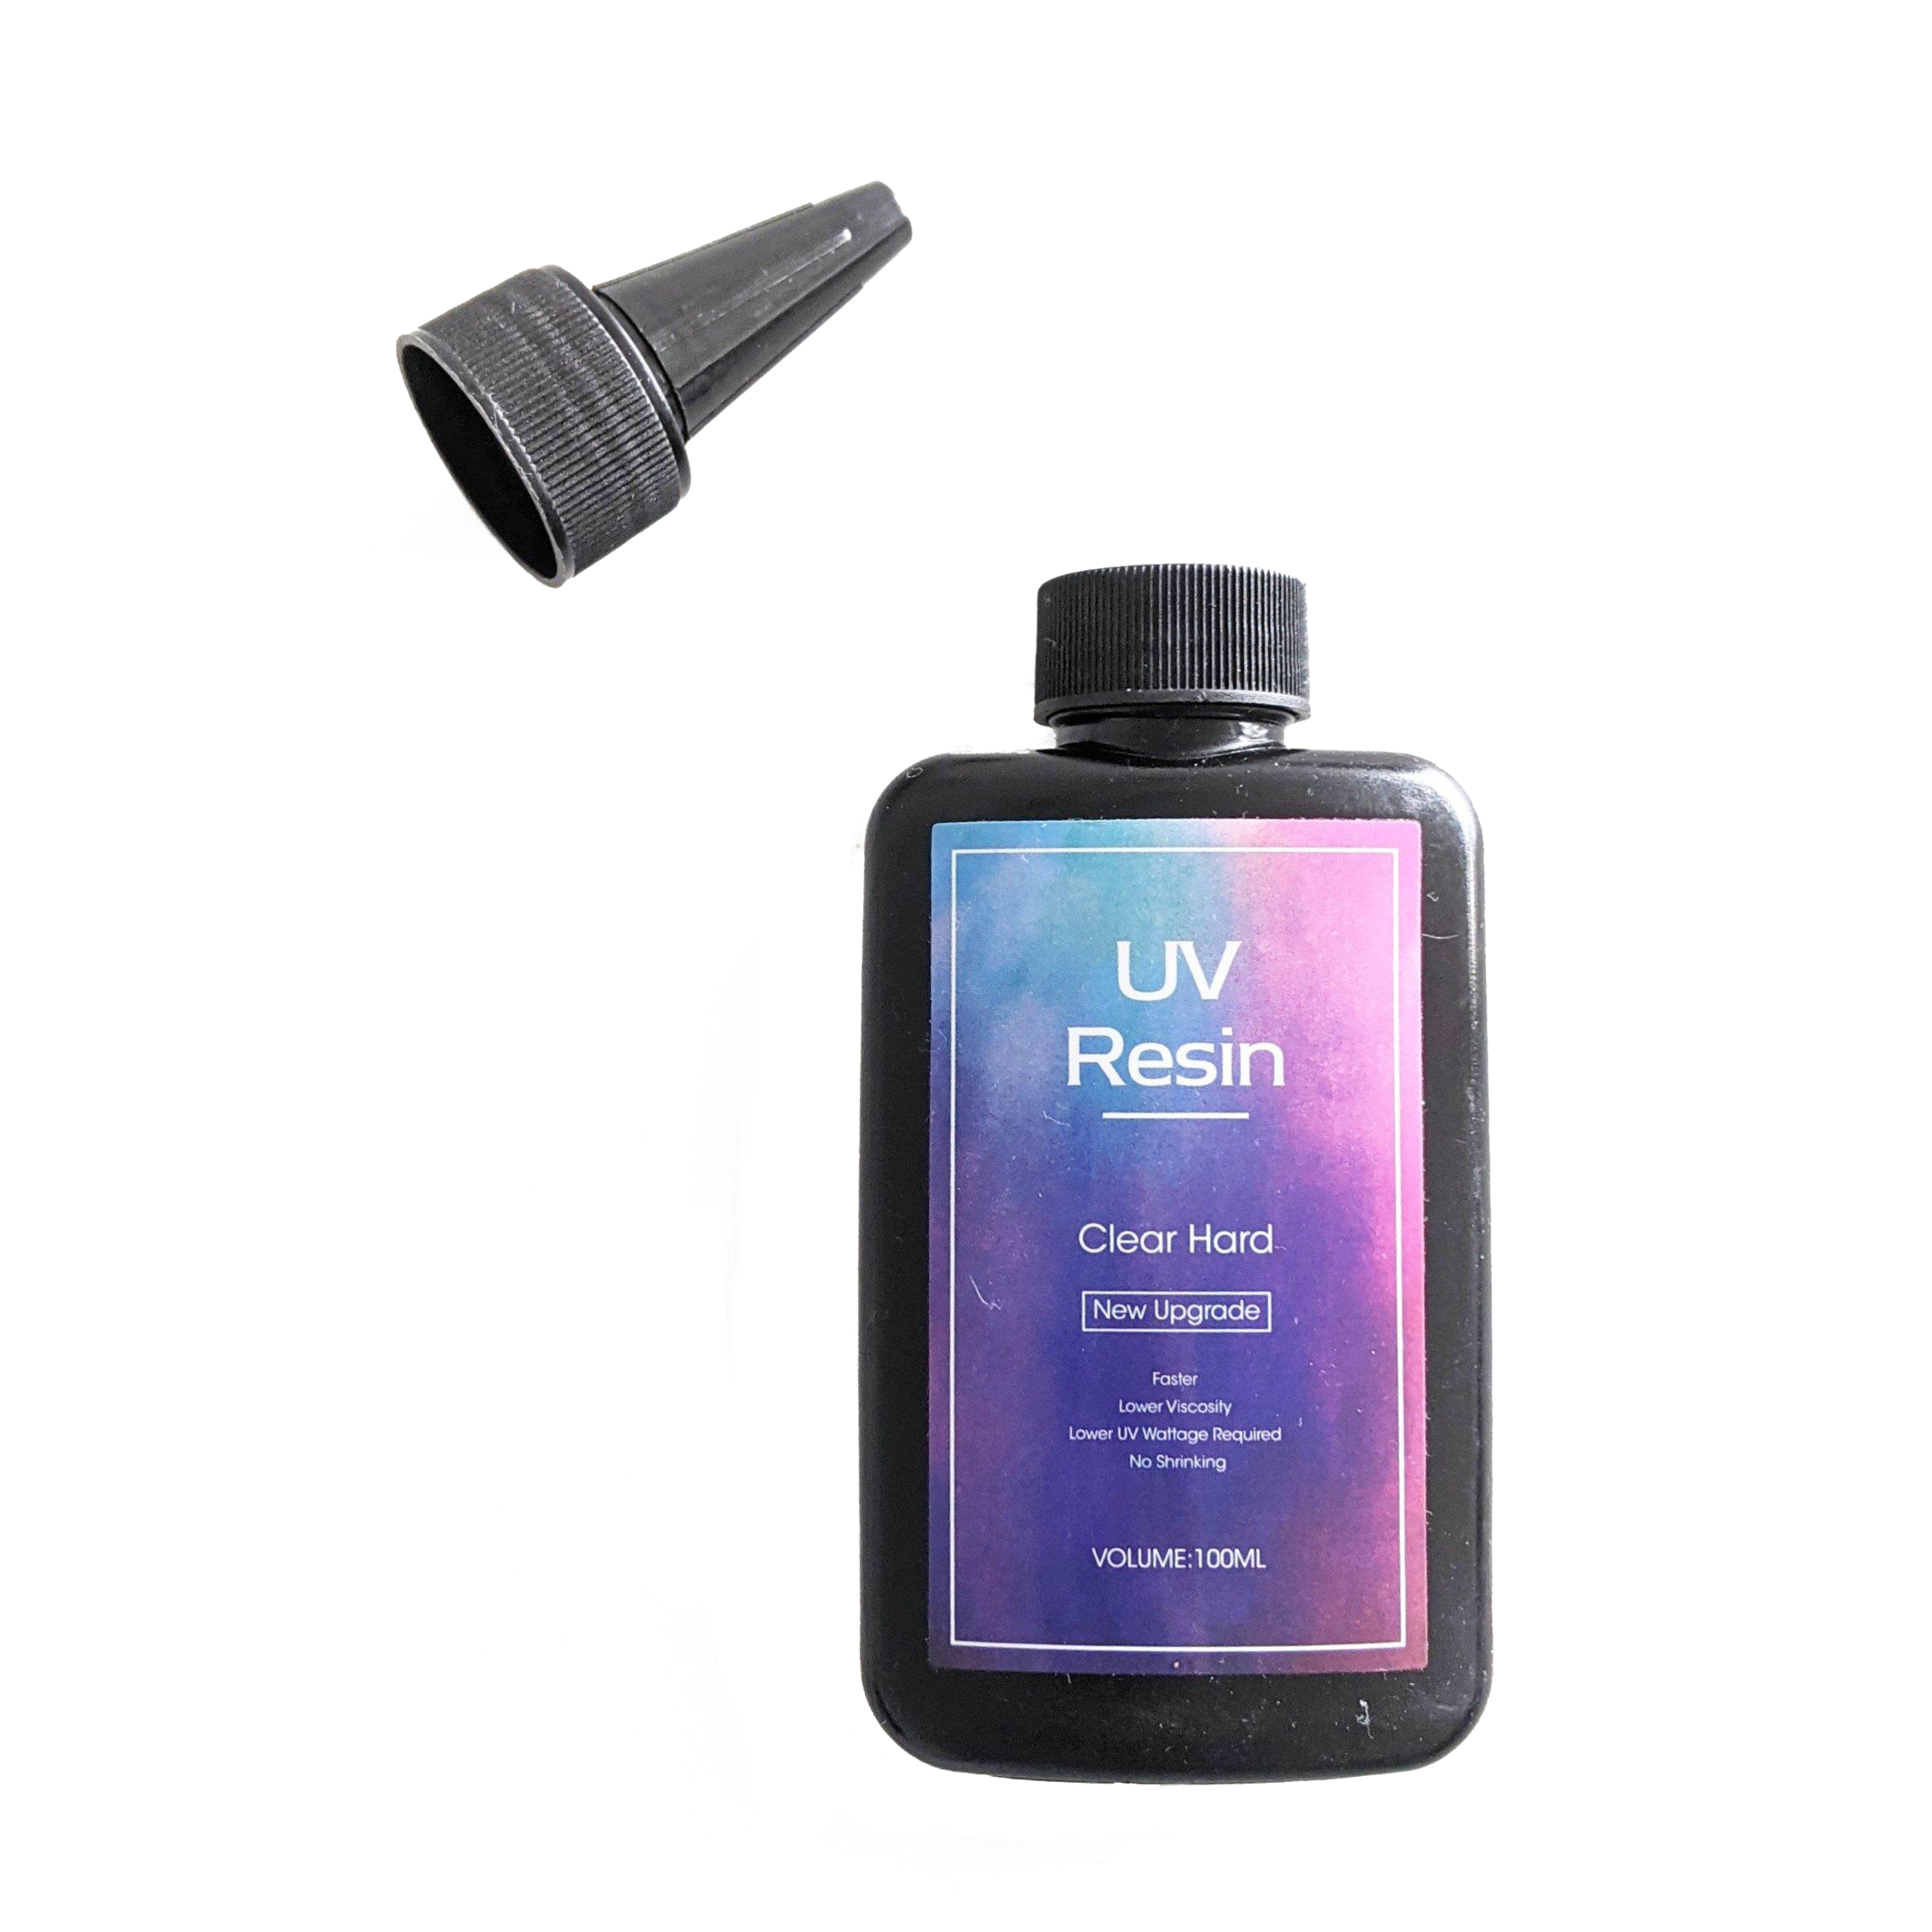
- UV resin
- open back bezel pendants
- thick sticky tape or contact self adhesive
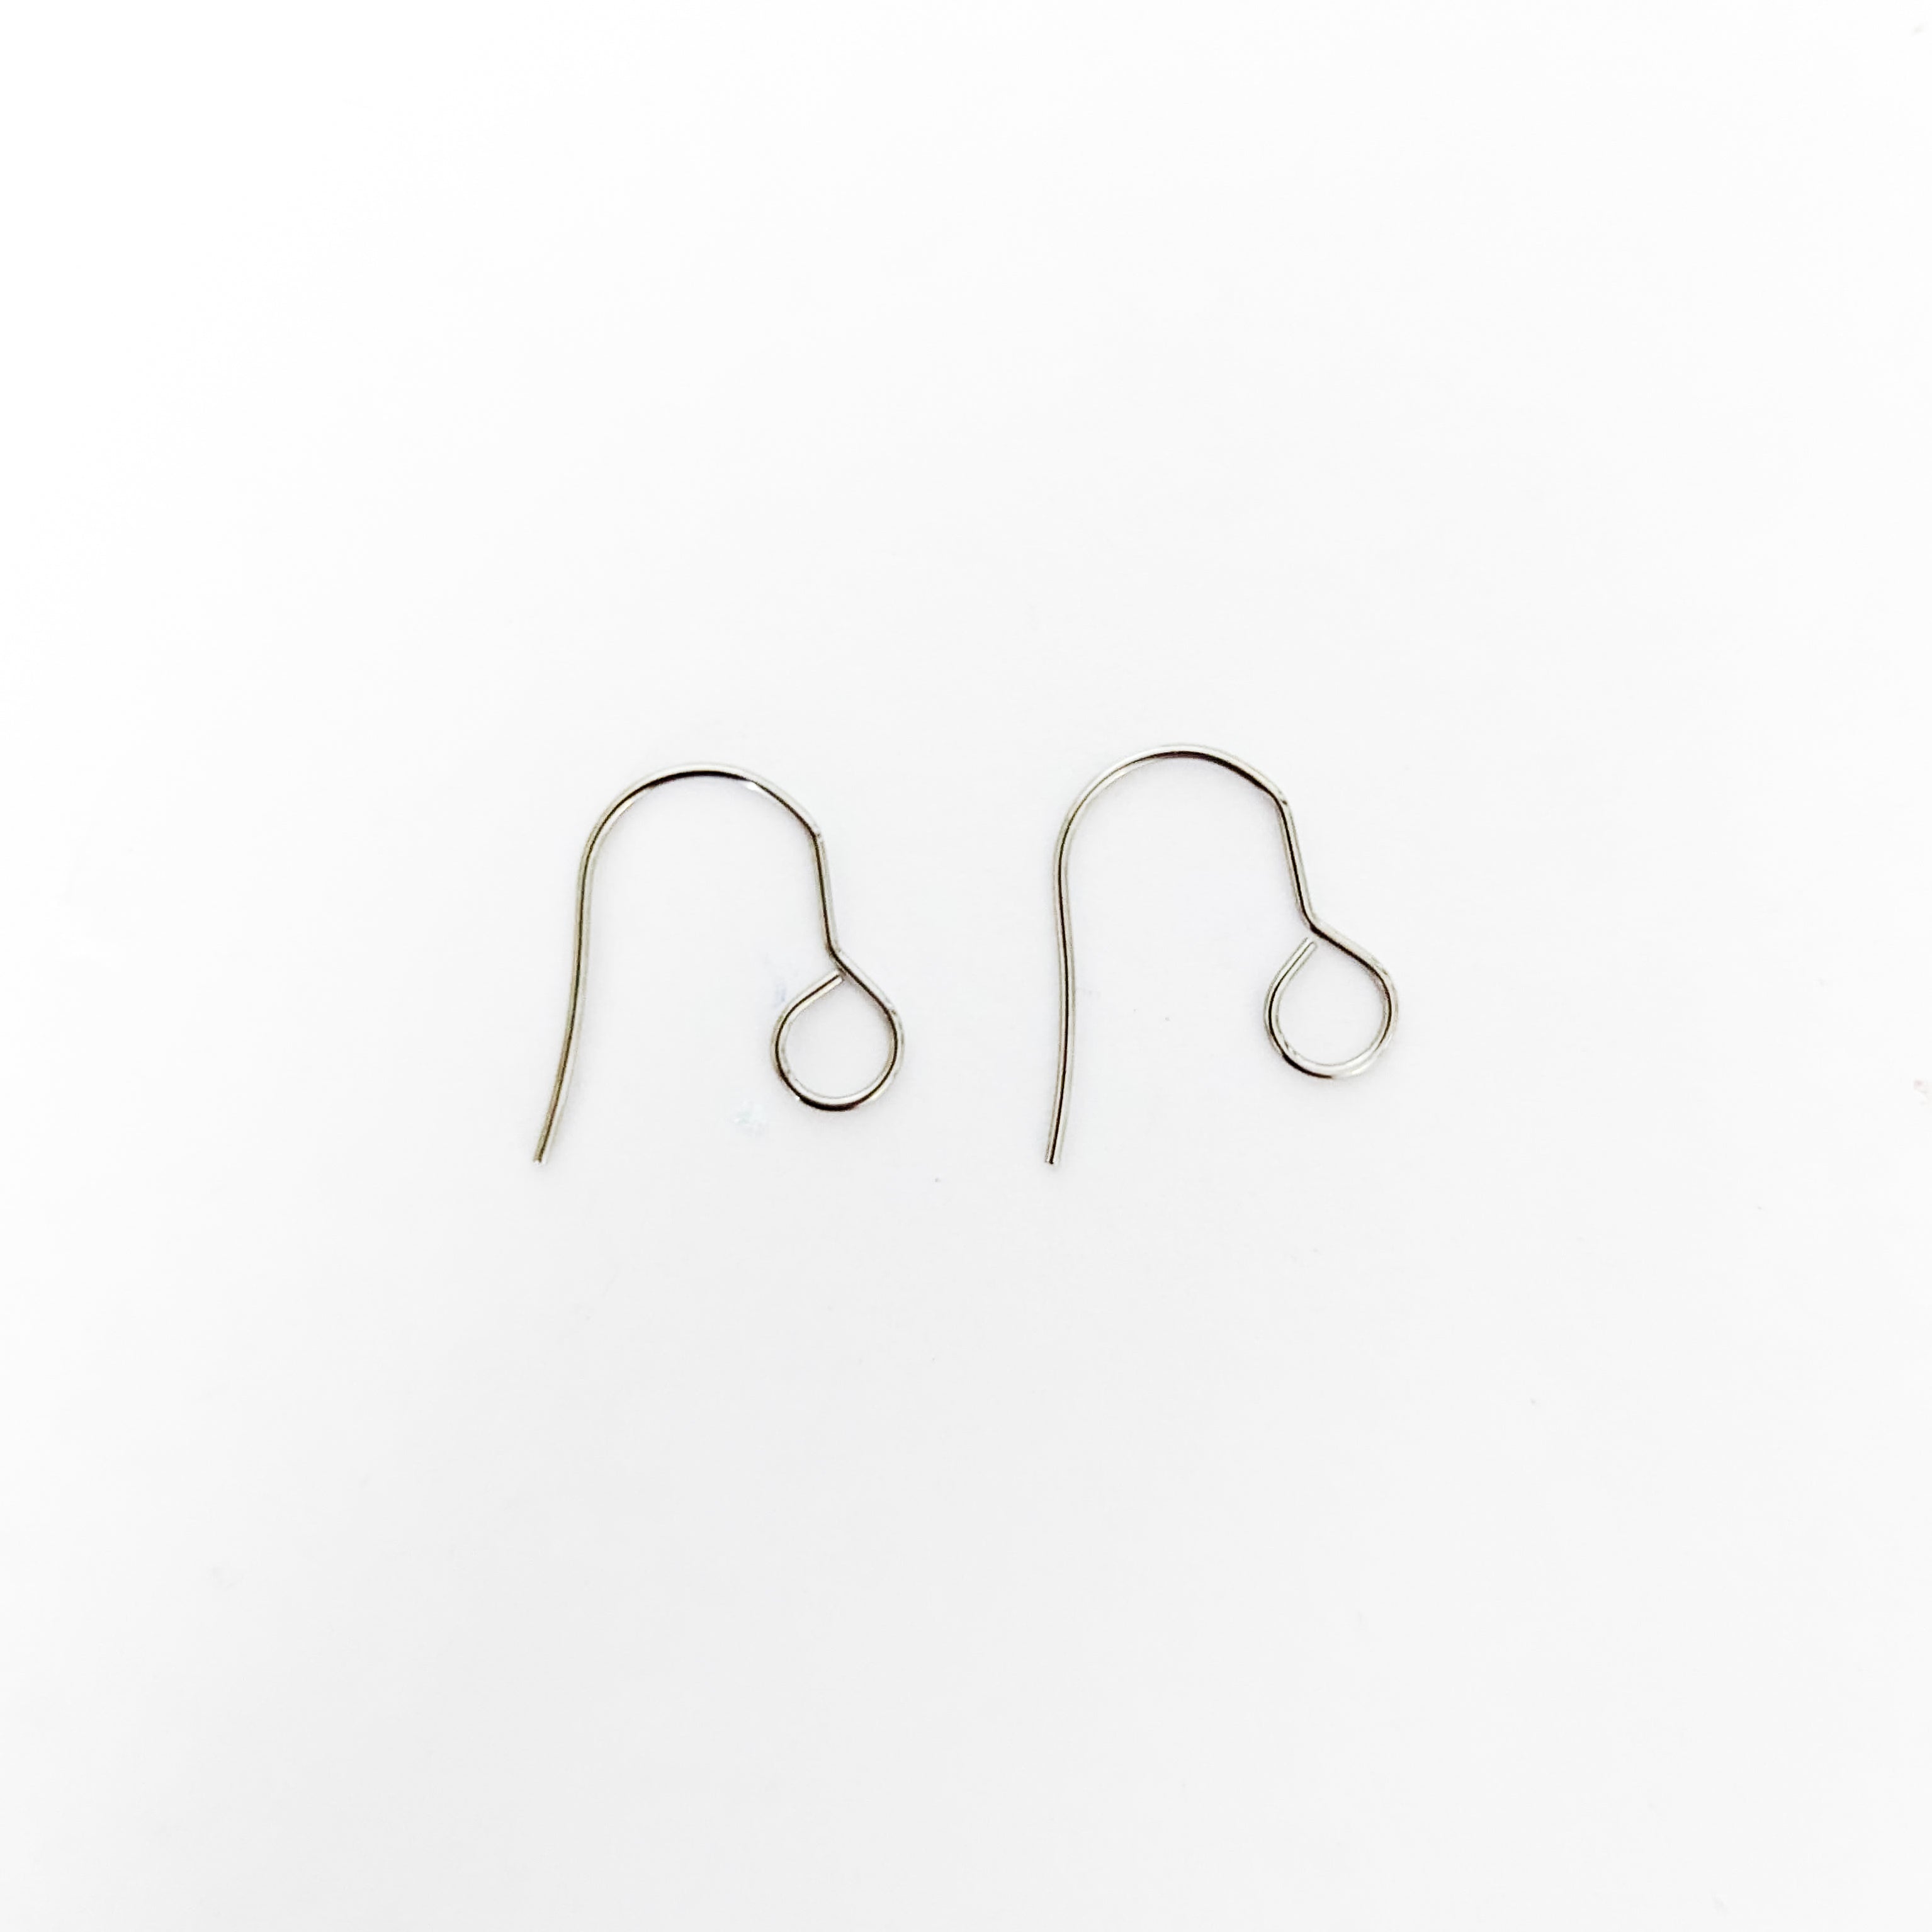
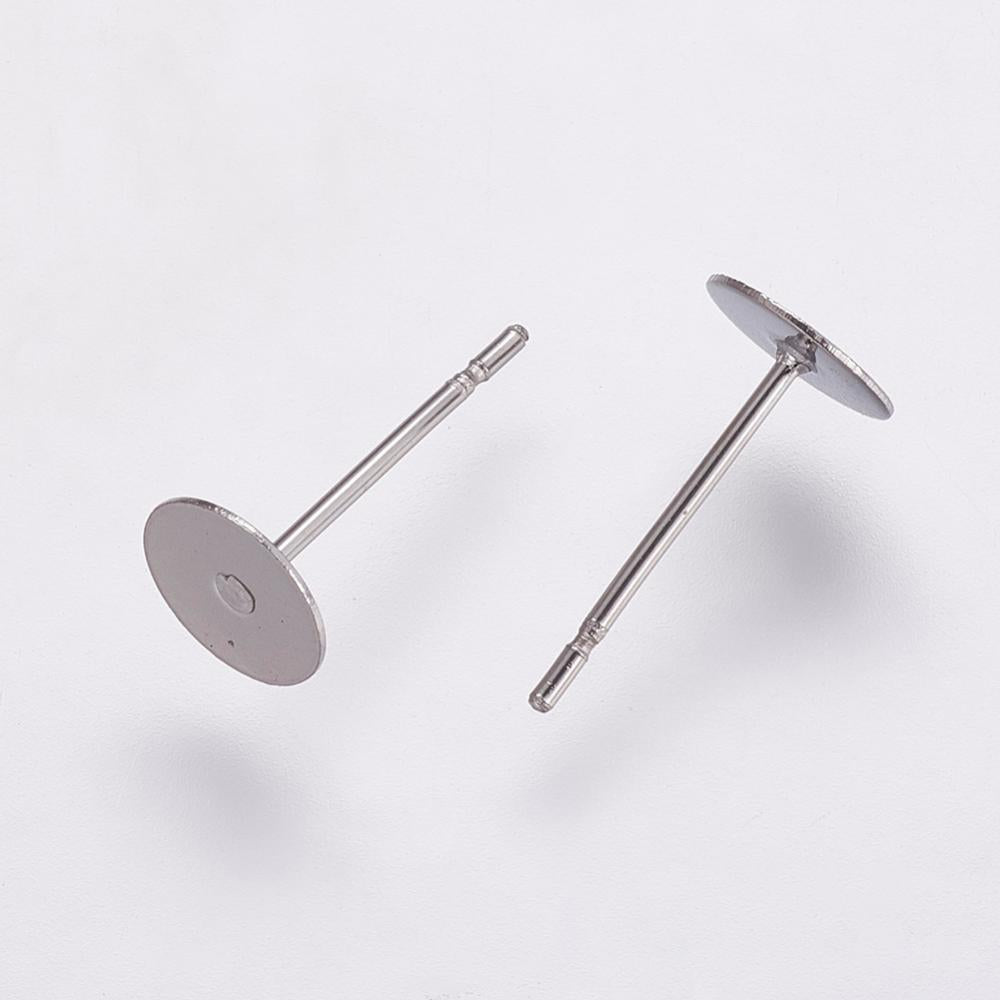
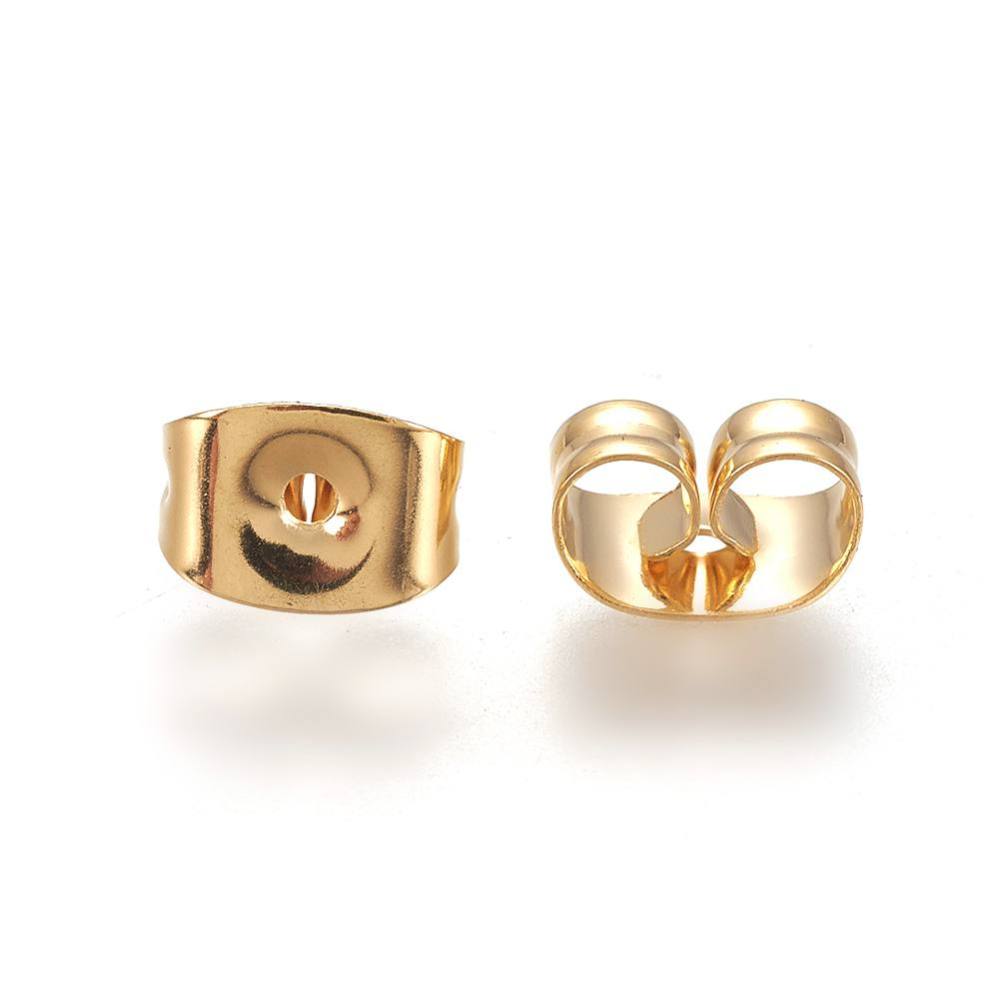
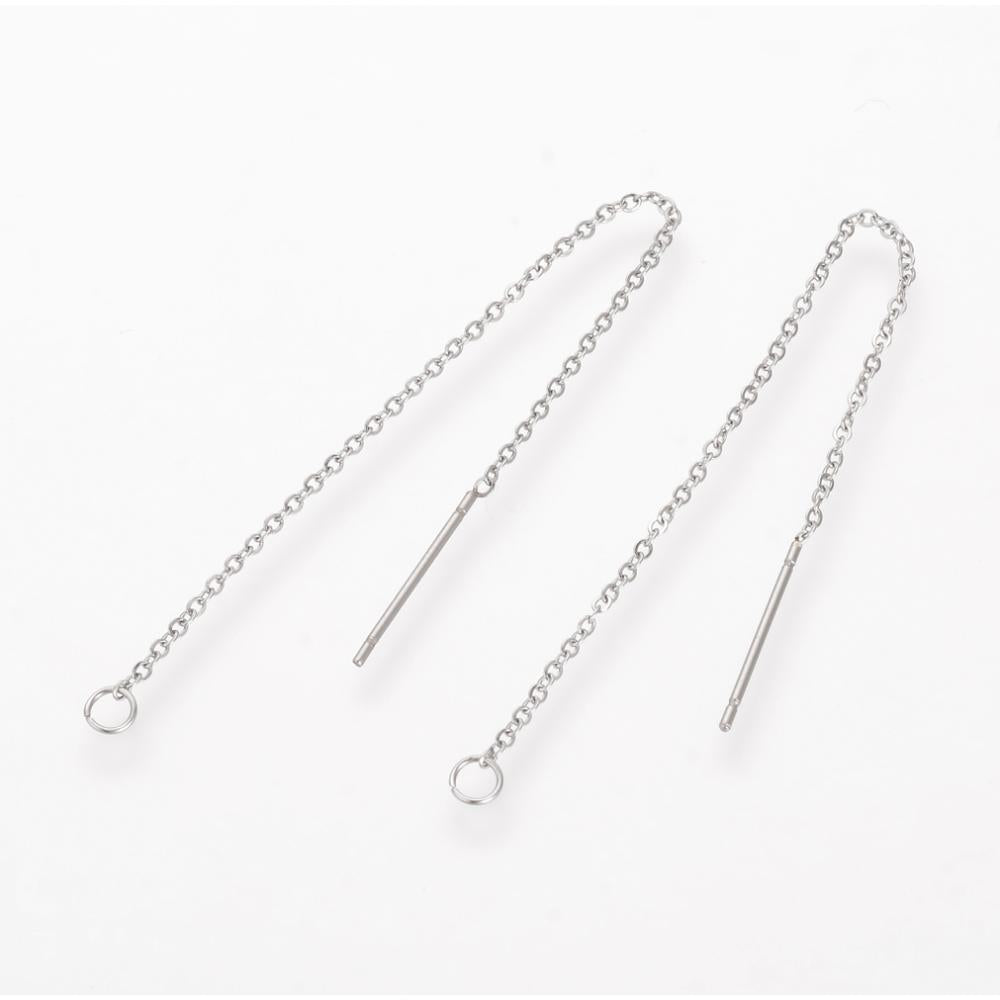
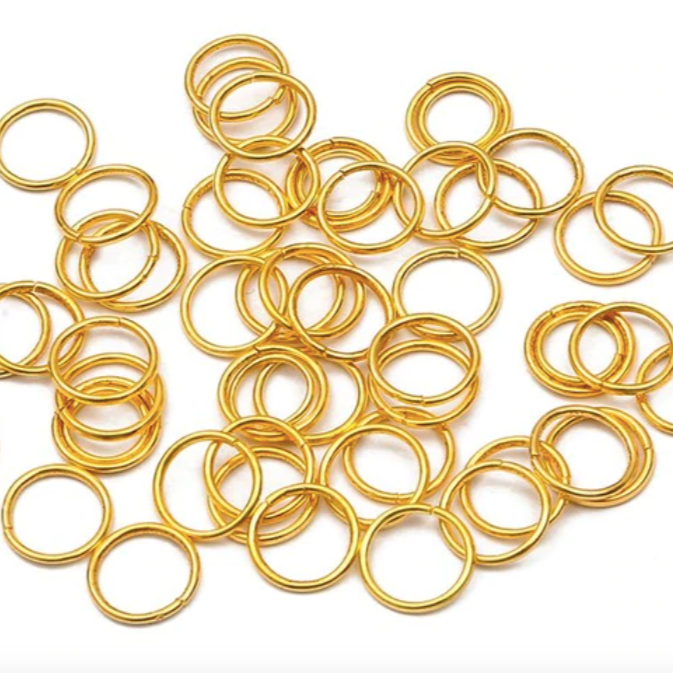
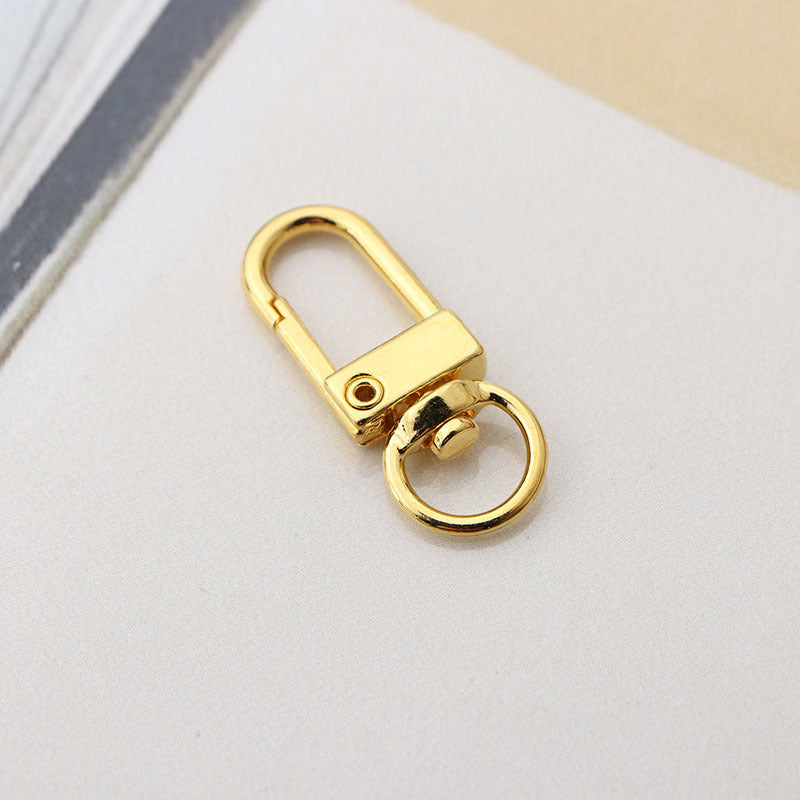
- hooks or hoops
- pliers (and tweezers - optional)
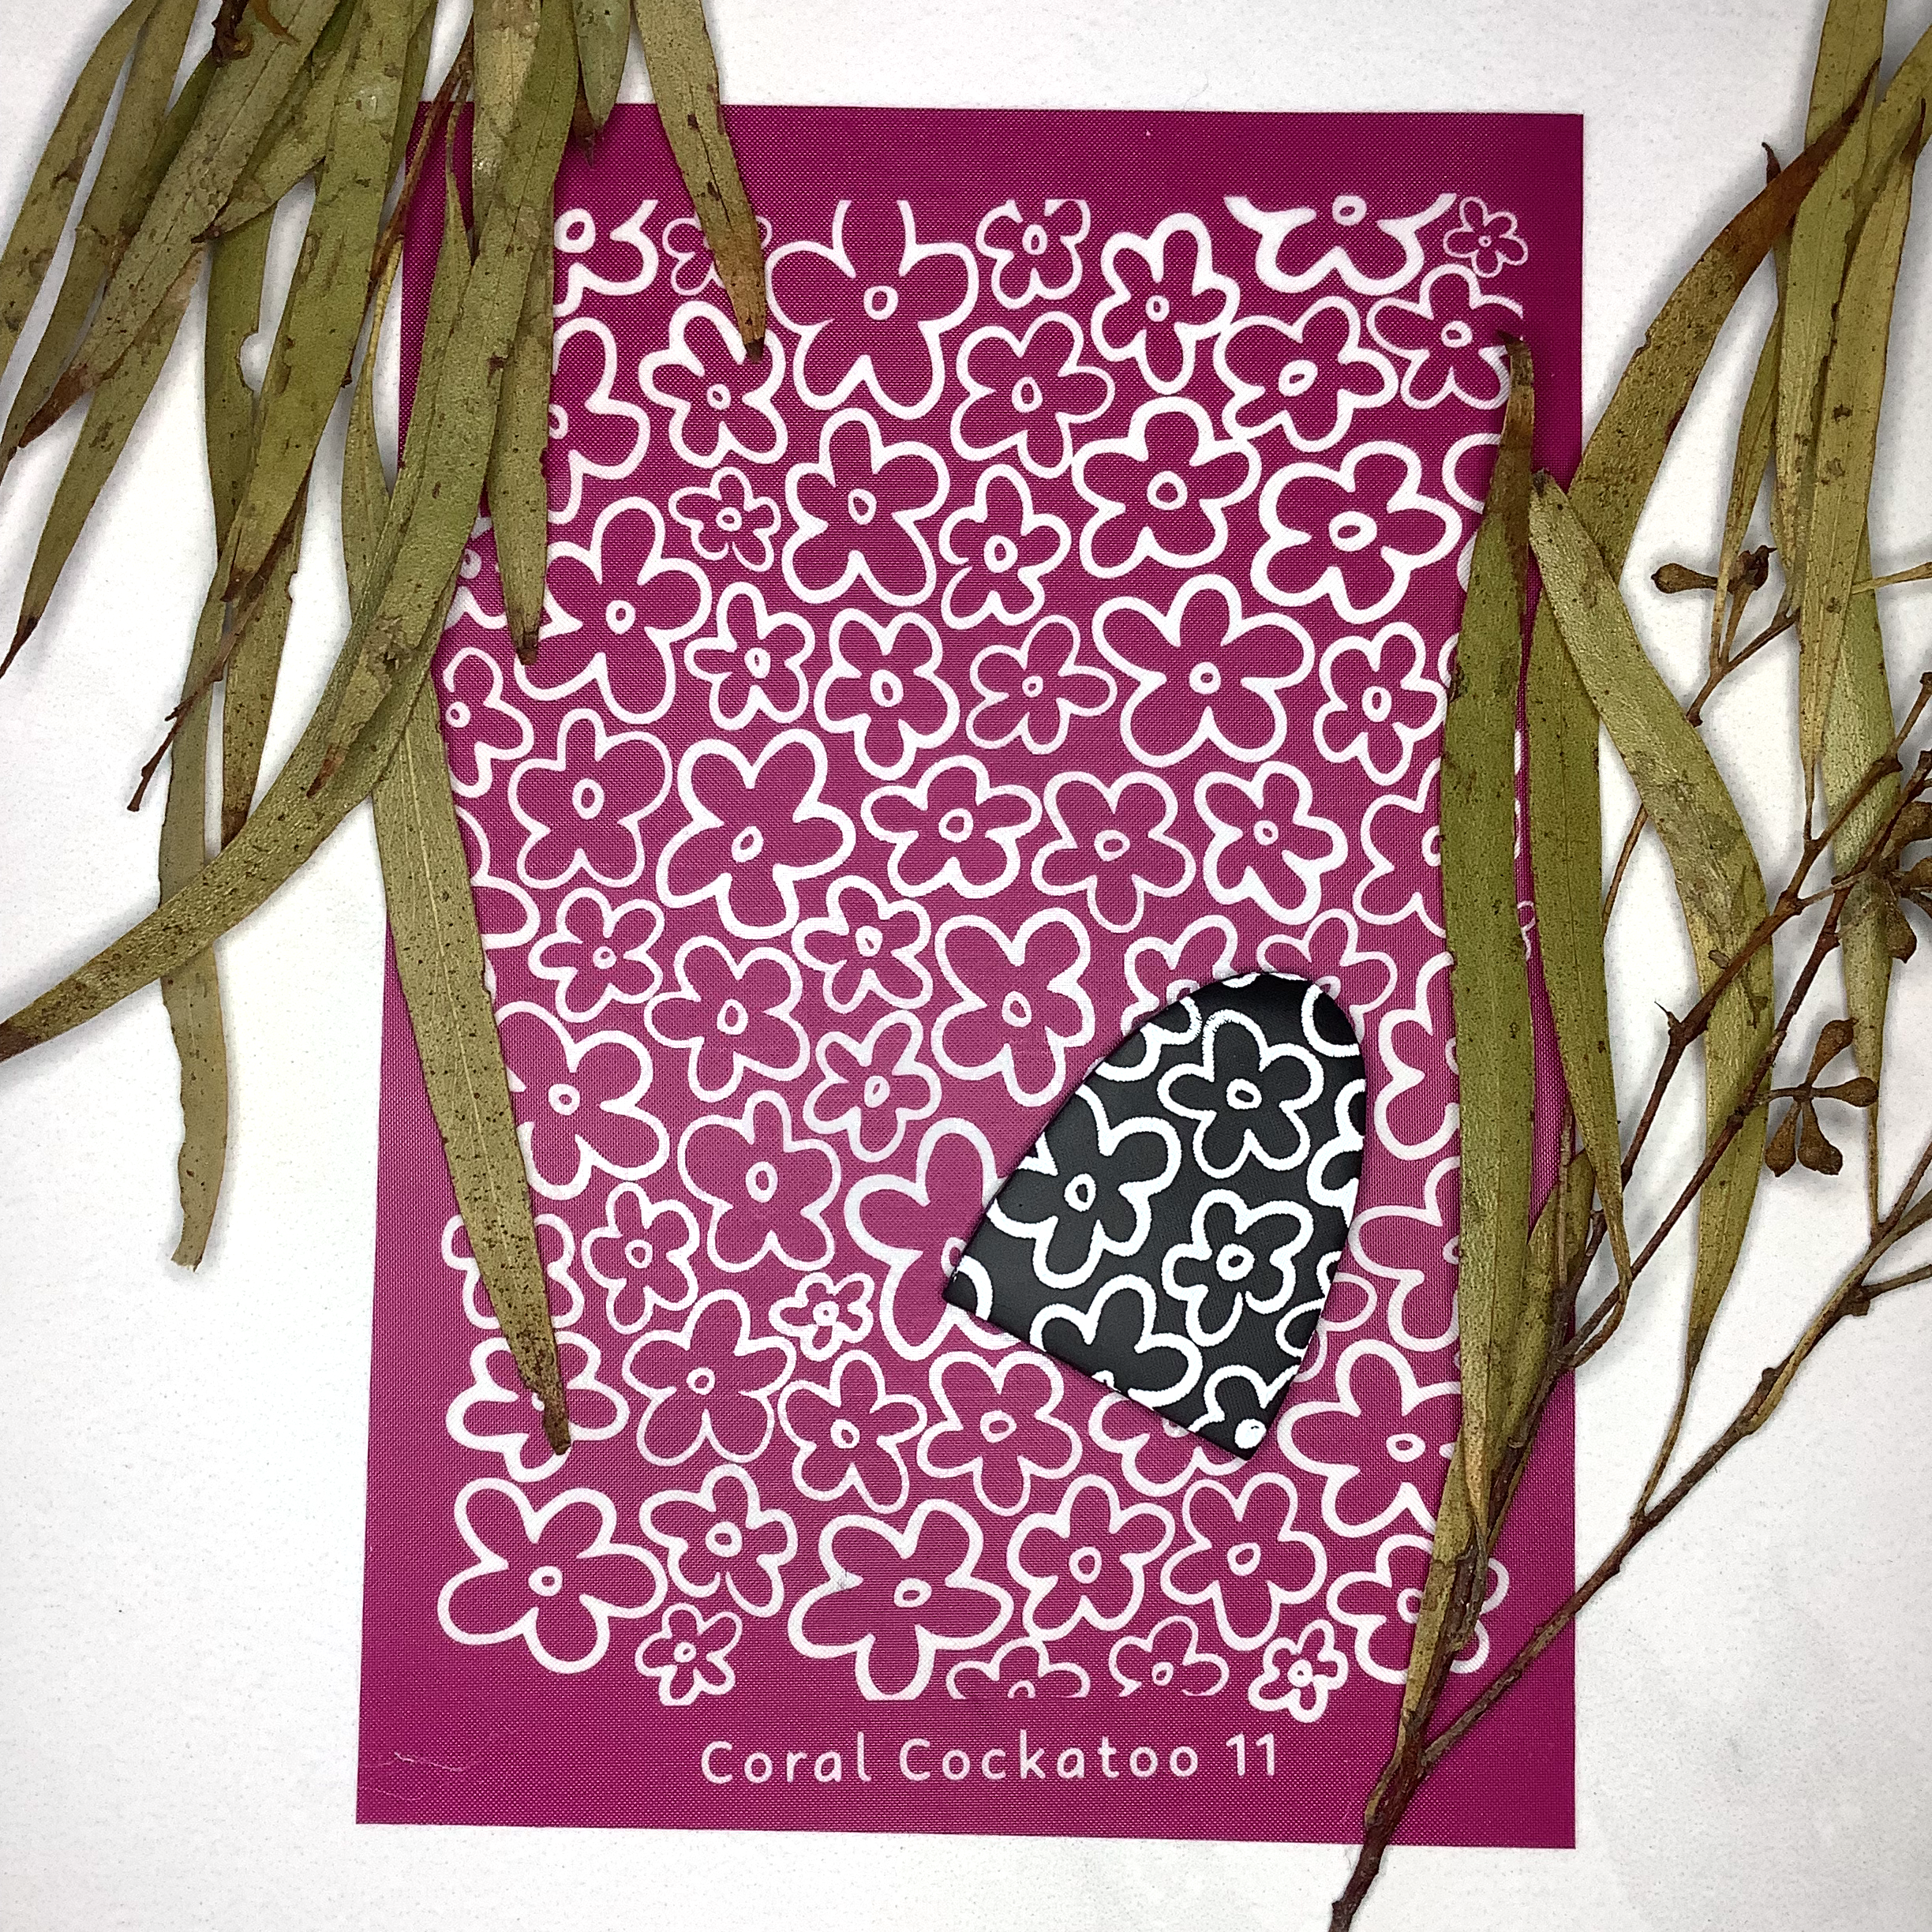
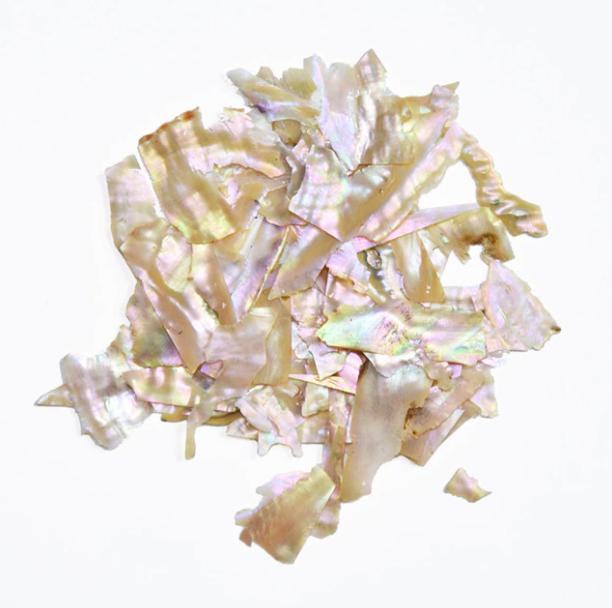
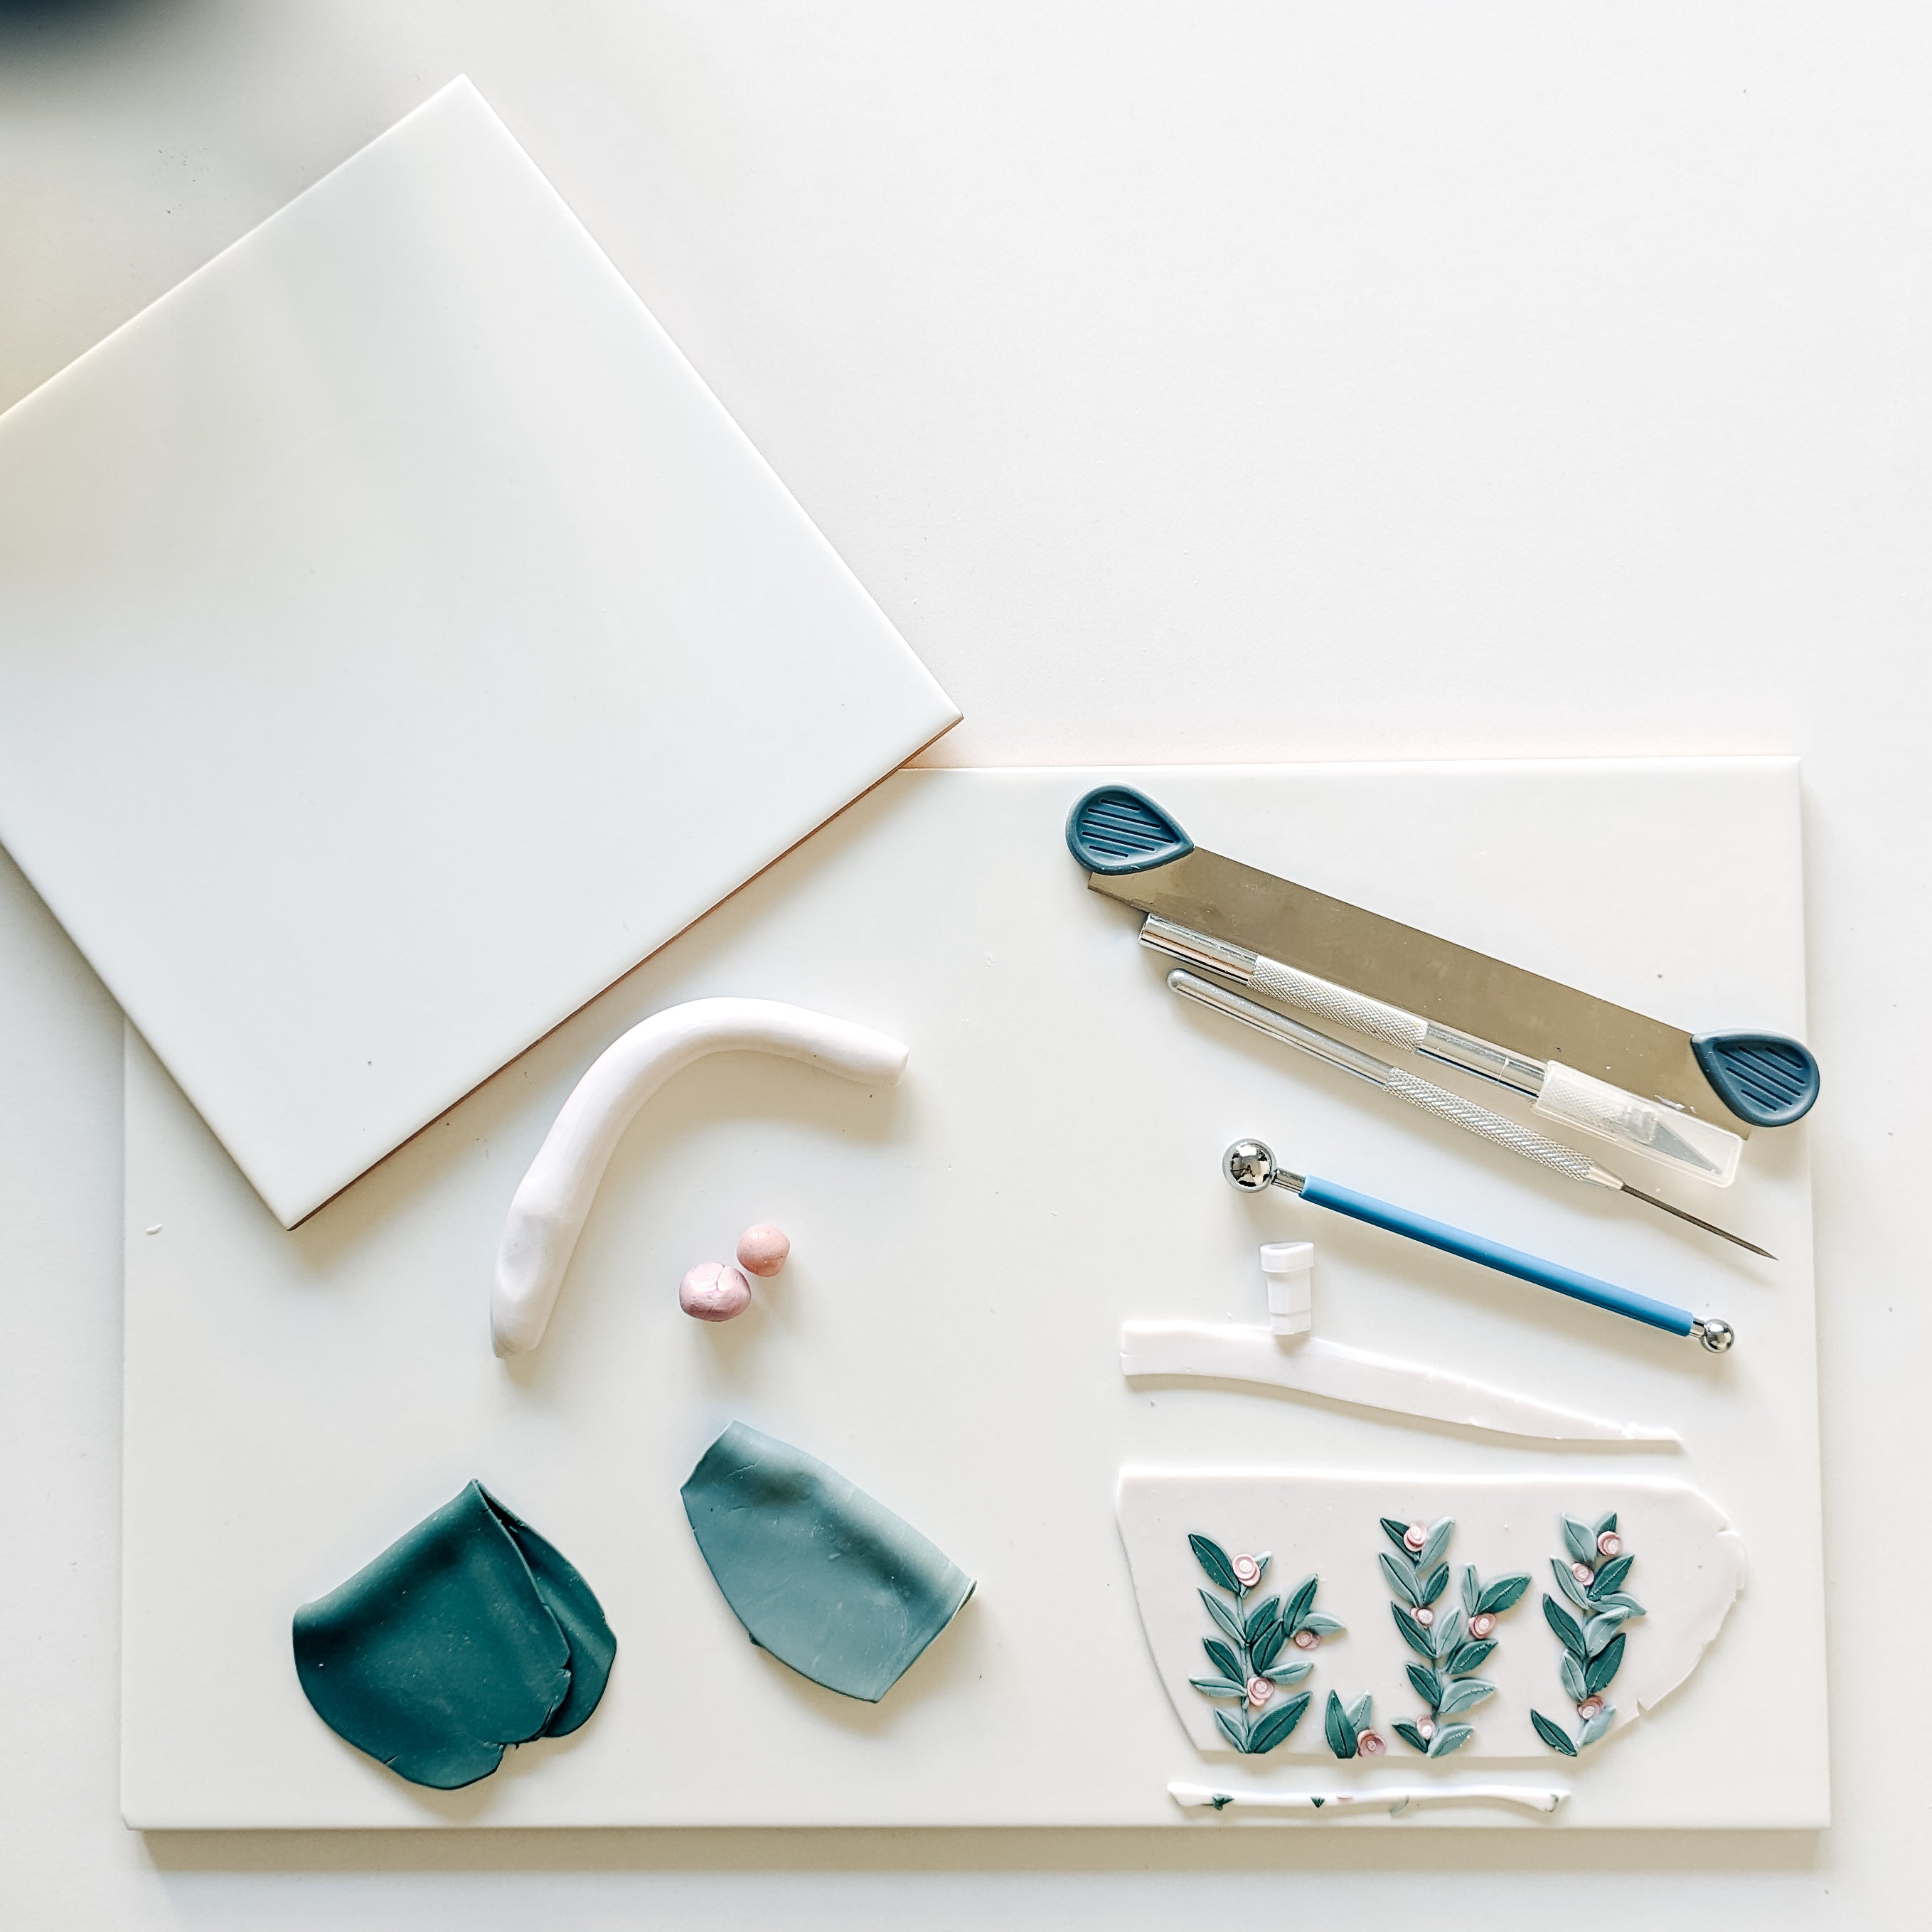
- decorative items (pressed flowers, pigments, glitter etc.)
- the sun (or a UV lamp)

Step 1: Preparing the bezel
Before you start, make sure you are somewhere with little UV light exposure, the more UV light, the faster you have to work. UV resin cures quickly when exposed to UV light.
Attach your open back bezels to the sticky side of the tape or adhesive. This will create a seal so that you can pour your resin in without it leaking out the sides.

Step 2: First layer of resin
- Apply the first layer of resin by first gently squeezing out a pea sized amount of resin into the centre of the pendant.
- Use a stirring stick or toothpick to help you spread the resin so that it reaches the sides. There should be enough resin that there is a thin, smooth layer inside the bottom, but it should fill only up to half the bezel depth.
- Place the pendants under UV light (sun or lamp) for a couple of minutes, allowing the resin to partially cure.
Hint: if there are bubbles, use your tooth pick to poke them out, or use a heat gun or flame lighter to lightly pop them.


Step 3: Add decorations
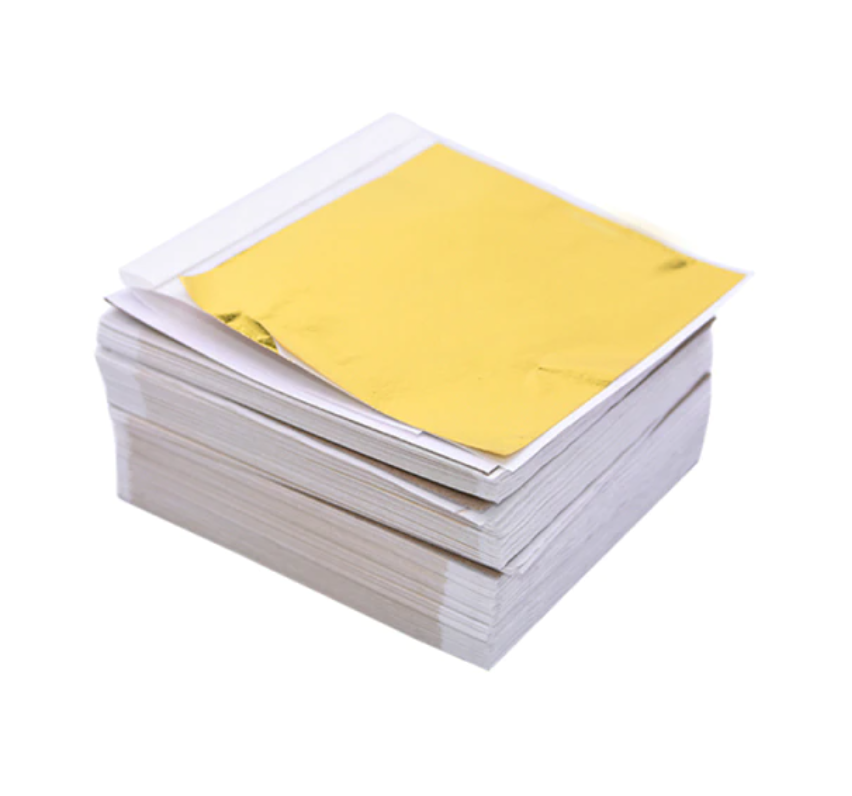
Now that your resin is partially cured, add your decorative items, this can be flowers, cooking spices, glitter or gold foil - the possibilities are endless! Just make sure your decorative items are completely dry and flat before adding them.
Hint: use tweezers to perfectly align your decorative items into the bezel. Tweezers allow for greater precision.

Step 4: Second layer of resin
Add a second layer of resin to your bezels to seal whatever you have placed inside. UV resin is a doming resin, which means it has a high surface tension and won’t easily leak from the sides even if the layer does go above the open back bezel. Remember to pop the bubbles again!
Now it’s finally time to fully cure your resin! I like to place them outside for an hour if it’s really sunny, or you can leave them outside for 24 hours.
Step 5: Peel the adhesive!
This is my favourite part. Once you are sure the resin is fully cured (it should be very hard), you can start to peel the adhesive off the bezel. Depending on your adhesive, you may need to add a layer of resin, I’ll discuss this in the troubleshooting section.
Step 6: Add the hook or hoop
Simple and easy. My go to is using the earring hoops (you don’t need pliers for this), but you can just as easily use the earring hooks.